How to add new customers and edit existing ones in Routeique.
Having a database of customers allows you to keep all their information in one place. You'll be able to manage information such as tax terms, the days your customers can receive products, as well as their shipping and billing information. You can manage all of this along with your customers' Order Portal login setup.
Every customer in Routeique is associated with a location. Your customer may have one location or they may have many. Your customer acts as the primary billing entity while locations represent the specific shipping locations. Your customer may have multiple locations where items are shipped, but their billing information will remain consistent. This helps keep things clear and organized in your customer accounts.
Add a New Customer
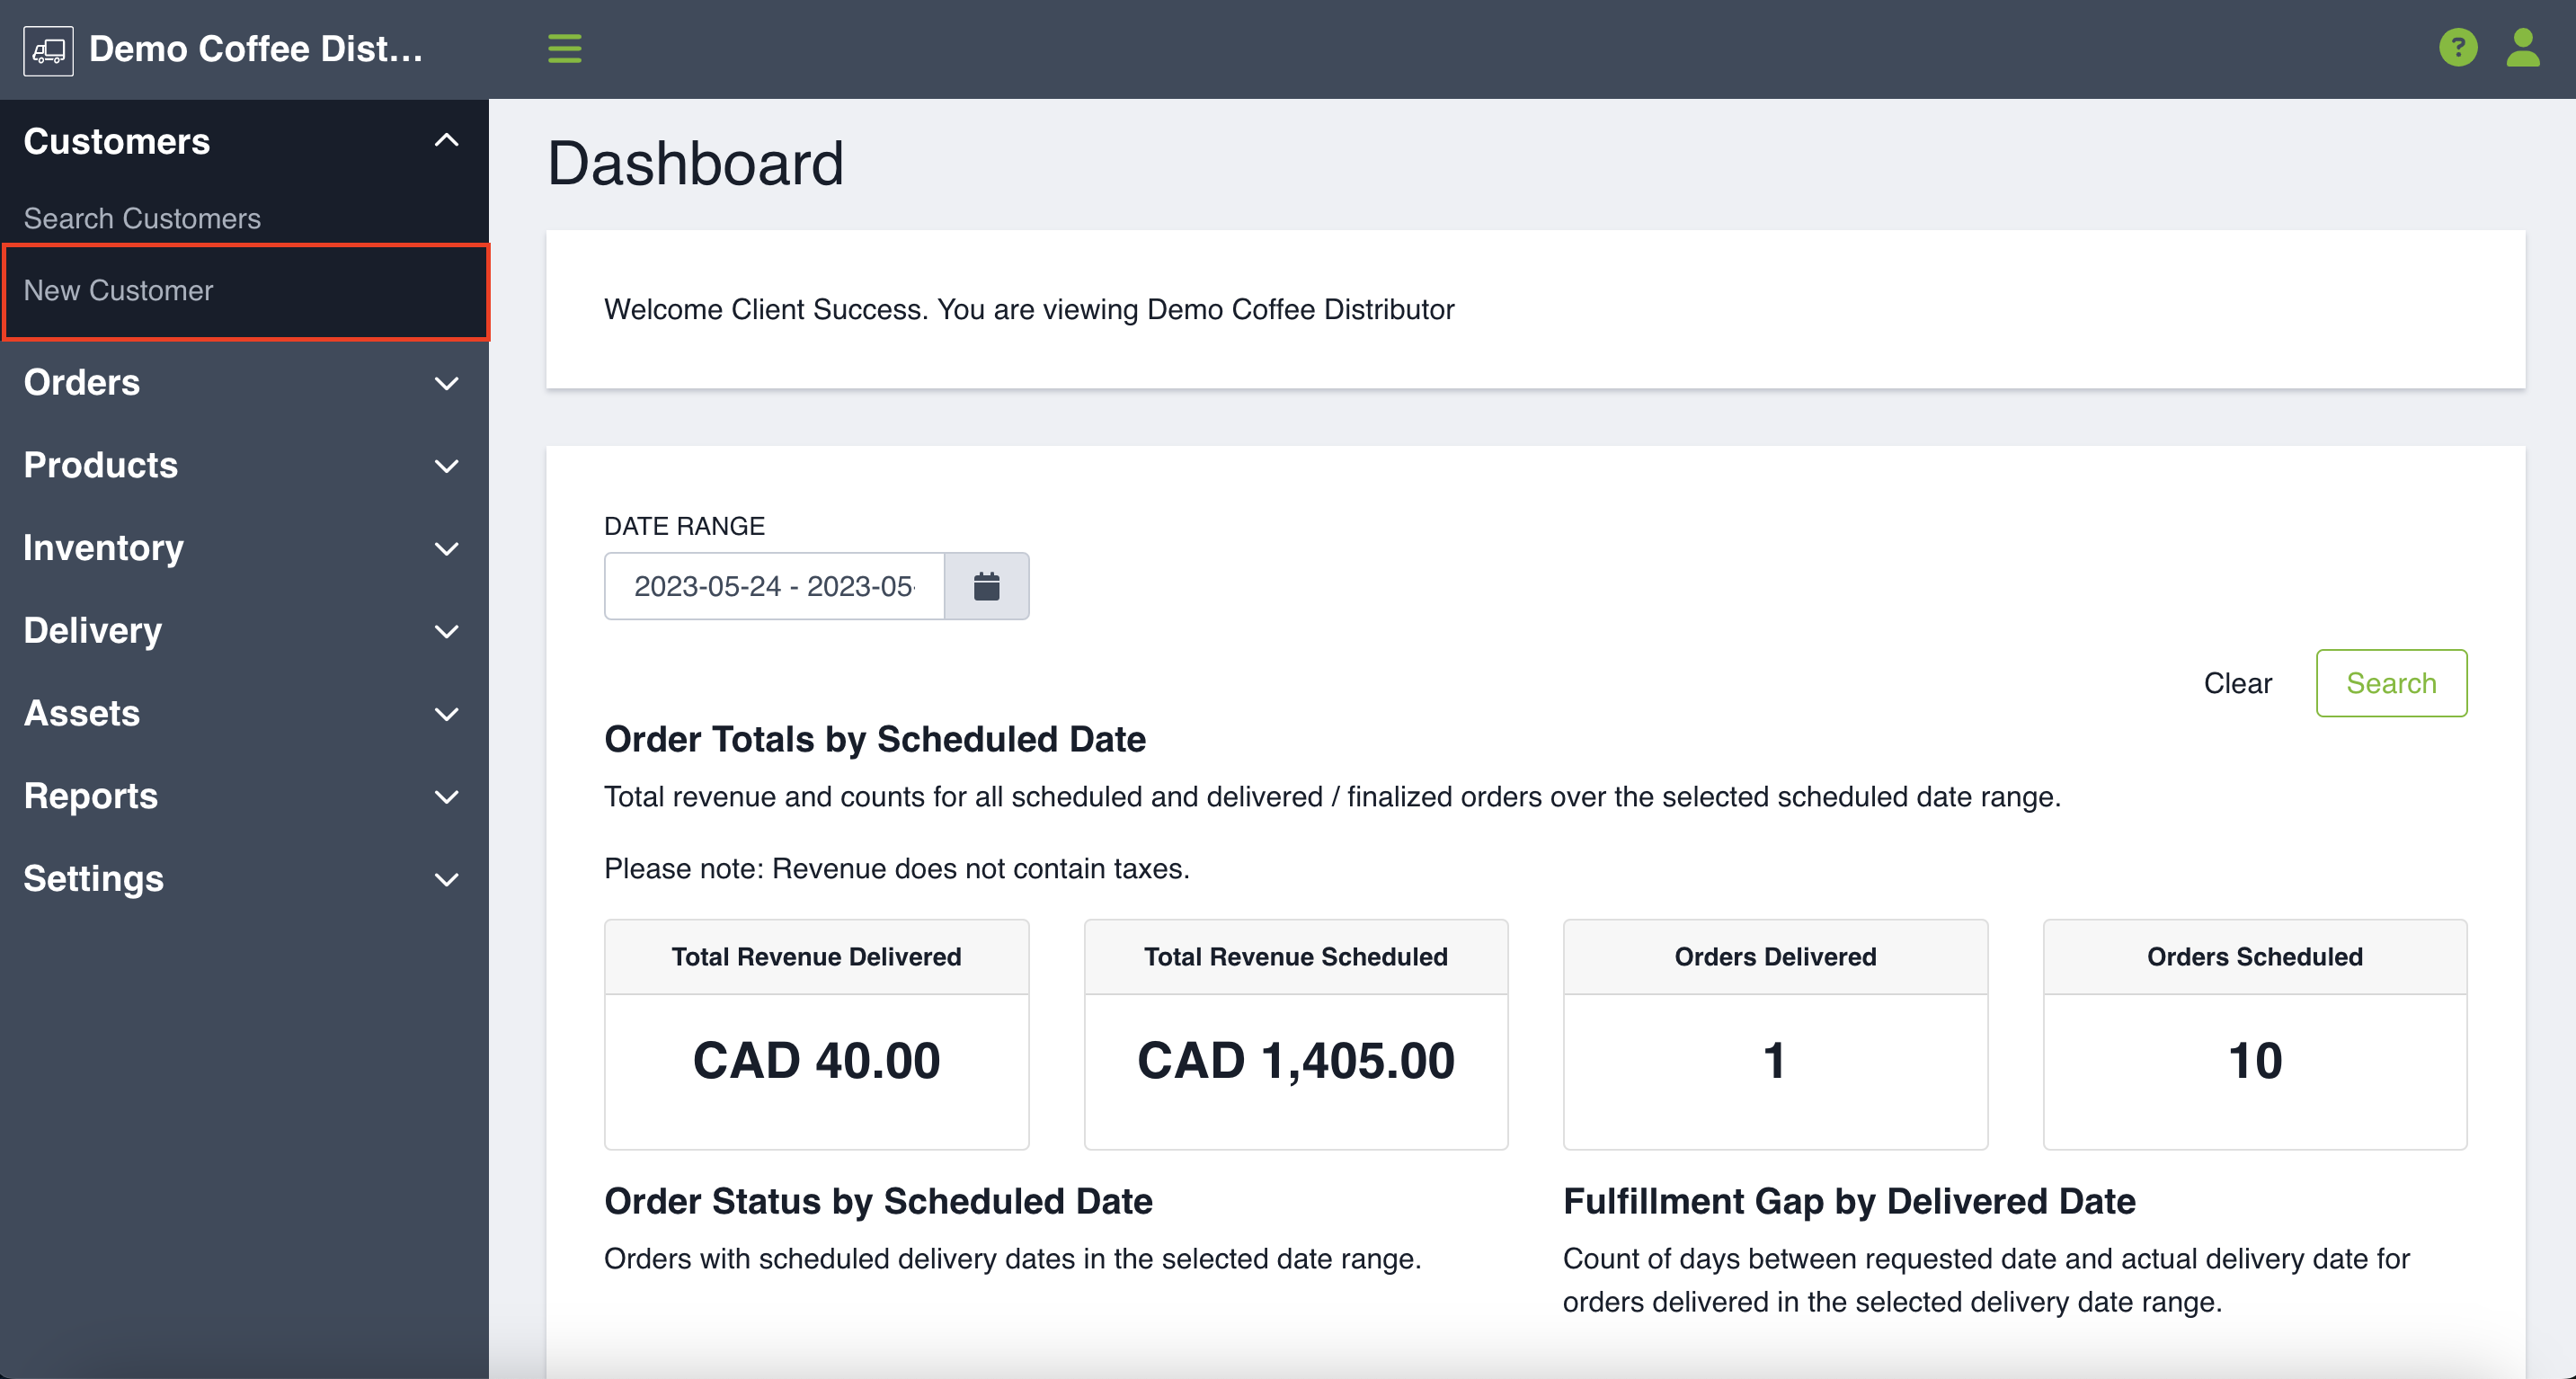
Creating a new customer is easy. From any page, select Customers from the main menu on the left side of the page. Click New Customer from the drop-down menu. On this page fill in the mandatory fields, marked with a red asterisk, and any other information you find relevant.
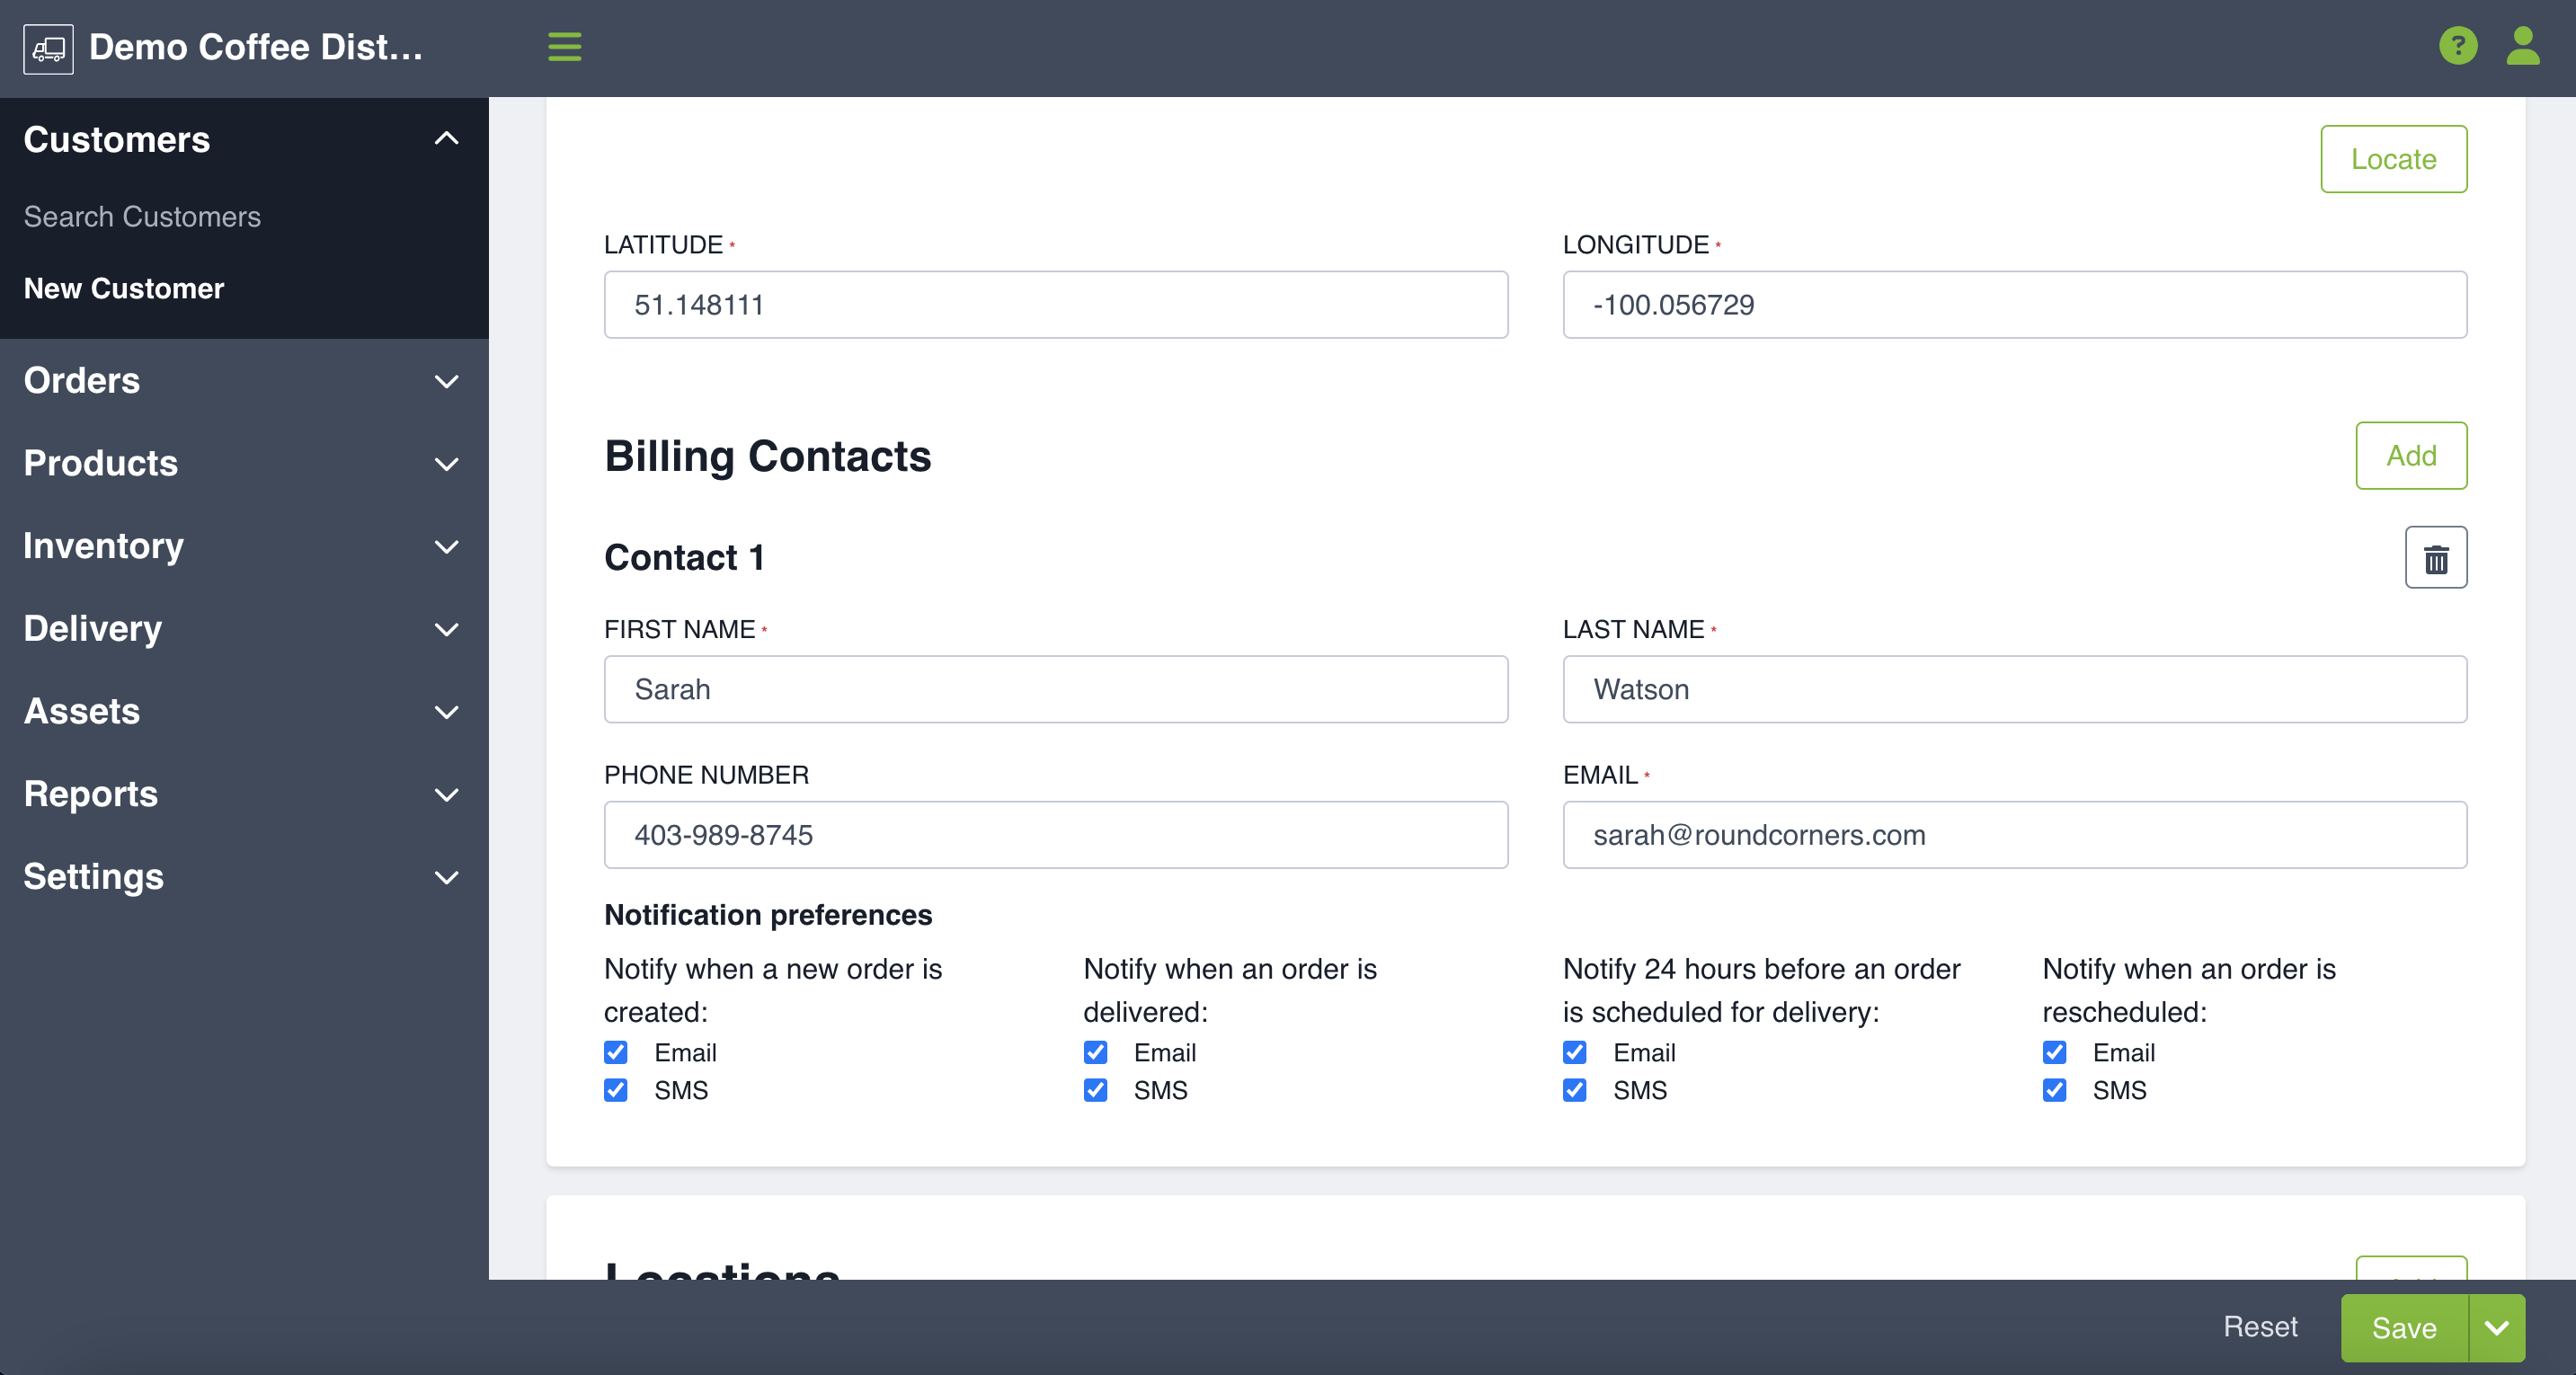
Fill out the customer information and basic billing information. If your billing contact would like to receive any of the order notifications, you may choose that here. If there is more than one billing contact, click the Add button in the top right corner and you can include as many contacts as you need.
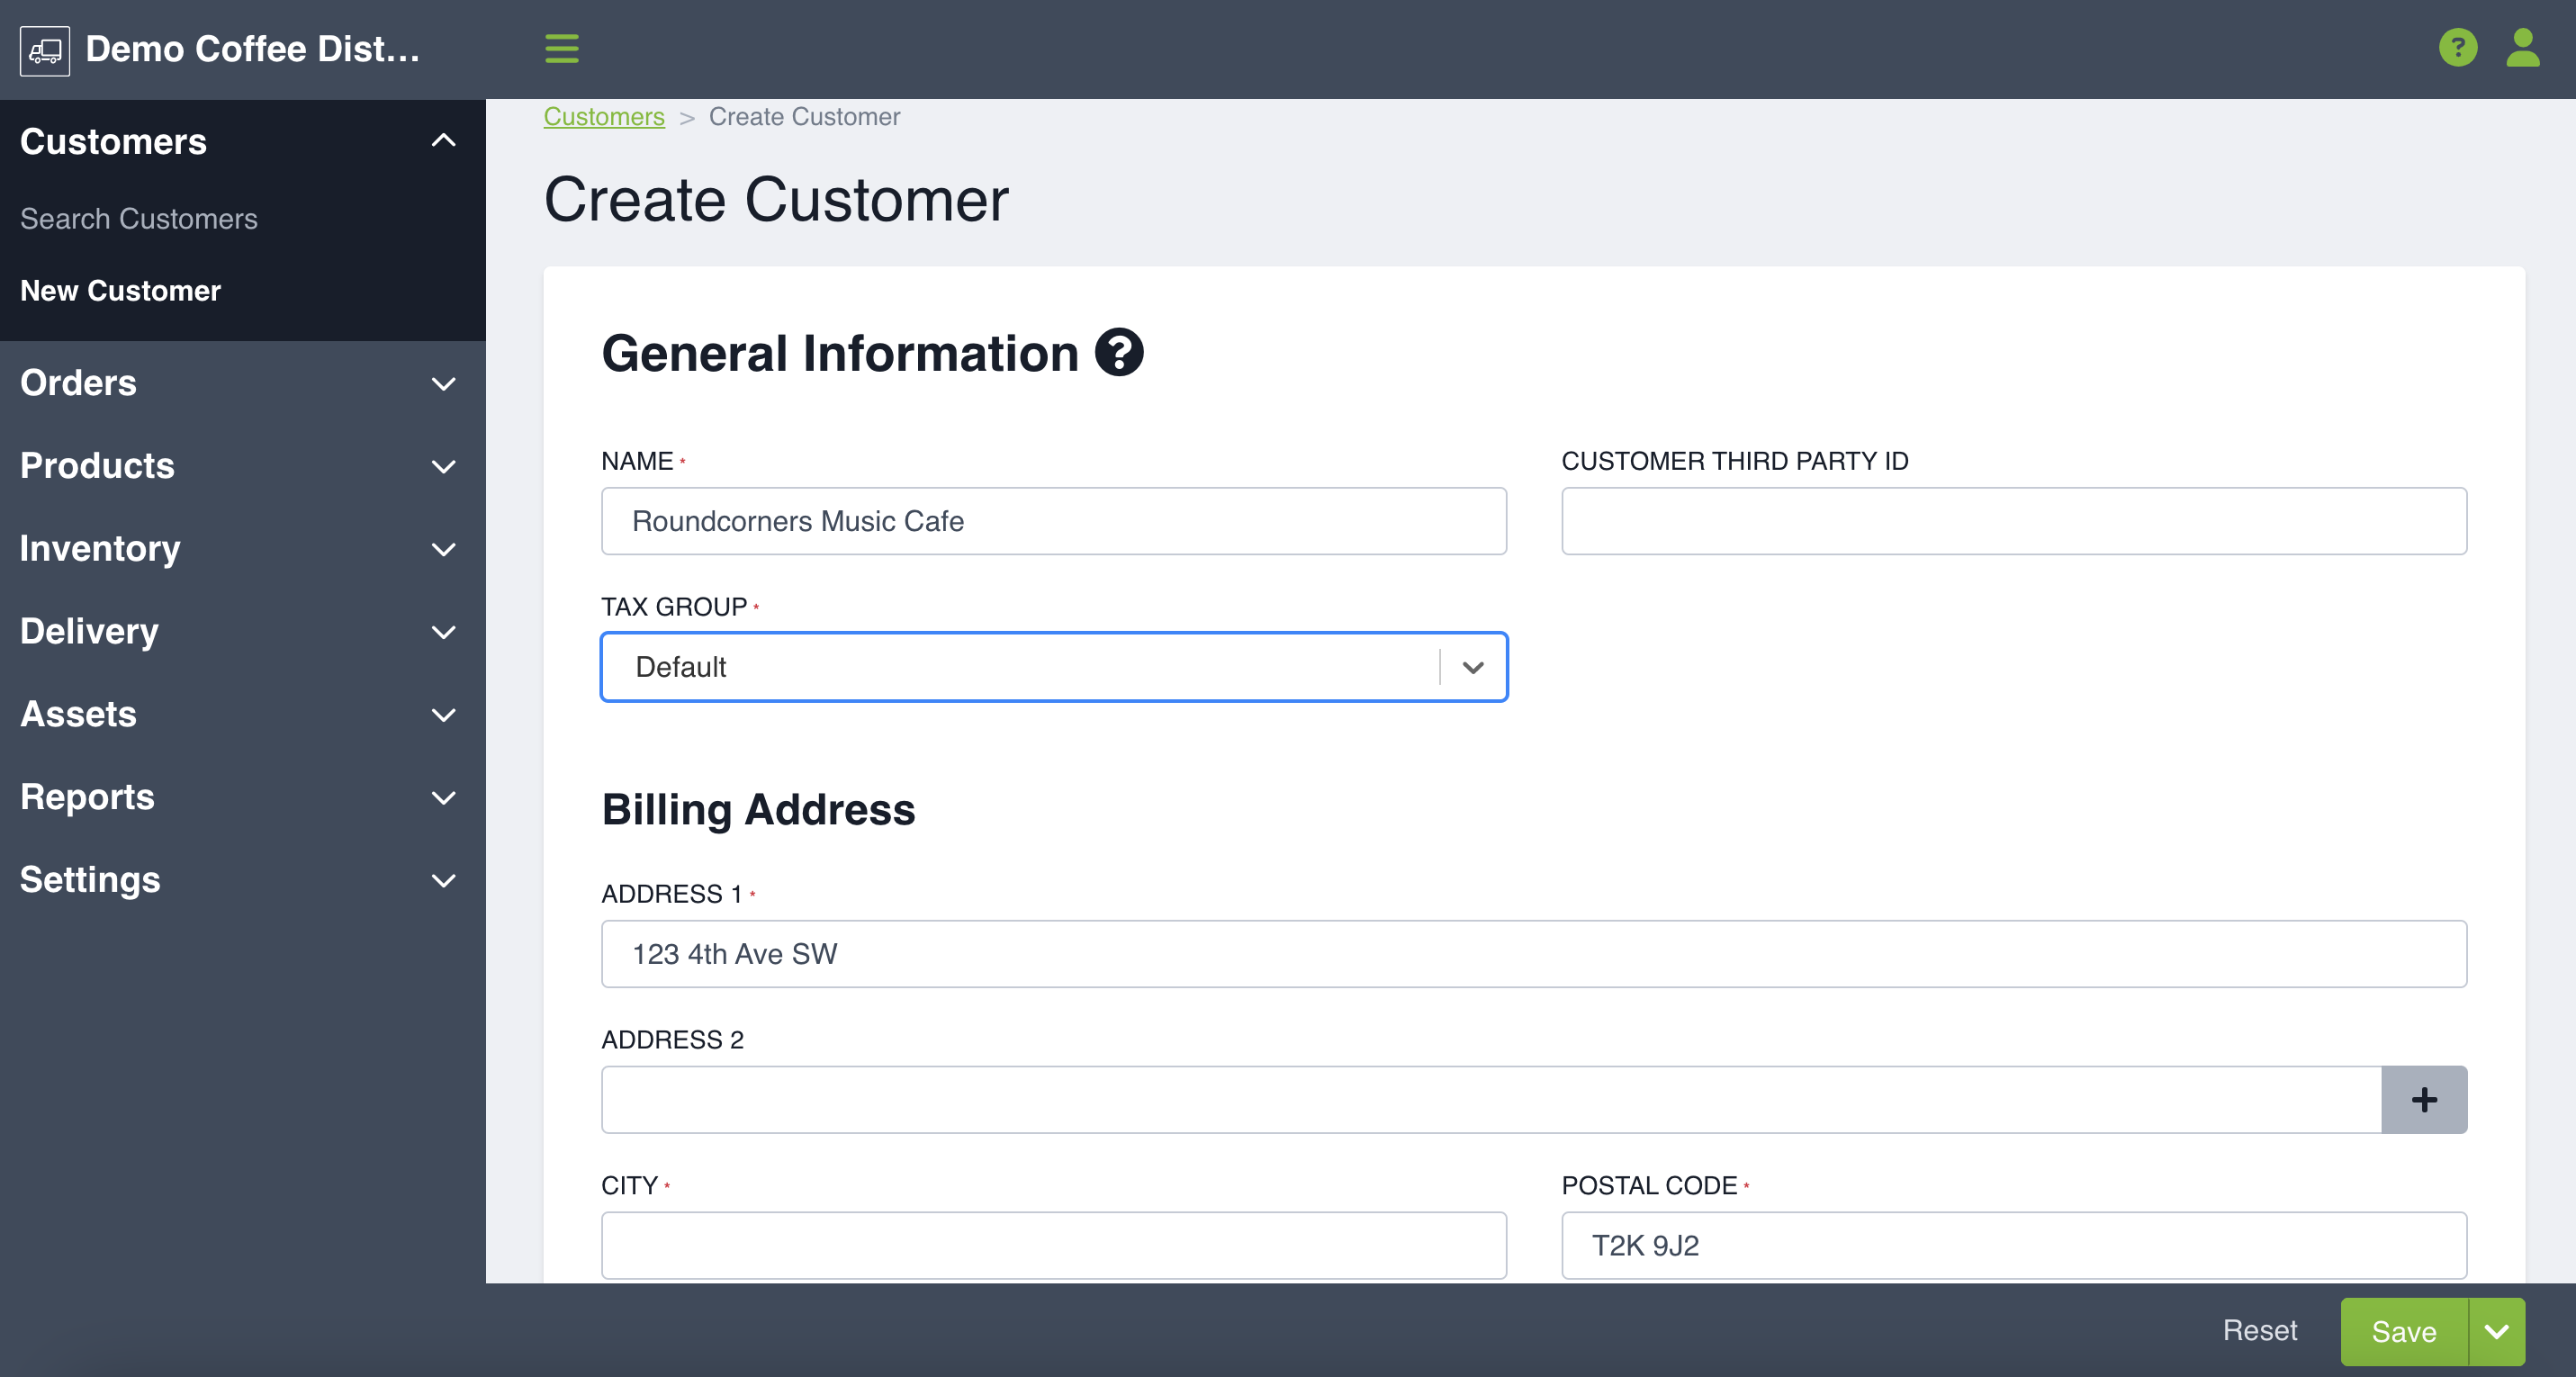
The location will identify the shipping address and each customer can be associated to one or more location. A good way to structure your customer / location is to use the main company name in the customer name and an identifier that specifies the retail/delivery building in the location name. For example:
Customer: Round Corners Music Cafe
Location: South
If you only have one location for one customer, simply use a descriptor such as Main Office.
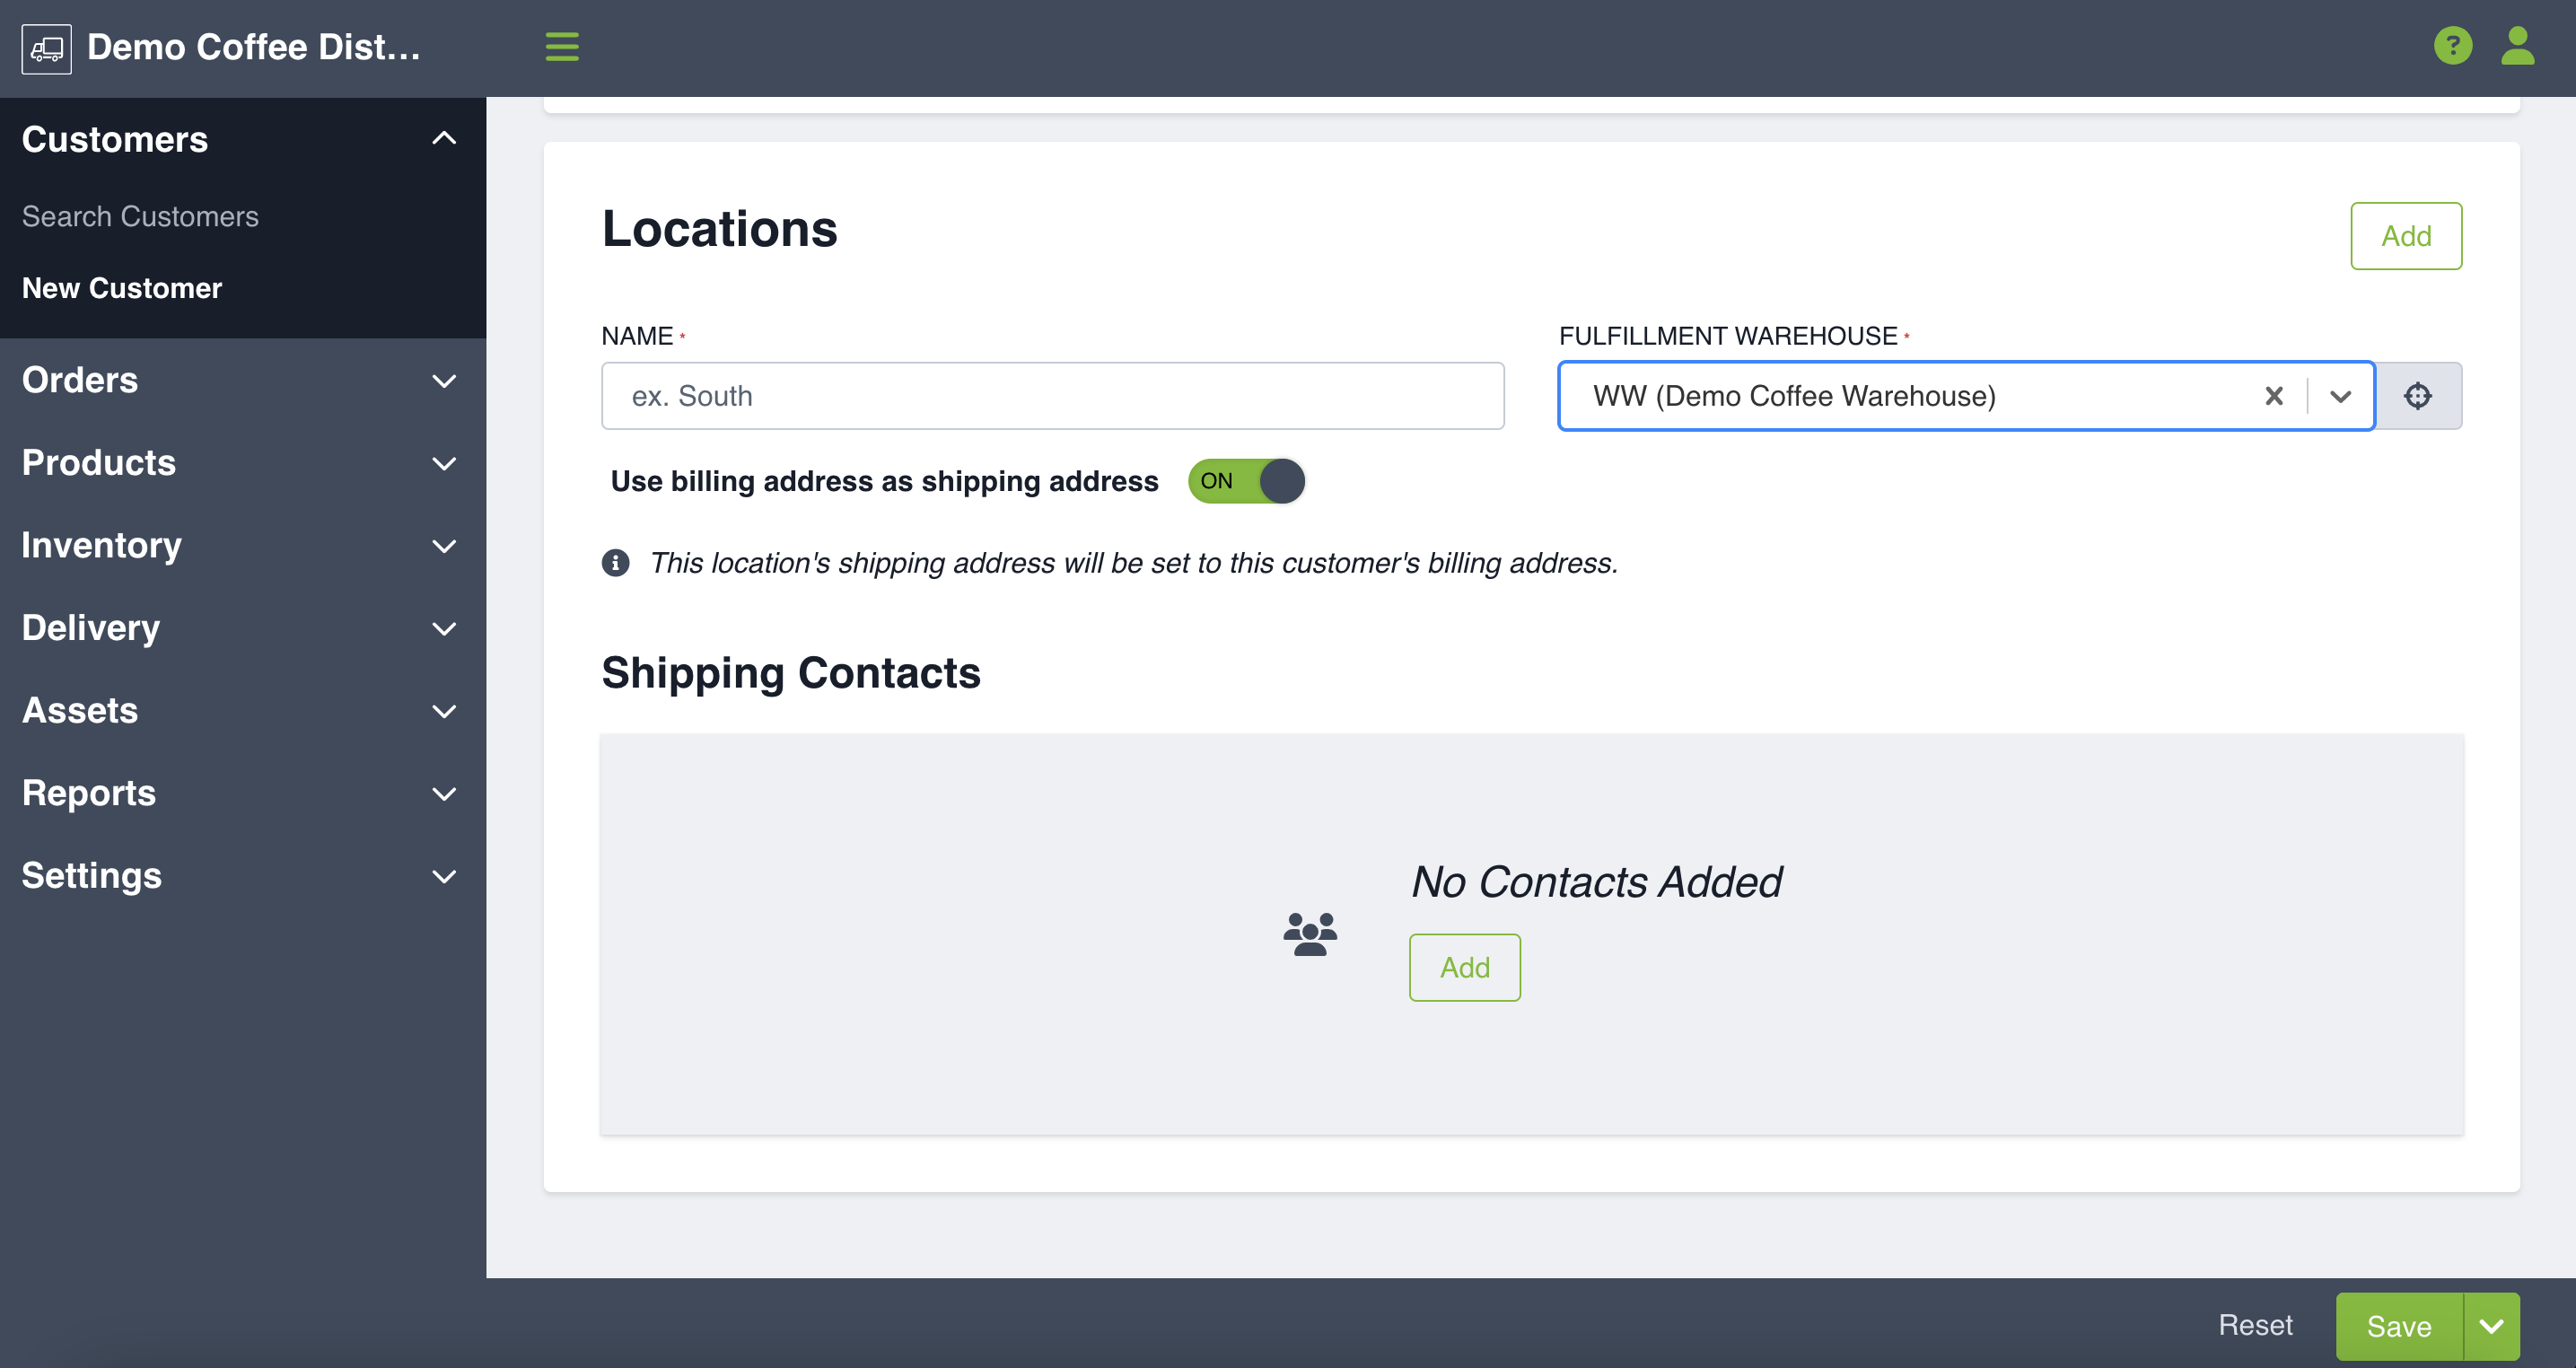
You will also be prompted to enter your fulfillment warehouse. This is the warehouse responsible for fulfilling the order and where inventory gets allocated.
By checking the 'USE BILLING ADDRESS AS SHIPPING ADDRESS' box, all fields associated with the billing address will auto-fill based on the information you previously filled out. The Longitude and Latitude boxes will be automatically filled out.
Once you have filled in the required information click Save.
Edit Customer
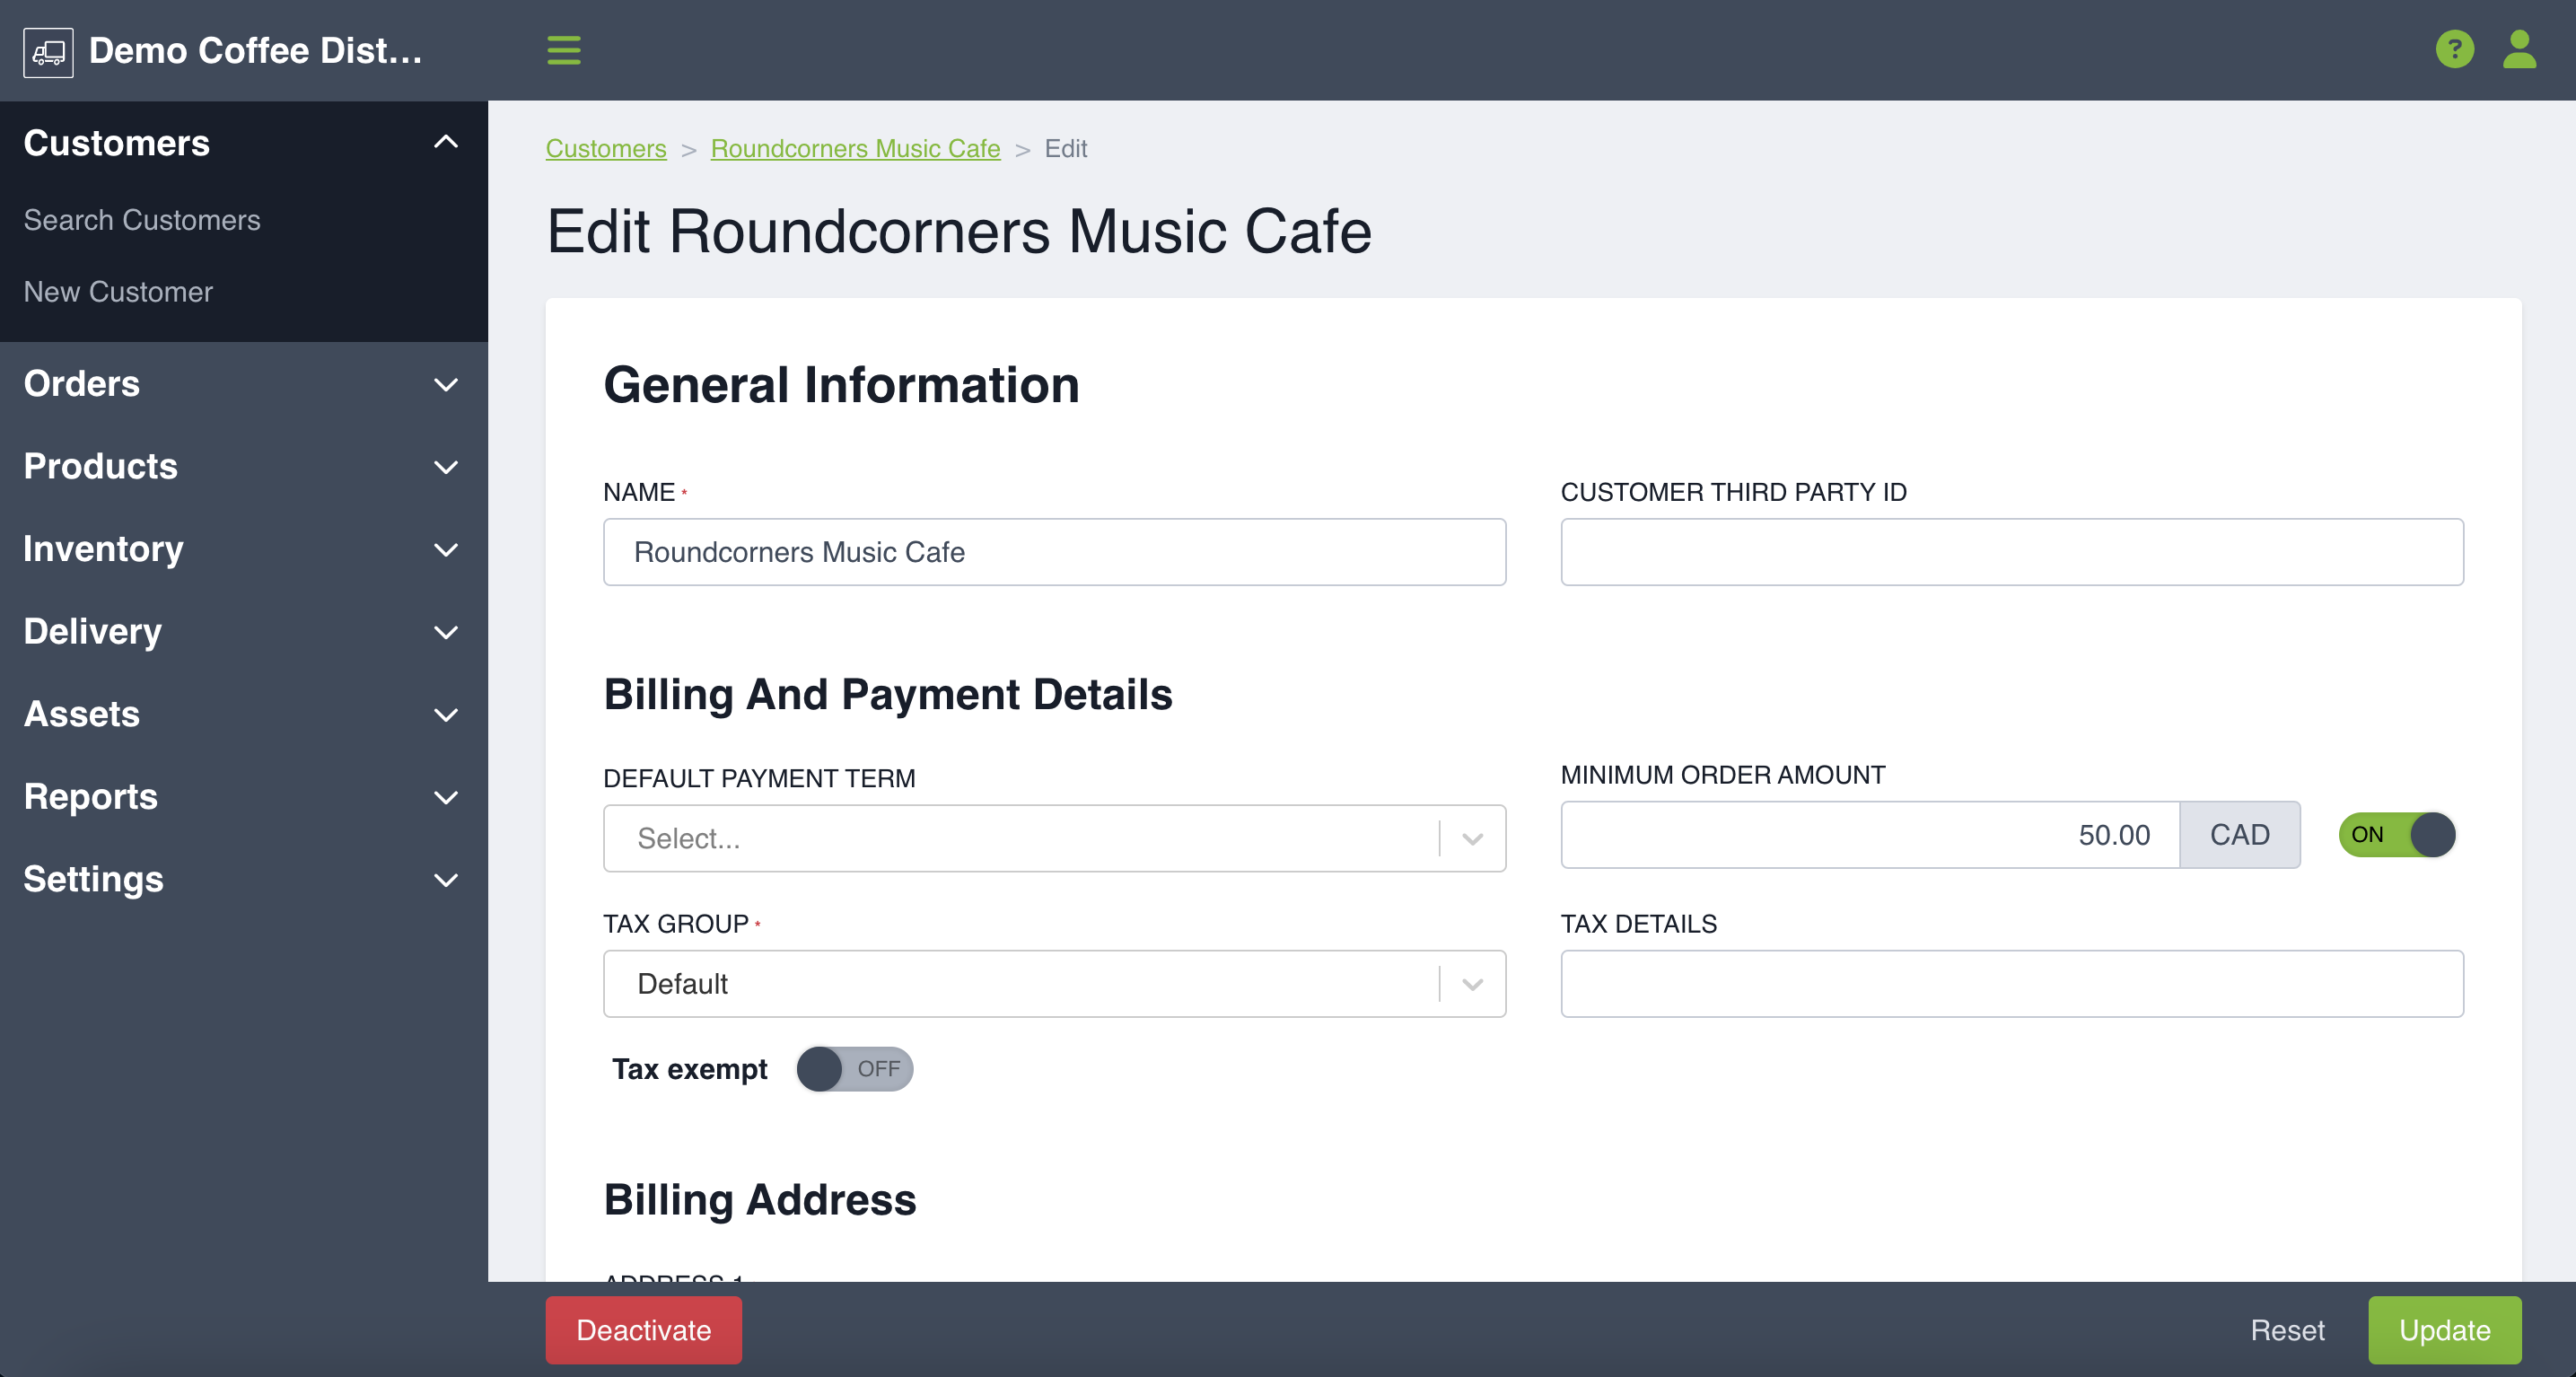
You will receive a notification that you successfully created your customer. You will then be brought to the Edit Customer page. Here you will fill in your Billing and Payment details. You can select a default payment term, minimum order amount, tax group and any tax details.
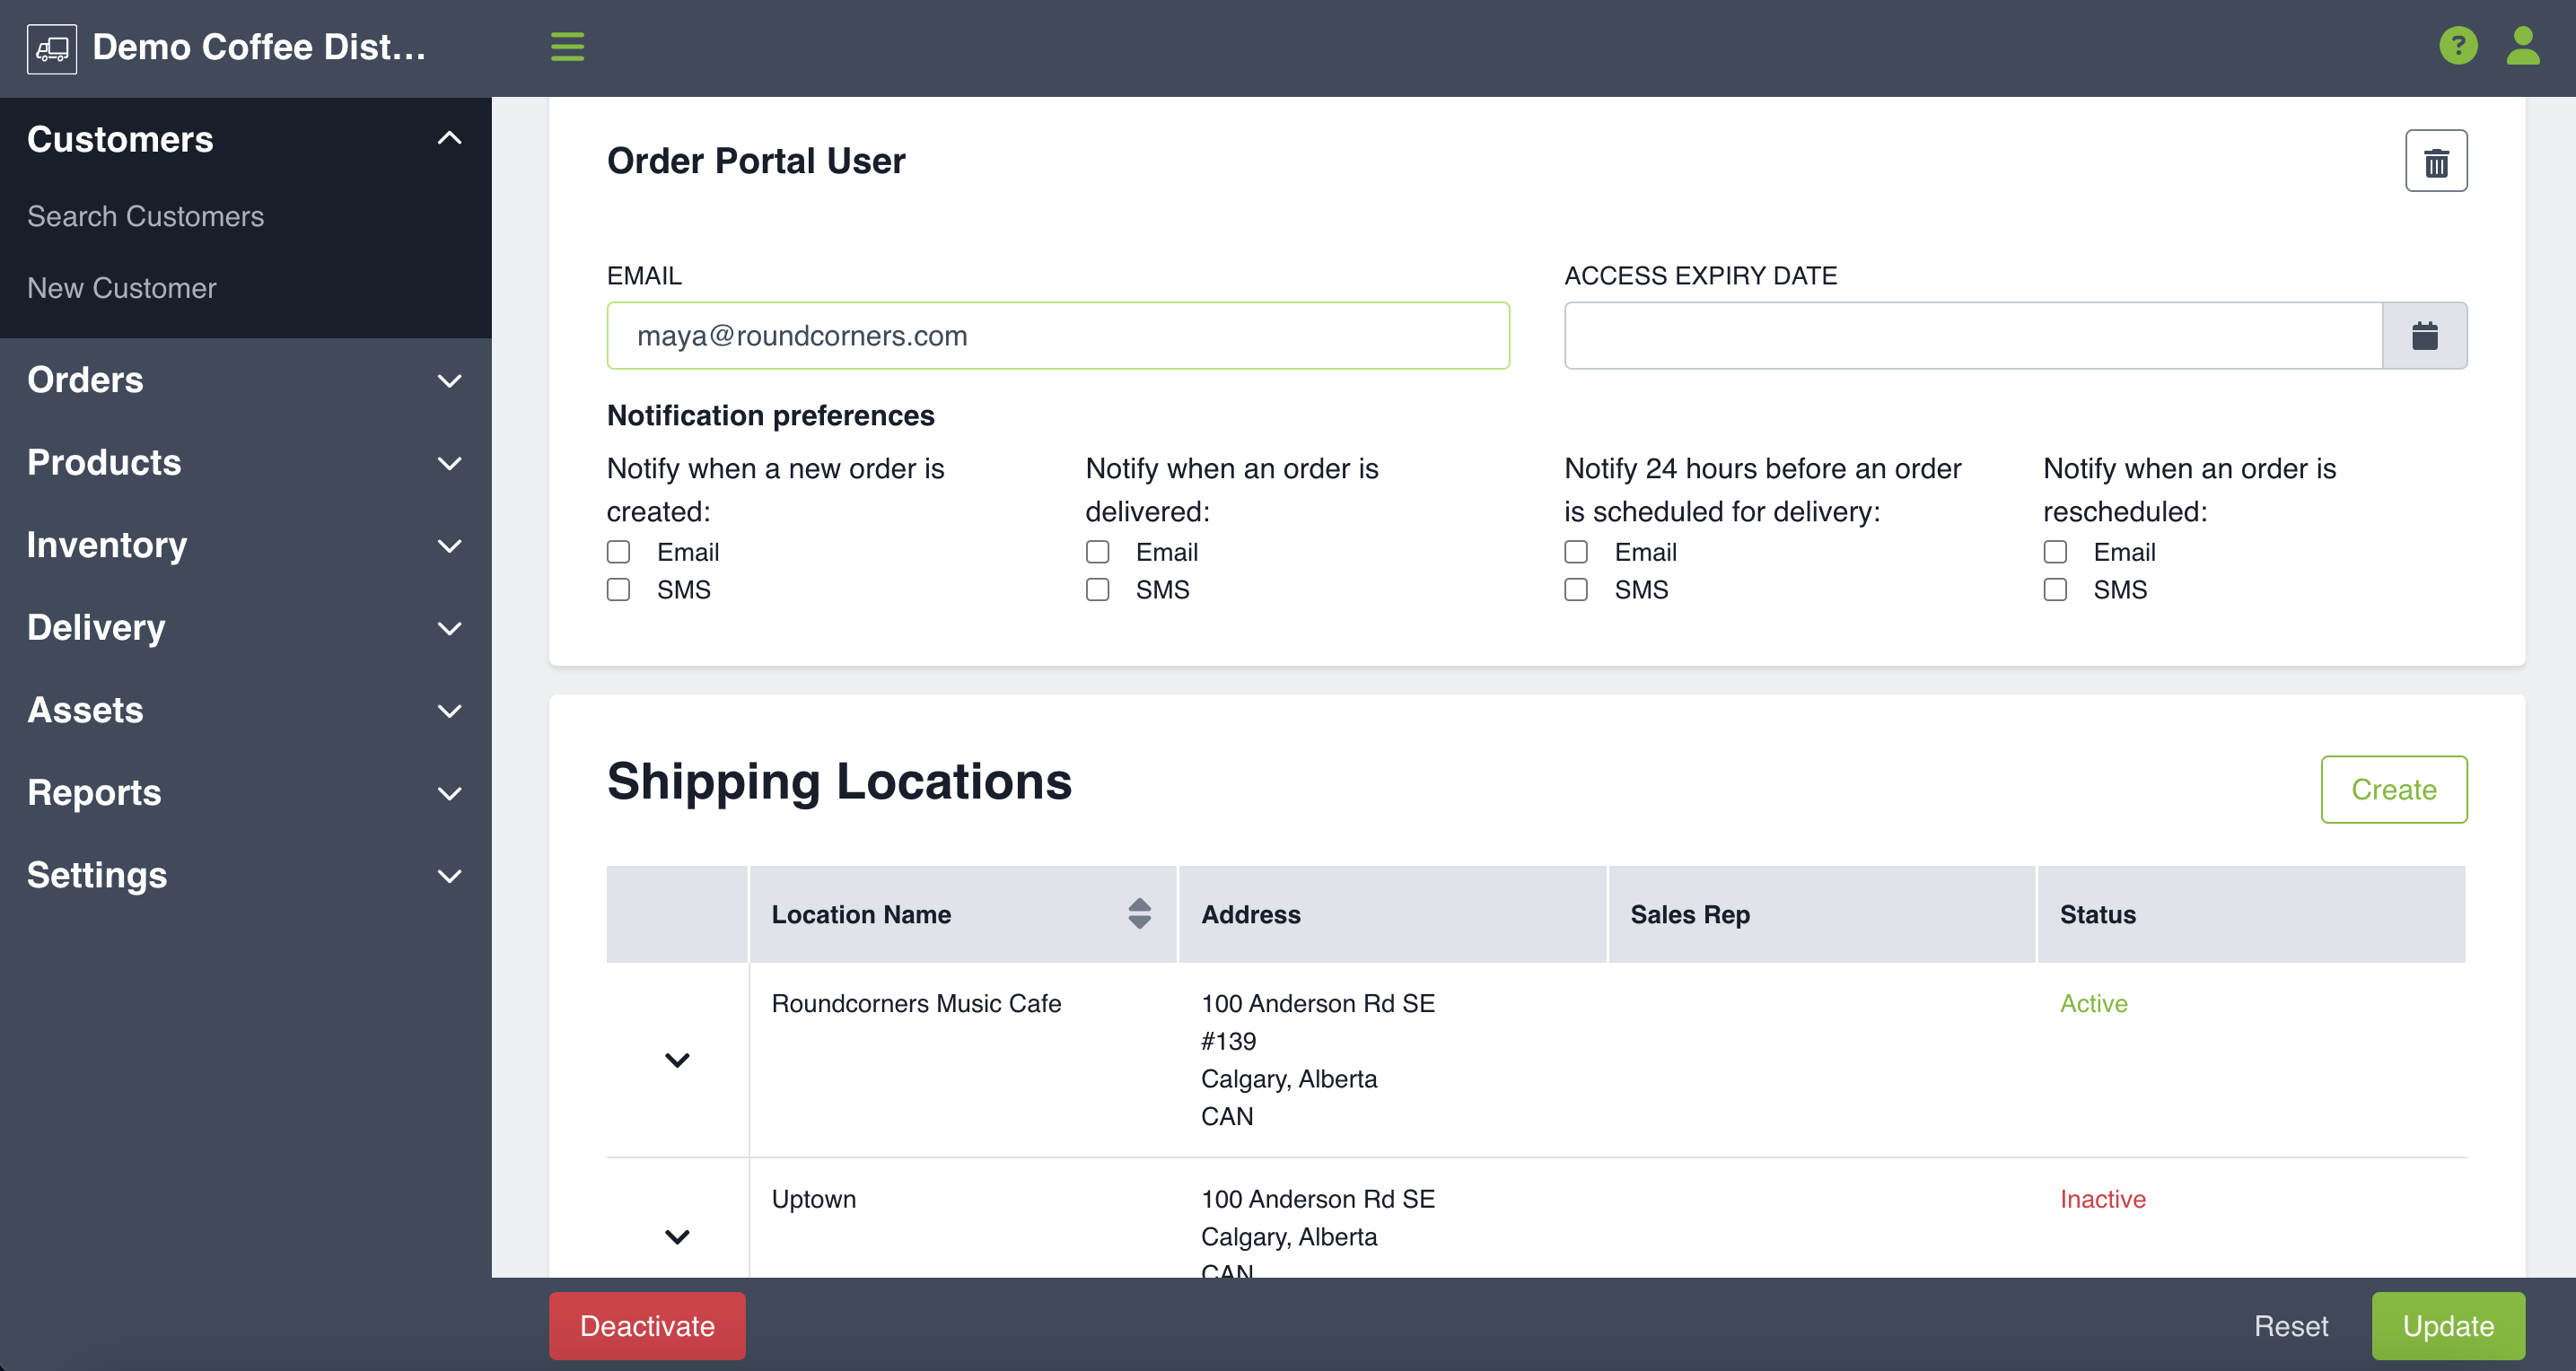
You can also add Users who will be able to access the Customer Order Portal to place orders. You can select their notification preferences and add an access expiry date if you would like.
NOTE: Customer Order Portal users can be added on both a customer and location level. If the same user has access to order for more than one location, they should be added under the 'edit customer' profile. If they only get to order for one location, then add them under 'edit location'.
When editing a customer, you can also place that customer on a pre-determined price plan, add specific product pricing for them, or add them to a category. For more information on pricing and categories please click the links below.
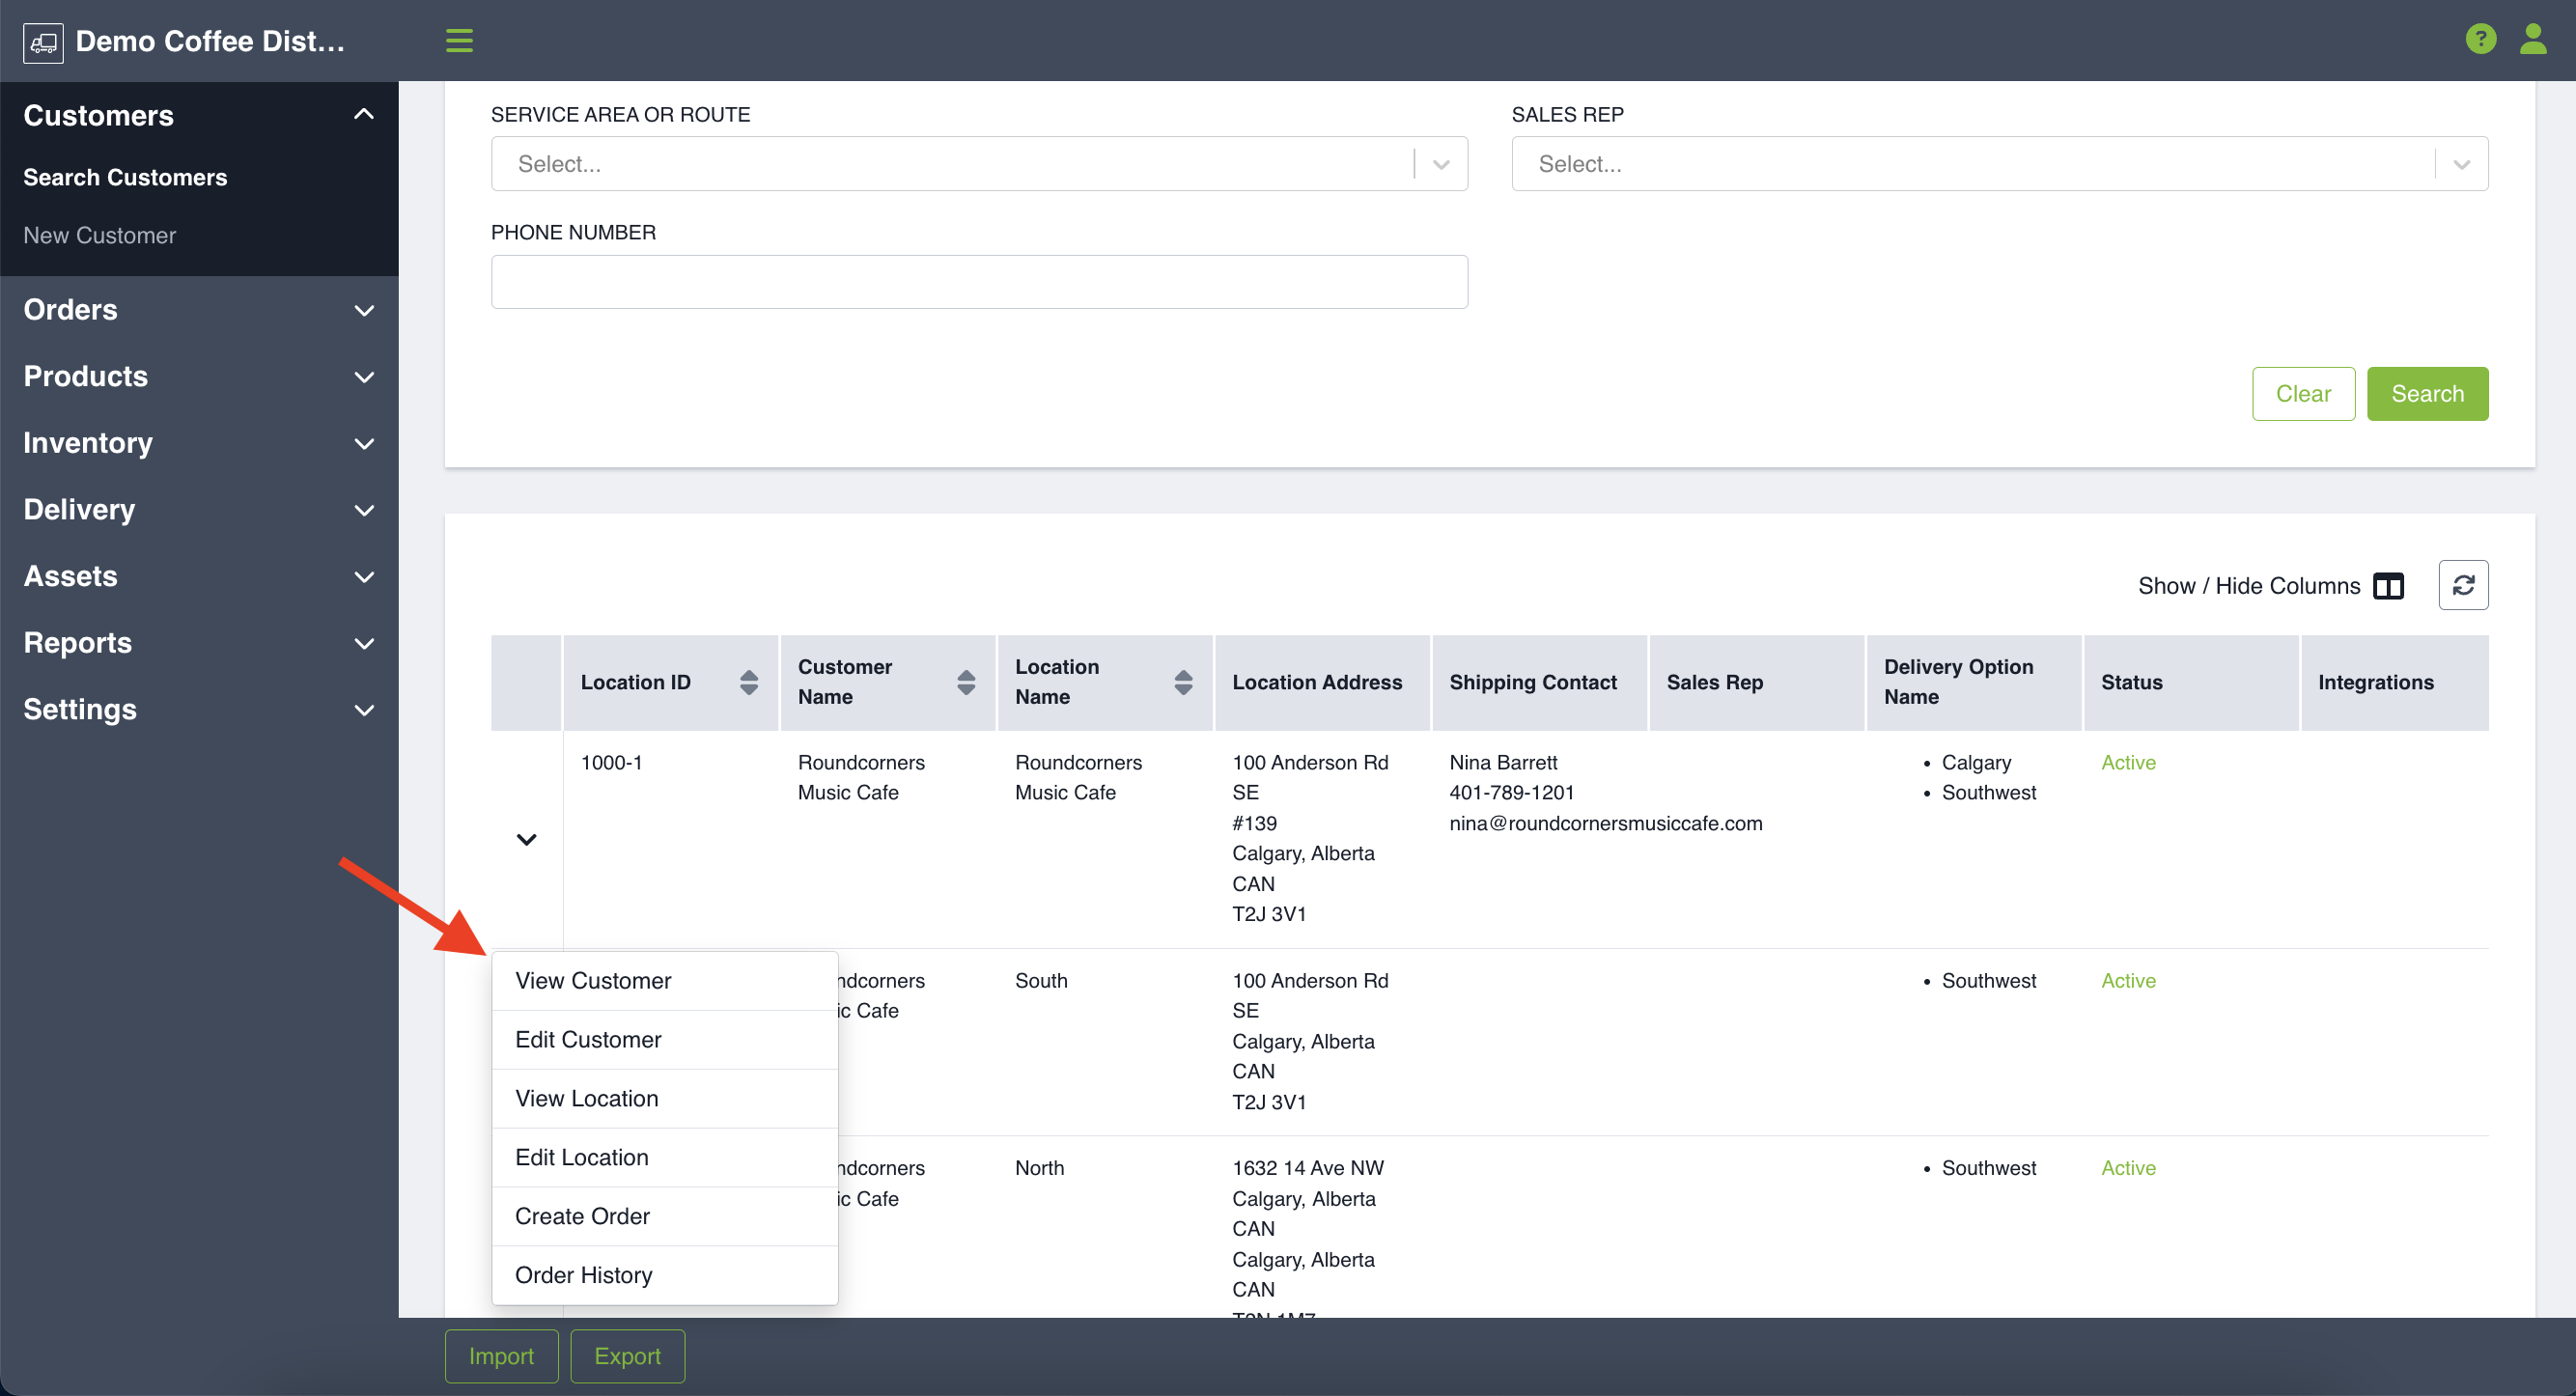
You can also edit a customer or location at any time (or simply view the customer/location that was created) by searching for the customer and using the dropdown options.
Edit Location
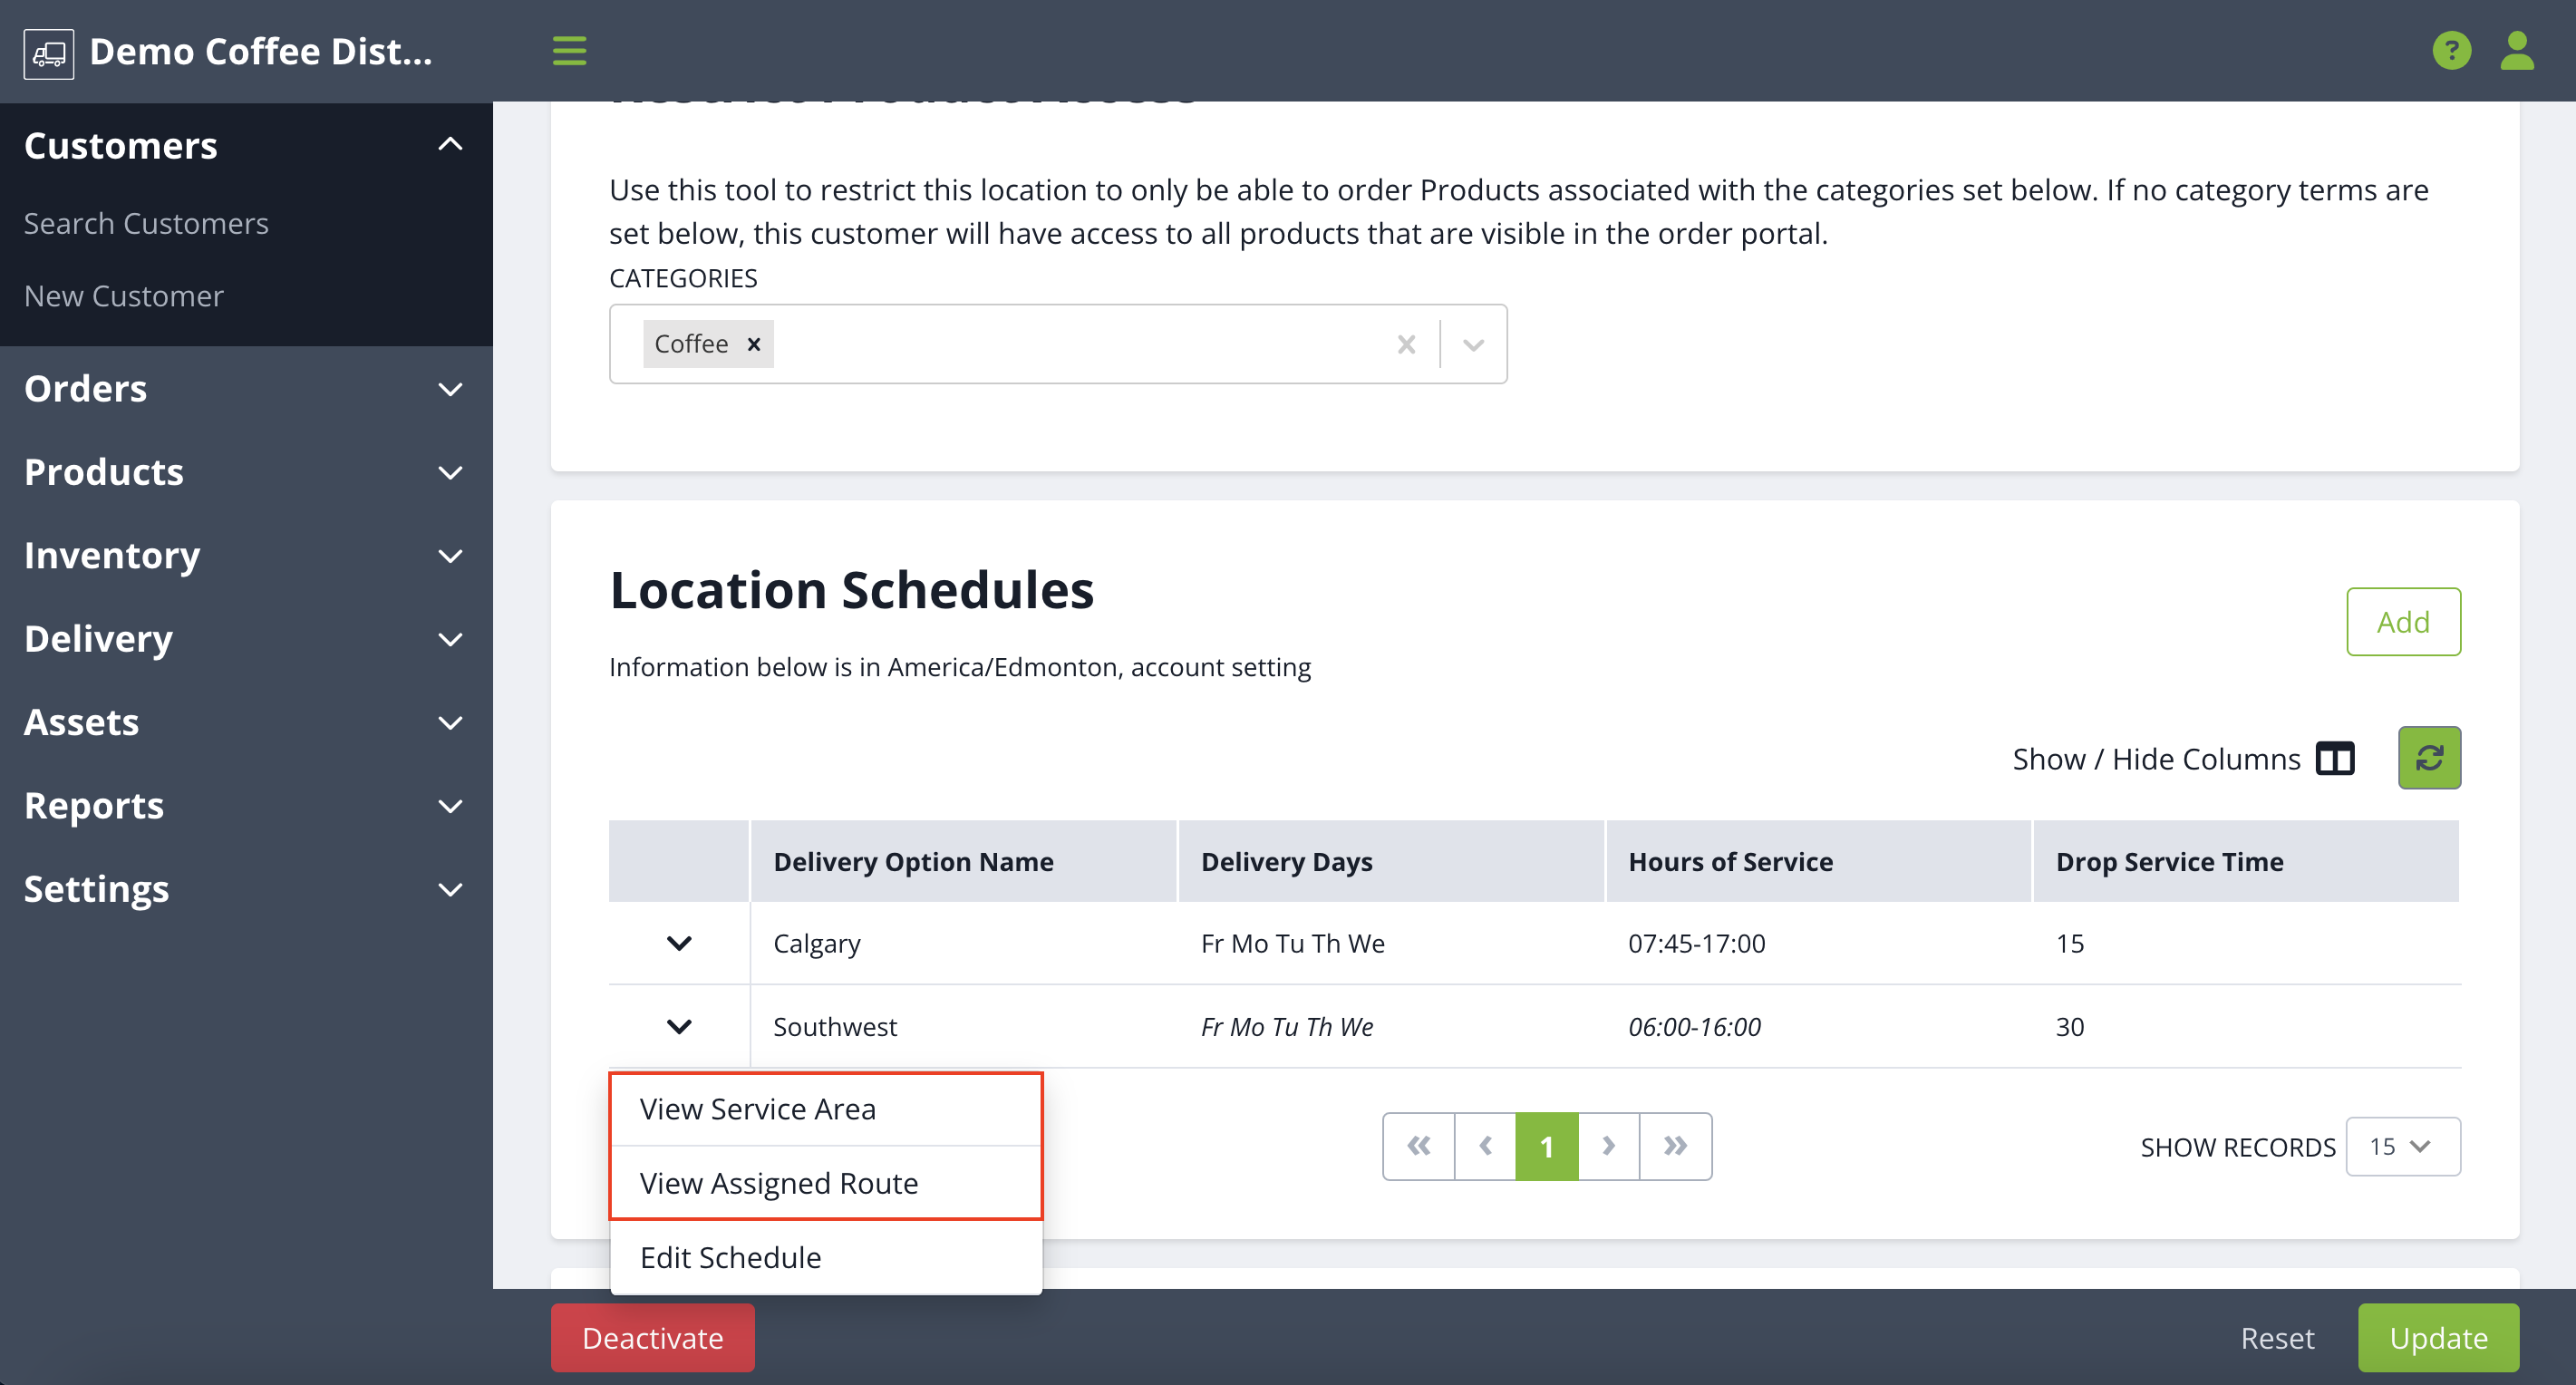
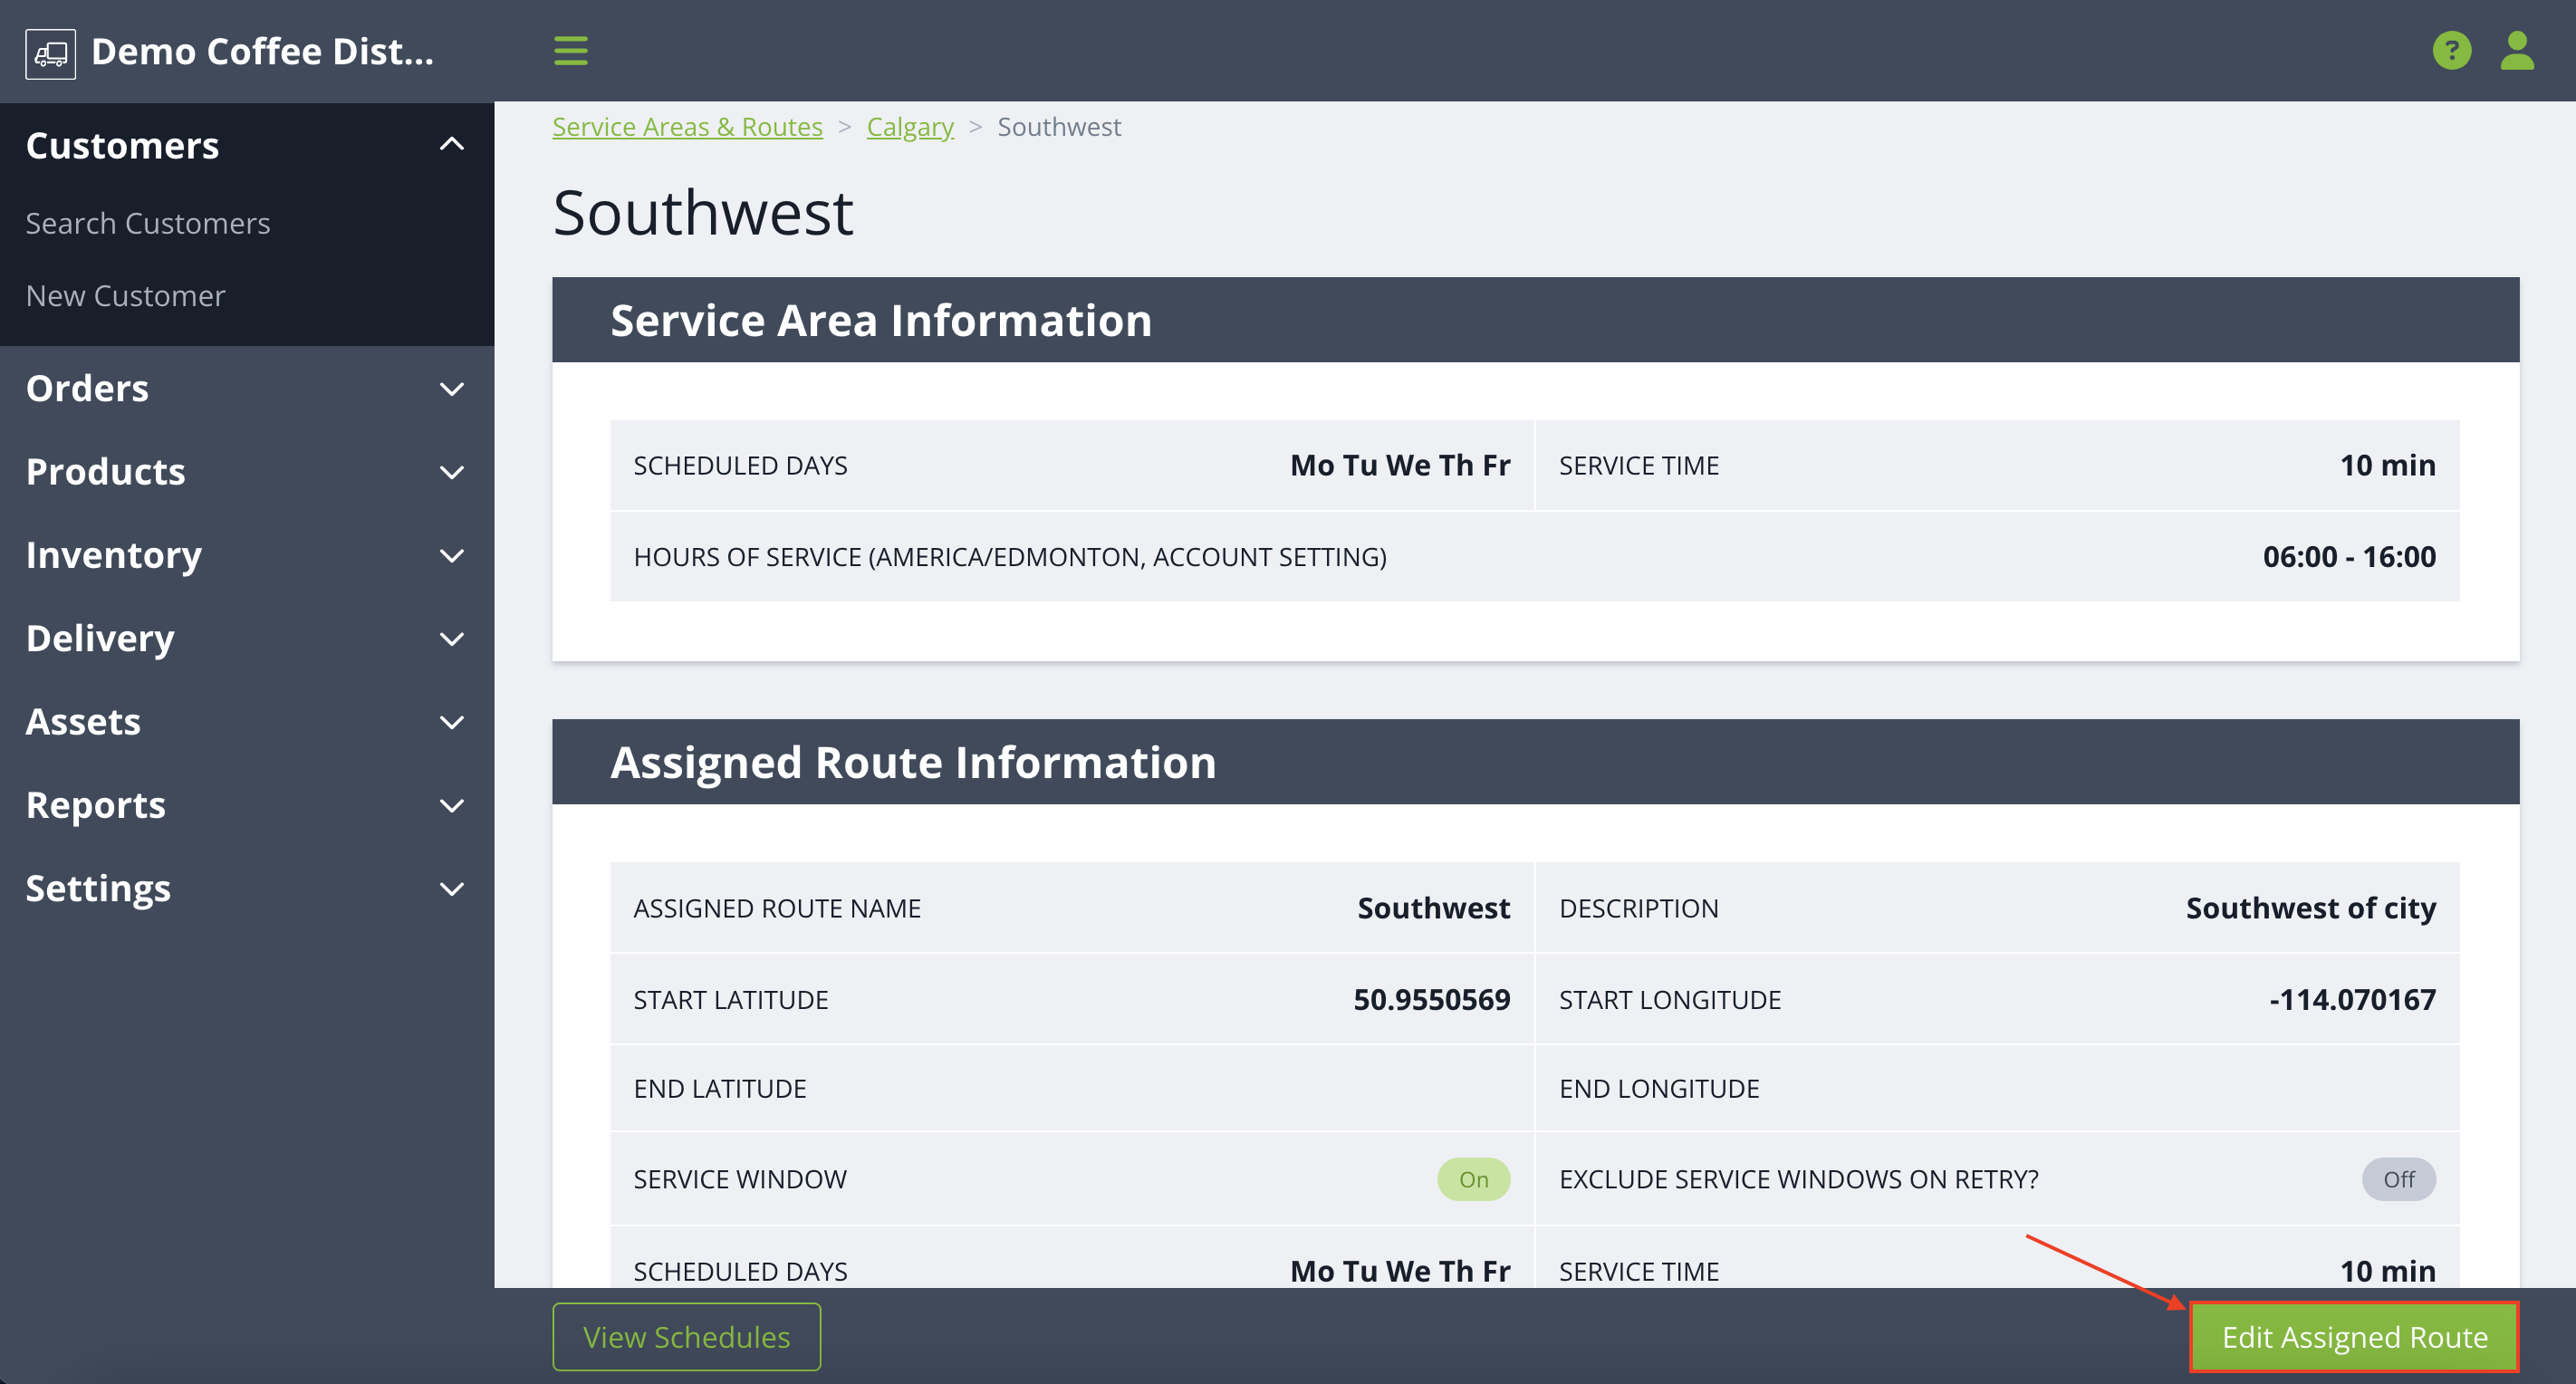
For an order to be scheduled and delivered, a customer location must be assigned to a Service Area or Assigned Route. You can do this under View Location (Service Area/Assigned Route) in the location schedules section and then choose the option of Edit Assigned Route. You can search for a Service Area or Route that has previously been created and then you can select Delivery Days, Hours of Service and Drop Time. To create a new Service Area or Route click Service Areas & Routes then Create Service Area. For more information on creating a new service area and/or assigned route you can refer to the articles Create and Manage Service Areas as well as Create and Manage Assigned Routes.