Set up your Assigned Routes and assign your customers locations to generate tours automatically when an order is placed
Important items to take note of:
- An assigned route needs to be associated to a Service Area. As a result, a Service Area must be created first before an Assigned Route(s) can be created.
- Assigned Routes need the following: A Service Area Association, Name, Start Time, and a Schedule. If no schedule is set on the Assigned Route, the Assigned Route will inherit the Service Area schedule by default.
- An order must be placed on the Assigned Route before a tour can be automatically created. Each Assigned Route will only generate one tour on a scheduled date.
Table of Contents
- Benefits to Creating an Assigned Route Delivery Option
- Create an Assigned Route
- Required Details & Parameters - What each required detail and preset parameters mean? And how do they impact the Tour Planning and Resources Optimization?
- Optional Details & Parameters - What each optional detail and preset parameters mean? And how do they impact the Tour Planning and Resources Optimization
- Assigned Route default schedule
Benefits to Creating an Assigned Route Delivery Option
When a user wants to preplan deliveries because orders are static (they happen on a regular basis) or they follow the same schedule, as assigned route should be used.
Assigned Routes have a collection of customer scheduled locations that are expected to be serviced by a single driving unit on a single day. Not all customer locations on the same assigned route need to have orders on the same day, but the customer locations will always be fulfilled with the assigned route they are associated with when an order does exist.
Assigned routes are associated to service areas and there can be as many assigned routes within a service area as you want. Assigned routes can either inherit the schedule that a service area has or it can have its own unique schedule.
For example:
Service Area (A) Schedule: Mon, Wed, Fri from 8am - 5pm
Assigned Route (1A) Schedule: Mon, Wed from 9am - 4pm
BE CAREFUL! If no schedule is set on the Assigned Route, the Assigned Route will inherit the Service Area schedule by default.
Create an Assigned Route
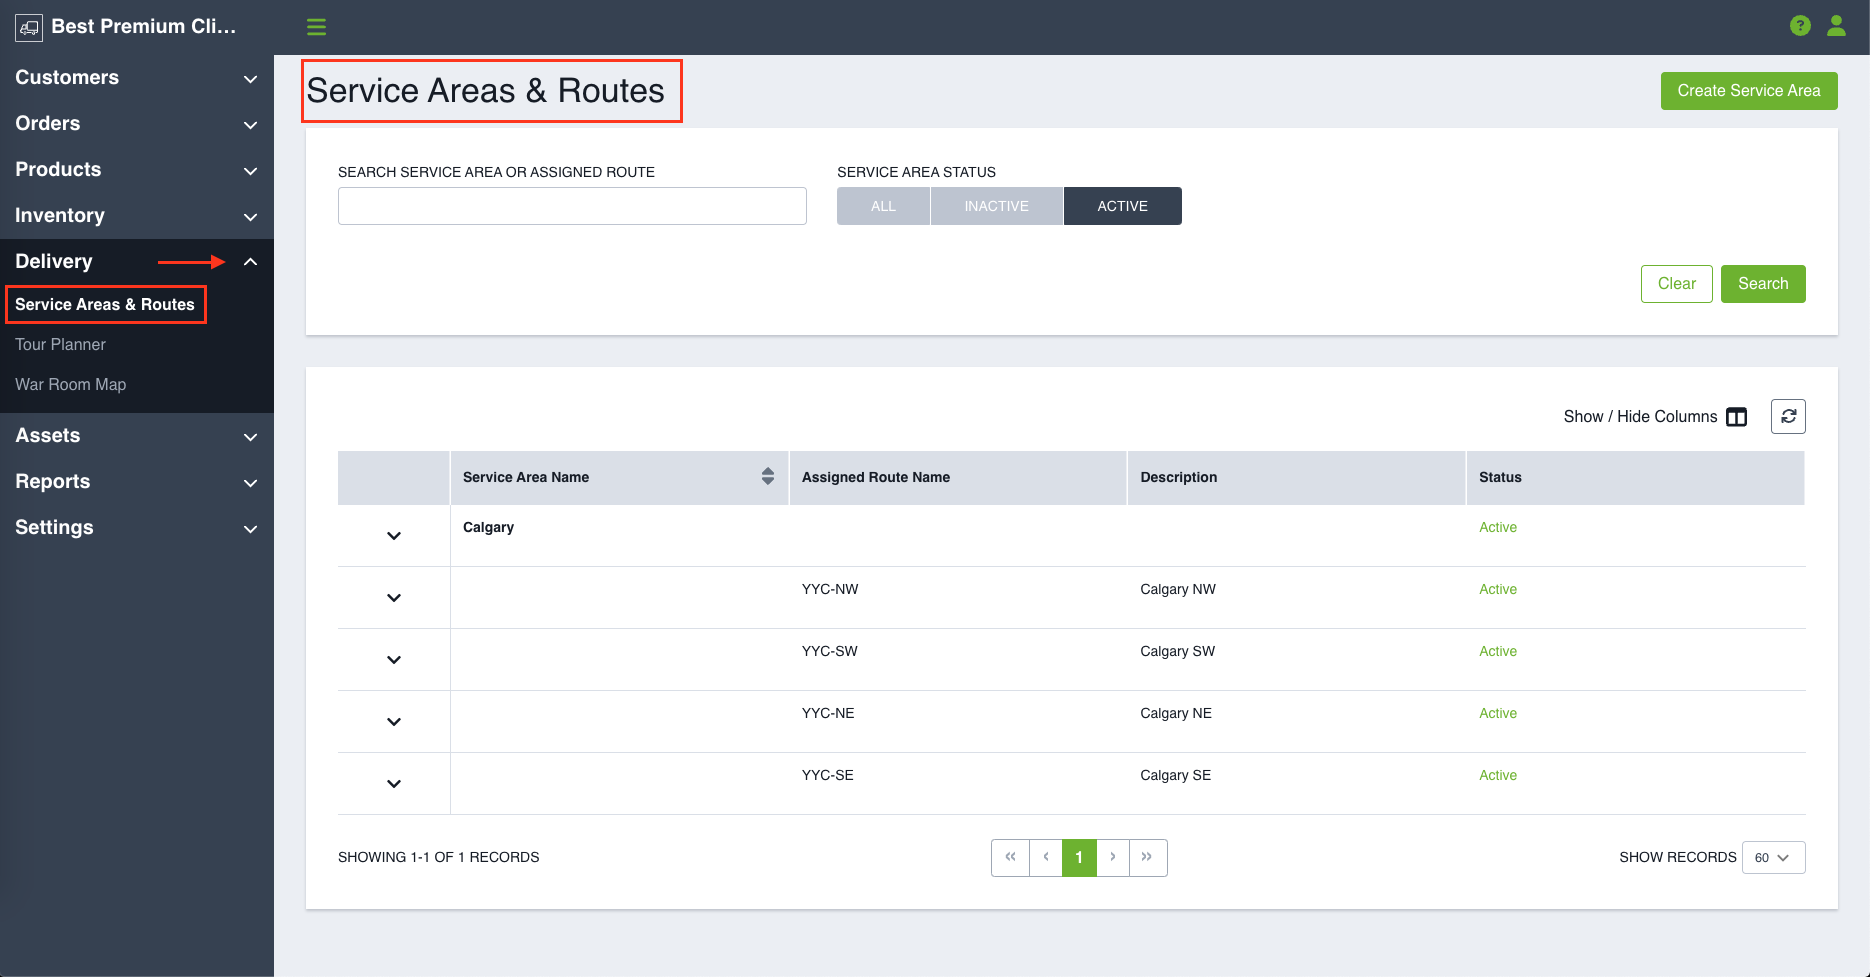
The first step when creating a new Assigned Route is to navigate to the Service Area edit page of under which you like to create an Assigned Route.
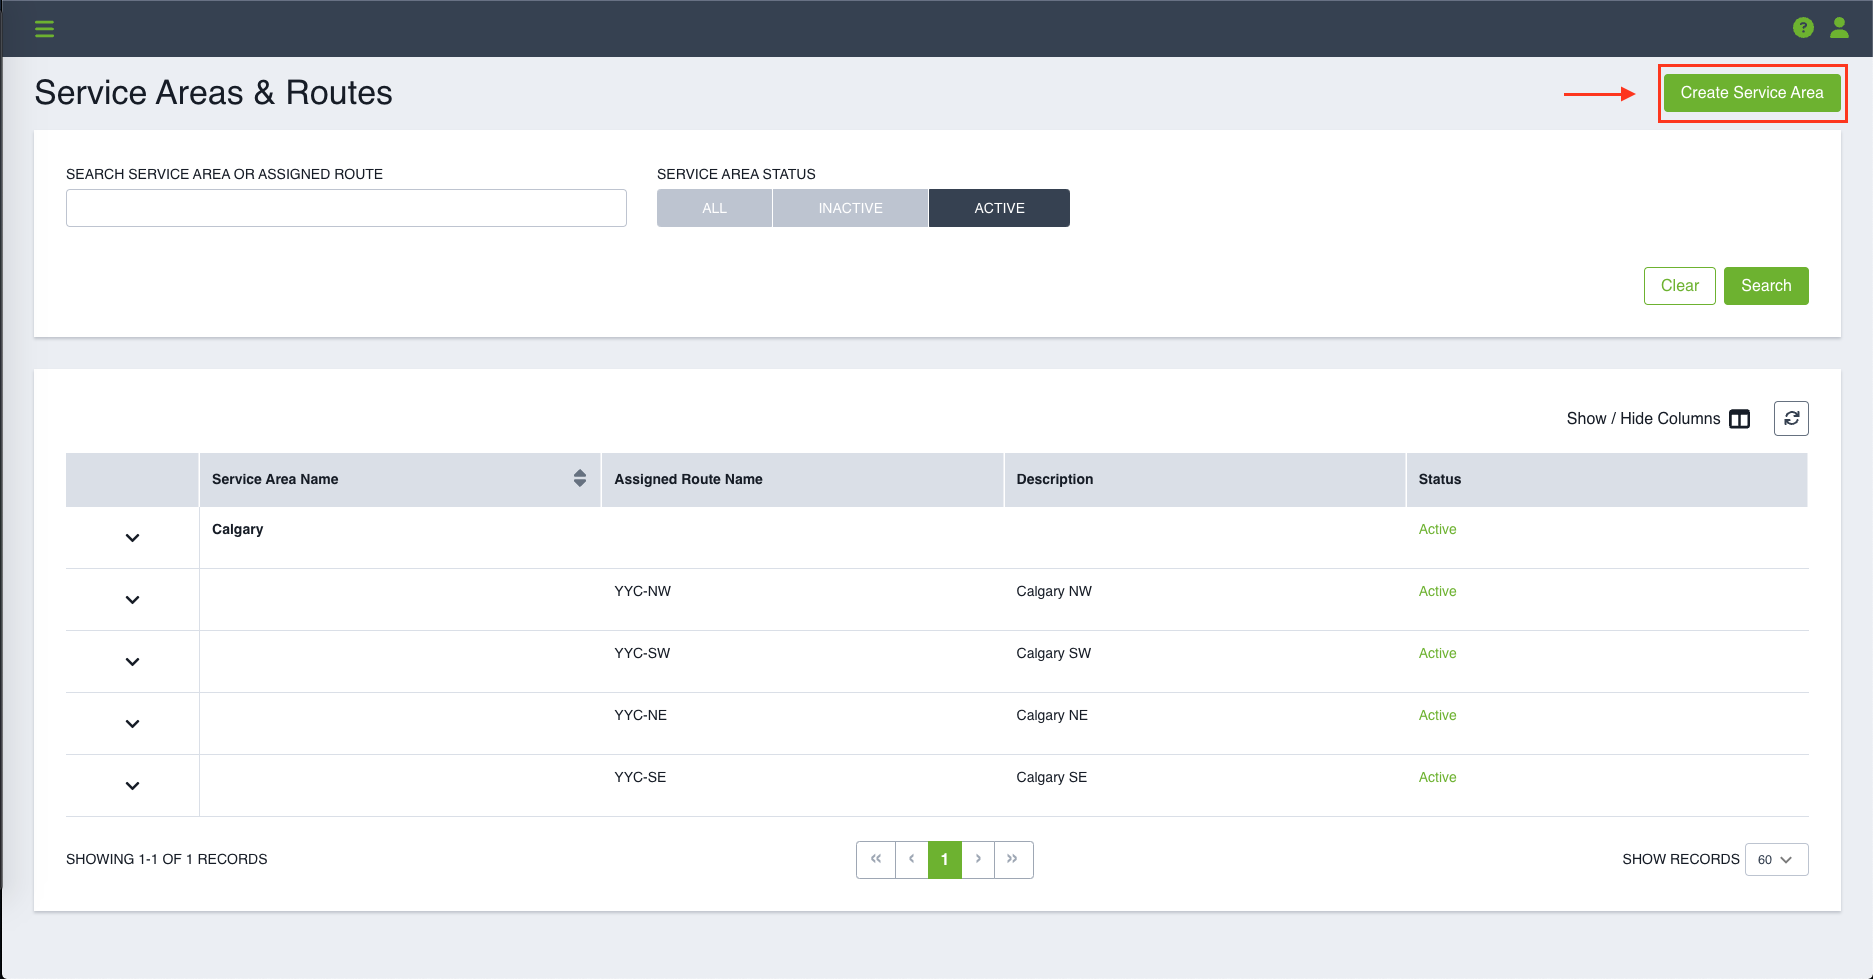
Click on the Create Assigned Route button on the top right corner of the Assigned Route section.
-png.png)
On the Create Assigned Route page, you will be required to fill in the required Assigned Route details and setting up the optimization parameters:
Required Details and Parameters
- Assigned Route Name - The name of the Service Area that appears on the Tour Planner and Mobile App.
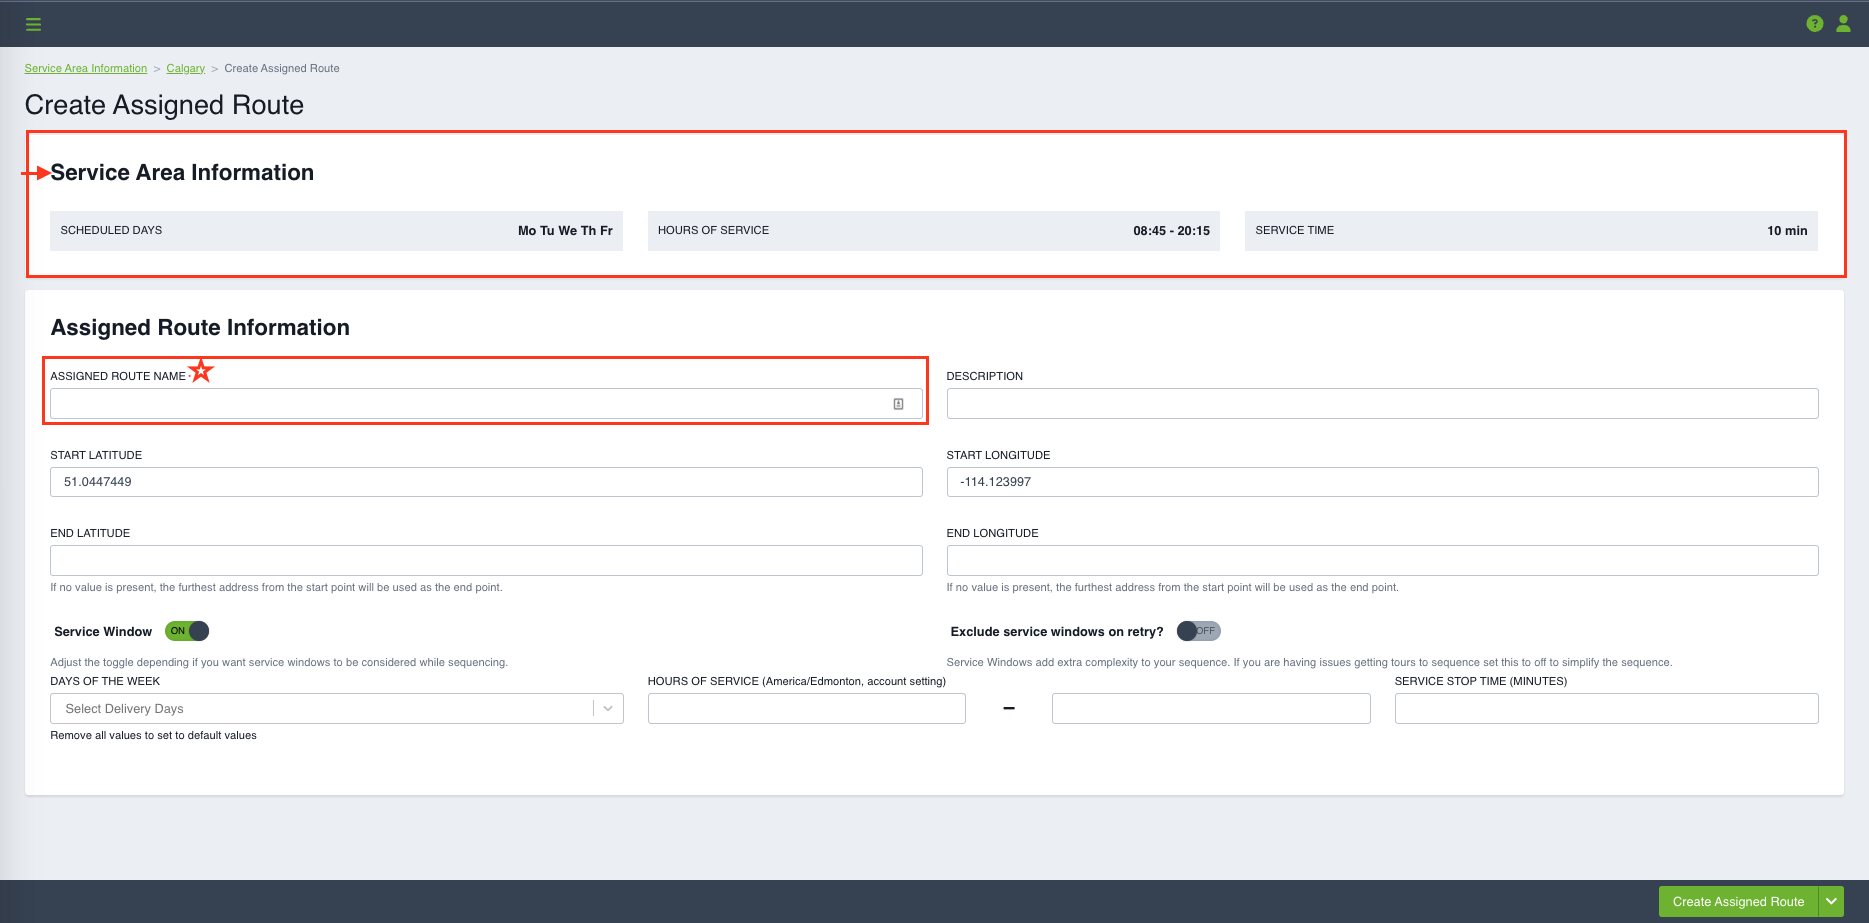
Optional Details and Parameters
- Start Latitude / Longitude - The Tour start point.
- End Latitude / Longitude - The Tour end point.
- Service Window [Used when sequencing the tours for the Service Area] - Set the toggle to ON if you want service windows to be honoured for the Assigned Route tour.
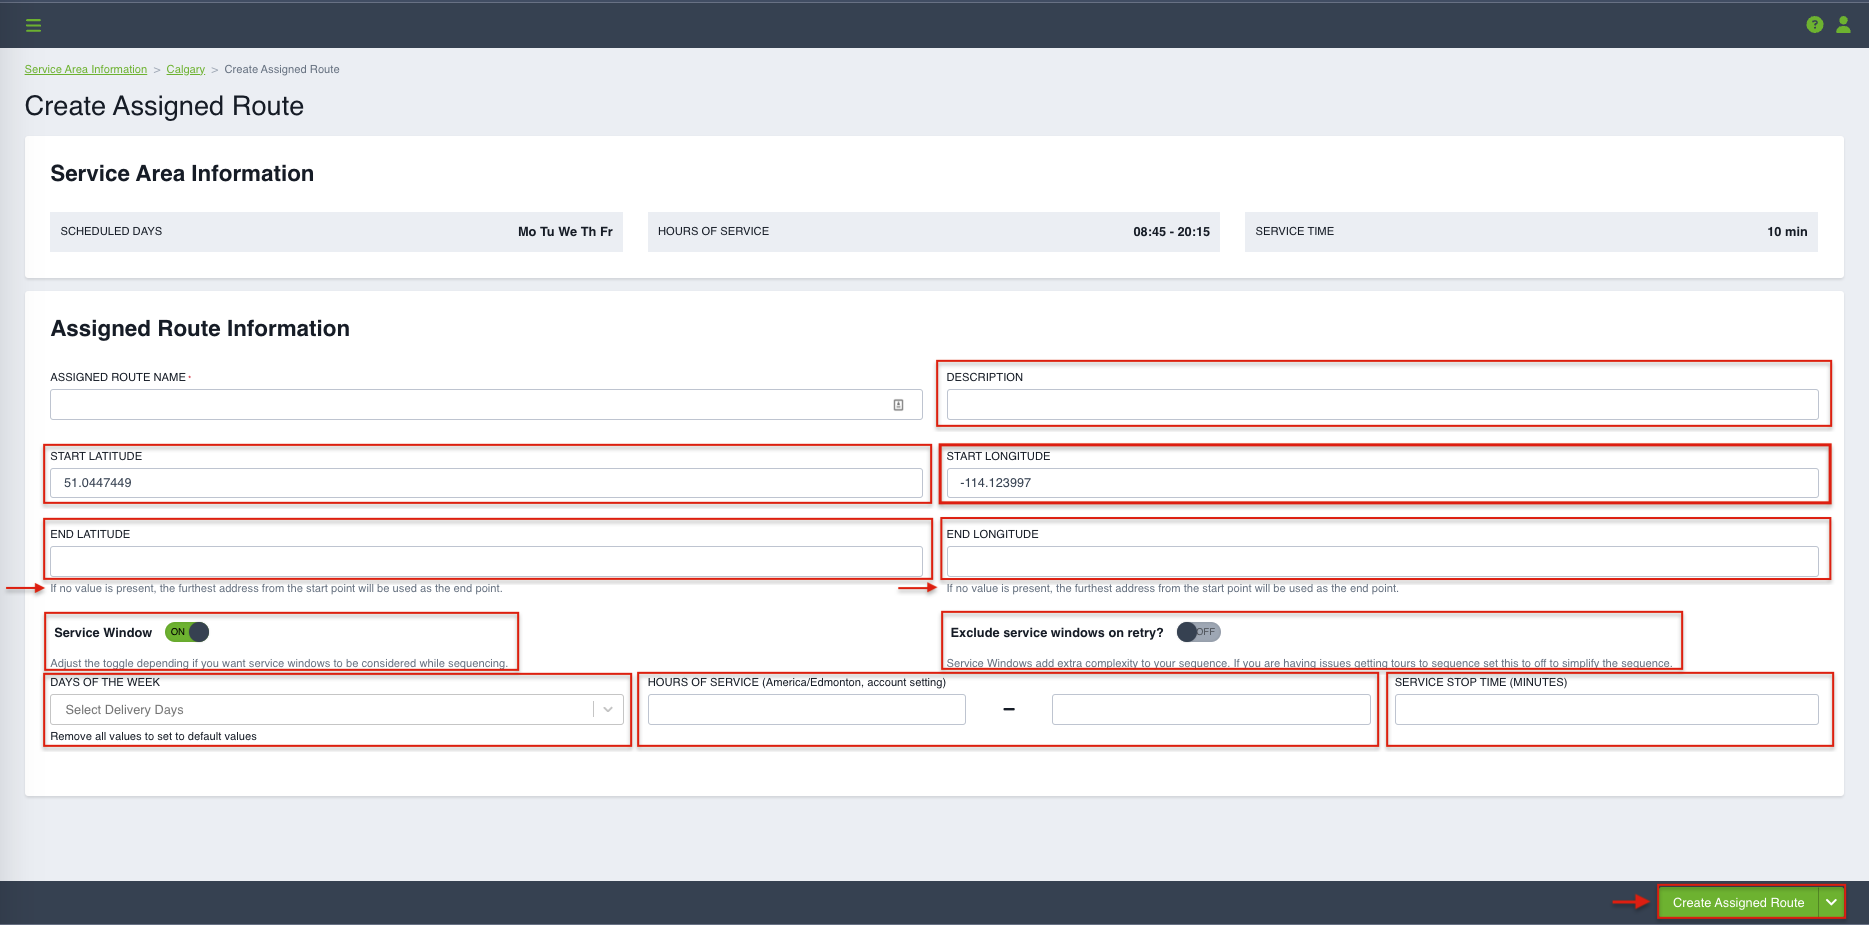
If a tour appears to have jumps in the ETA sequence, it is likely been done to meet the service window times. These can be overridden and fixed by turning the Service Window toggle OFF.
- Exclude Service Windows on retry [This setting is only relevant in the event that the system fails to honour customer locations Service Windows] - When this setting is set to ON, and Service Window is not honoured on the first attempt, the Service Windows toggle will automatically switch to OFF for the Assigned Route tour.
If the problem is too complex you can set the next attempt to try without Service Window. If services windows must be honoured, keep this setting OFF and adjust orders manually to reduce the complexity of the tour.
Assigned Route Default Schedule
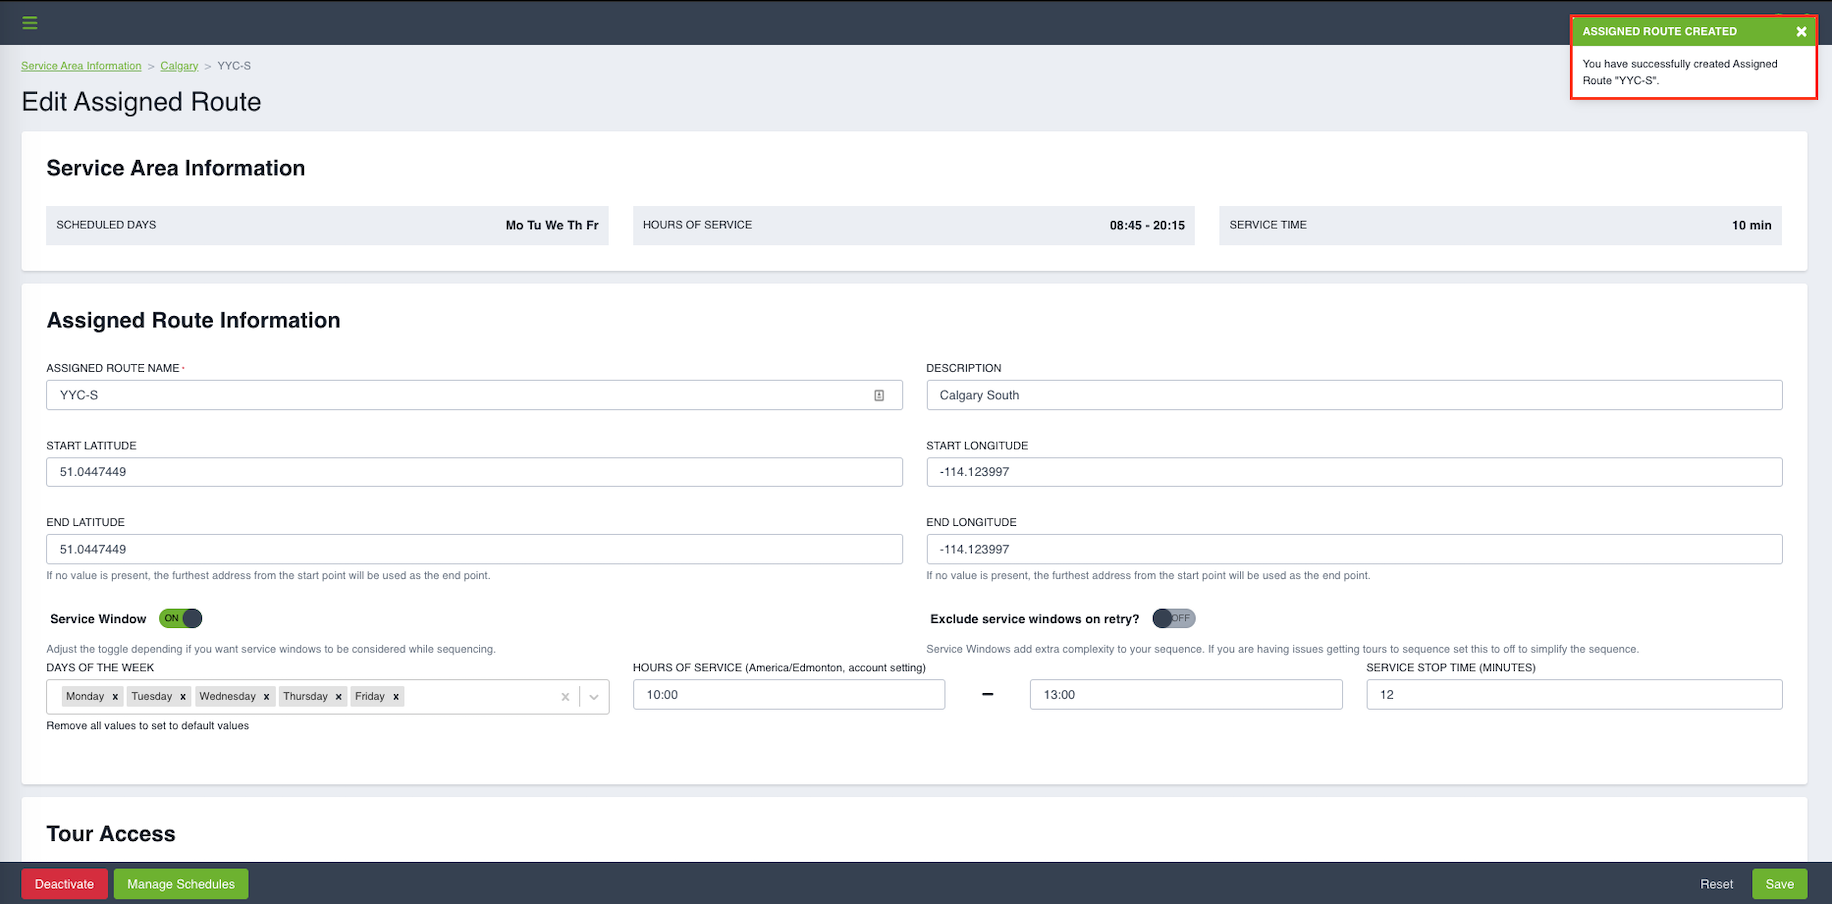
An Assigned Route Schedule sets the parameters for when tours for that Assigned Route will run, including days of the week, hours of service and service stop time for each order. Fill in all required fields and click Create Assigned Route.
The Service Area Schedule becomes the inherited default for your customer locations when no schedule is set for you Assigned Route. If no schedule is set for the Assigned Route, it will default to the Service Area schedule.
An Assigned Route will successfully be created after you click on Create Assigned Route button on the bottom right side of the page.