Stock transfers move inventory from one location to another, either within a warehouse or between warehouses. Learn how to create a new stock transfer to track inventory movement in Routeique.
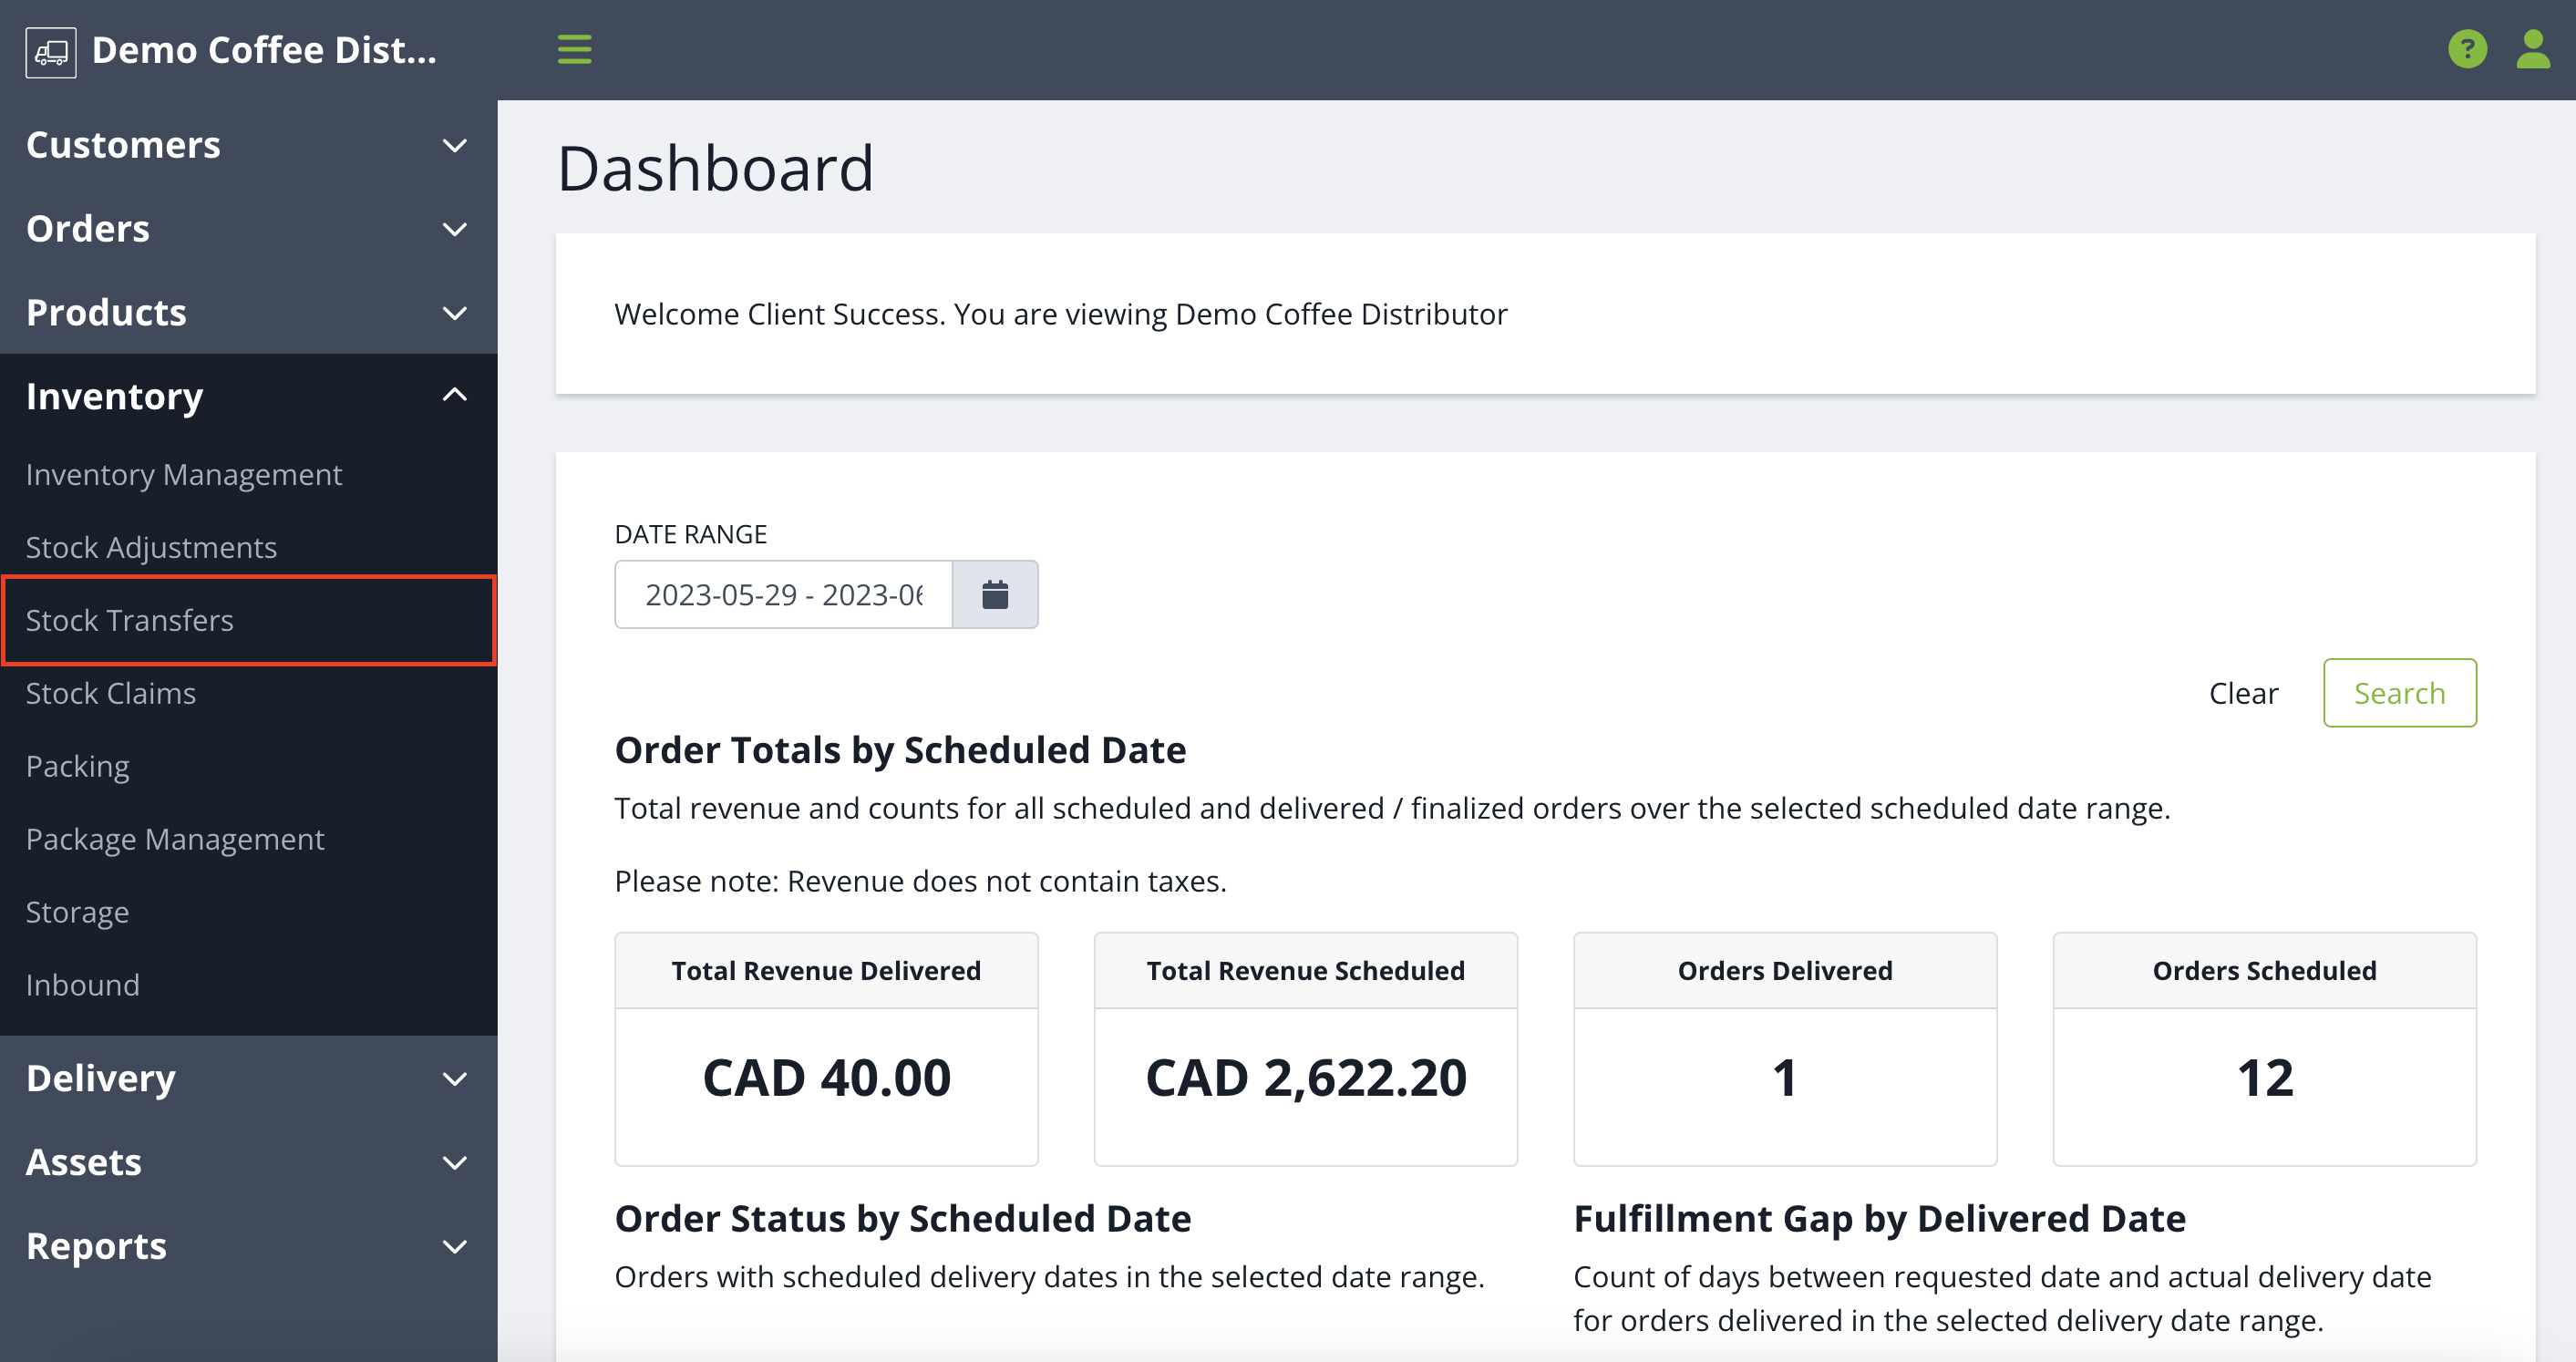
Access the Stock Transfers page by clicking Inventory in the left-hand side menu and then clicking Stock Transfers. From the main Stock Transfer page, click New Transfer in the upper-right corner.
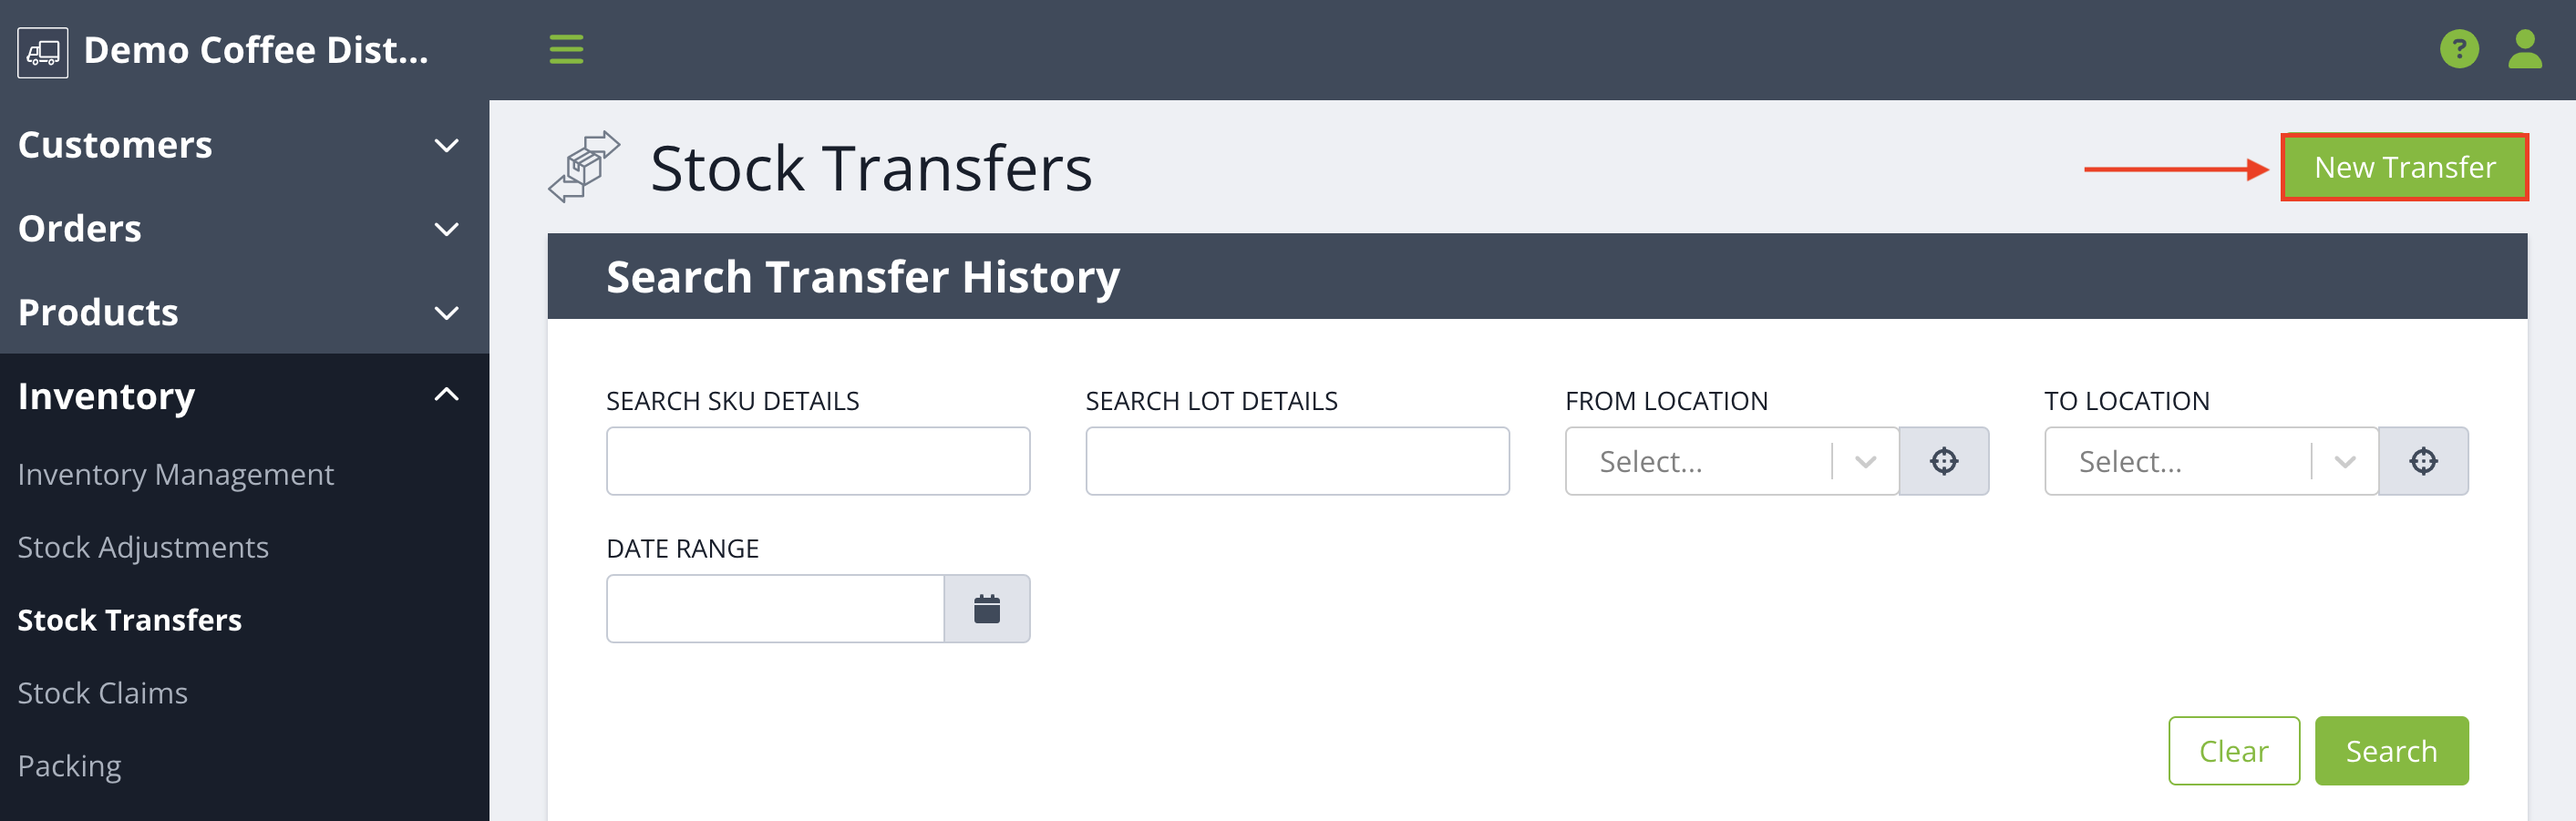
When you land on this page, you will see the history of all stock transfers that have taken place in your system. The table automatically populates all the inventory you have in the system. If there's a certain transfer you're looking for, you can use the filters below to help narrow down your search:
- SKU Details: Filter by SKU Code, SKU Name, Product Name, UPC, Brand.
- Lot Details: Filter by Lot Code, 3rd-Party Lot Code.
- From Location: Use the type-ahead or selector modal to select the current location of the stock you want to transfer. You can transfer from either a warehouse or a vehicle location.
- To Location: Determine the location for your stock transfer. This can be a warehouse or vehicle location.
- Date Range: Use the calendar to select the date range the stock claim was created. Click that start and end date to set the range. If you want to search just one day, double-click the same date.
You will then click Search and the table will repopulate accordingly.
You will be able to see the following items in the table. You can use the hide/show columns feature to show additional columns you may need:
- Created At
-
SKU Code
- Product Name
-
SKU Name
-
Lot Code
- From Location
- To Location
- Unit Type
- Quantity
- Reason Code
You will then click on the row which has the product from the location you would like to transfer.
New Transfer
You will be brought to a page titled New Transfer. On the left-hand side you will see your product details and on the right-hand side you will see the transfer details. The From location will be automatically filled with the location you selected in the previous step.
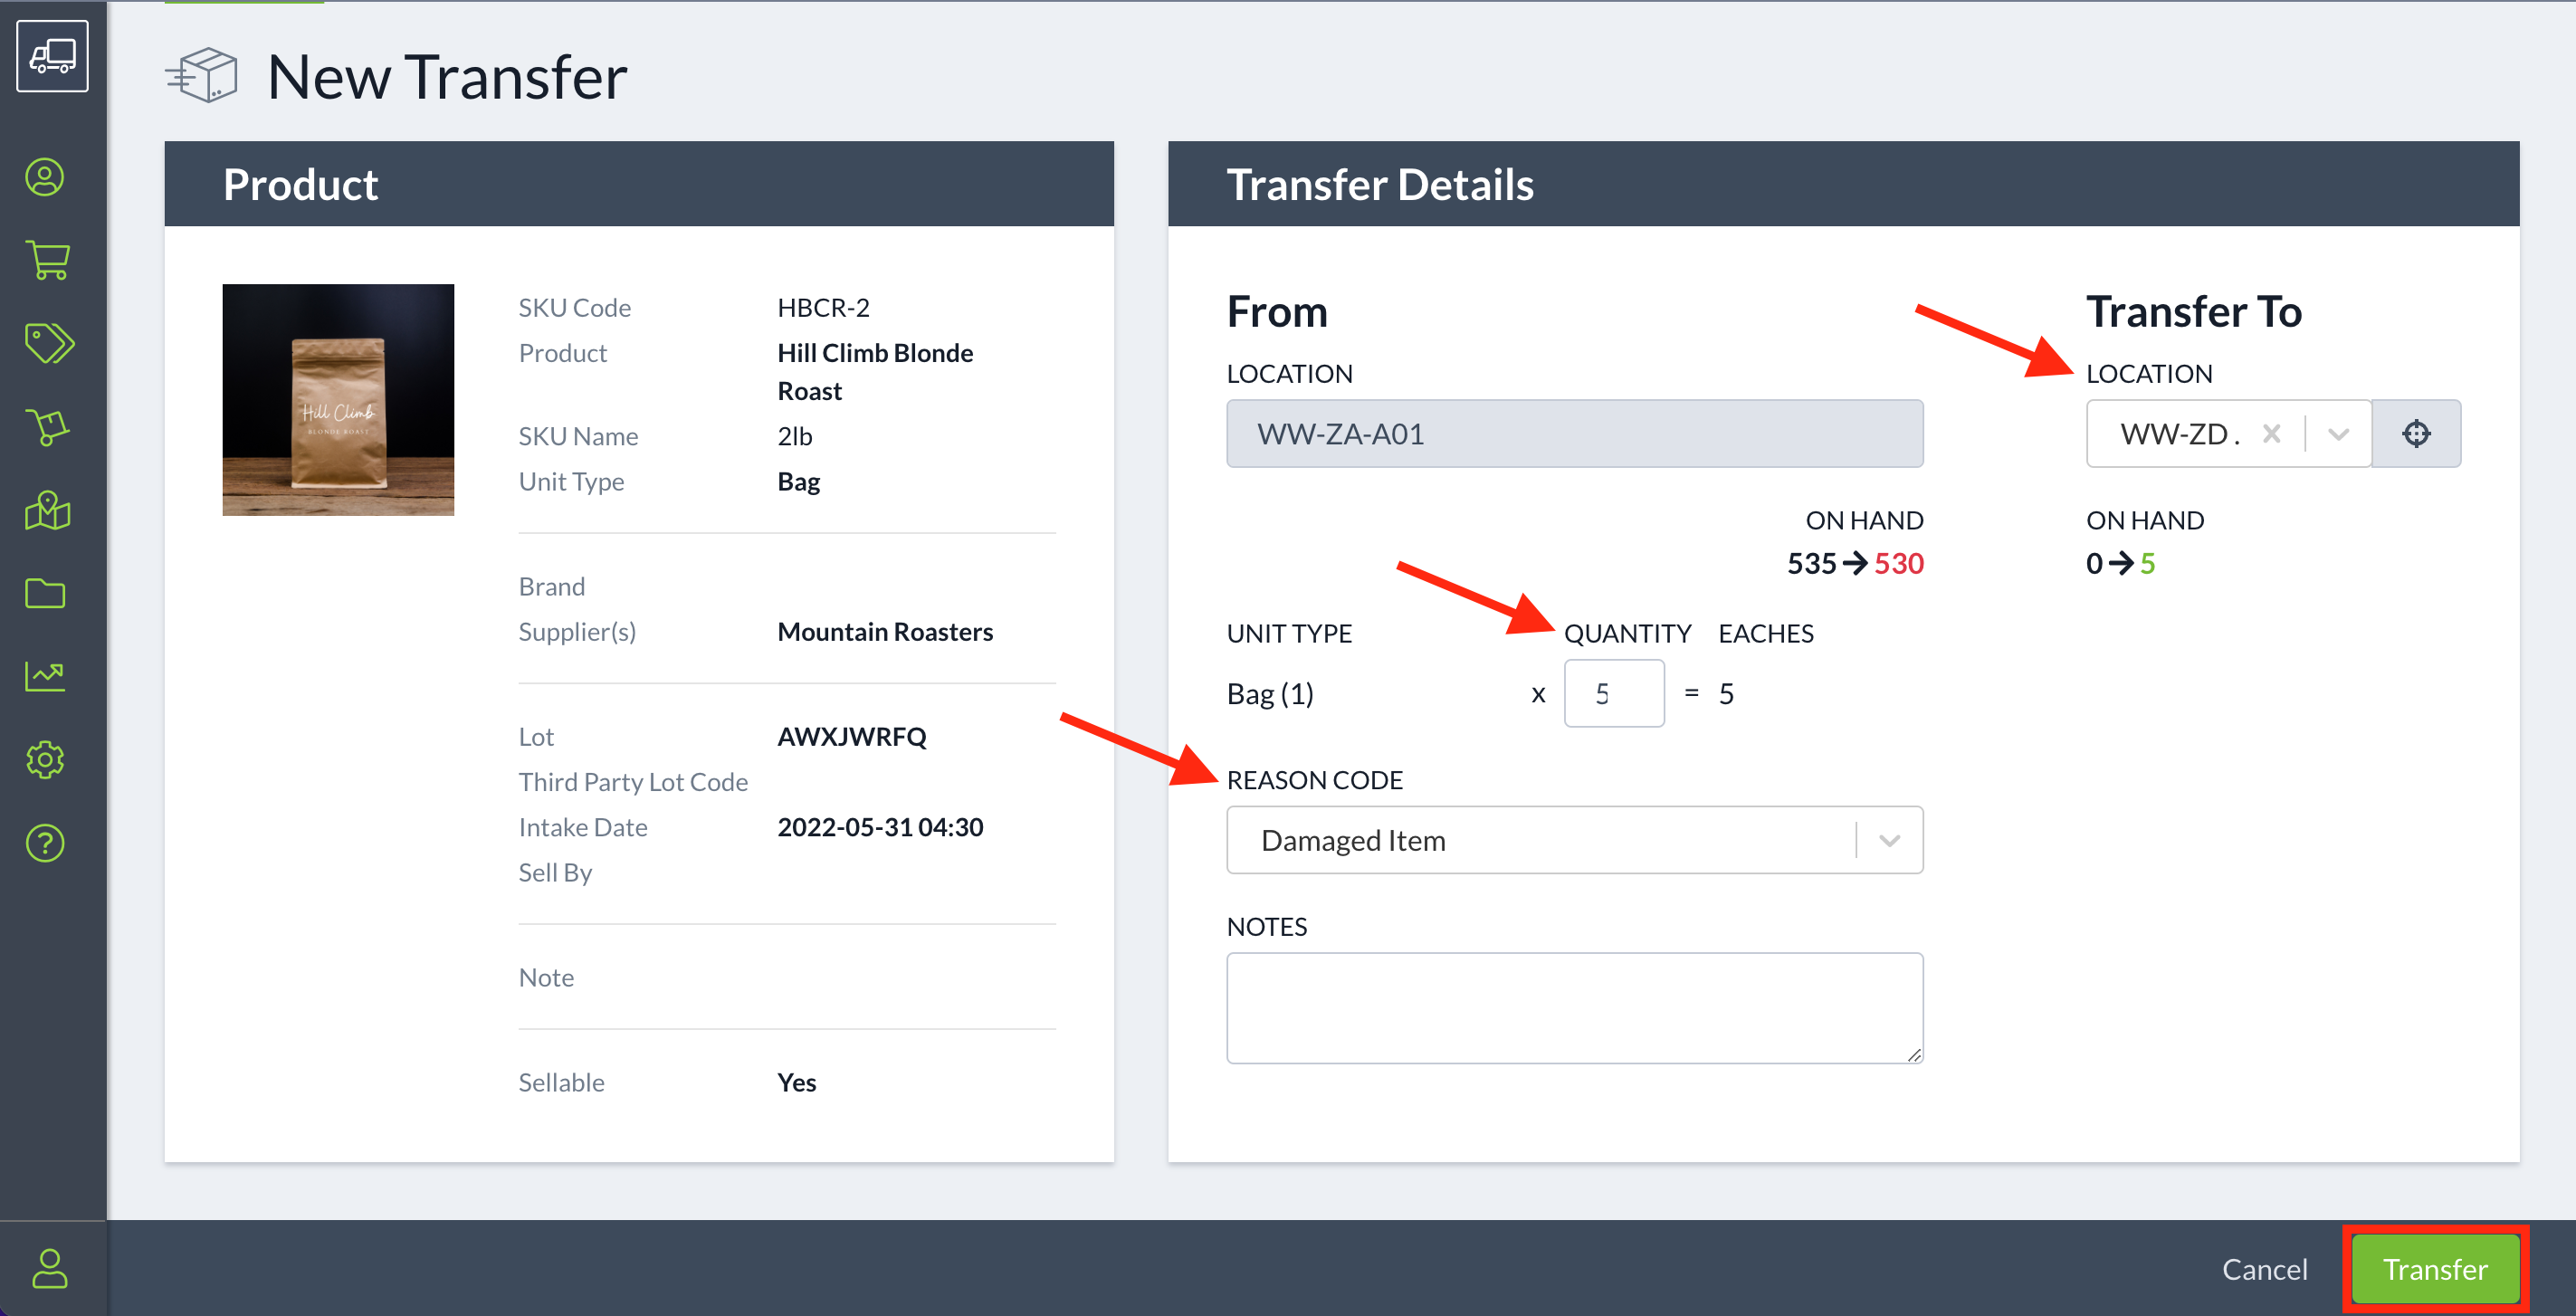
- To complete the transfer, select where you would like your product to be transferred to, using the drop down under Transfer To. You can use the type-ahead or the modal to select your new location.
- Next select the unit type, quantity, reason code and you have to option to add a note if further explanation is required. As you select the quantity you want to transfer, you will notice the number in the From Location - On Hand decrease by the amount you've indicated and the number in the To Location - On Hand will increase by the same amount.
- If your product has alternate unit types, you can choose to add more than one unit type in your transfer, if it makes it easier to get to the total quantity needed. Click on the green + symbol to add an additional unit, until you have everything you need. If you accidentally add an extra, just select the - symbol beside the line item and it will be removed.
Click the green Transfer button on the screen to complete the action. You will then receive a pop-up saying the transfer has been successfully submitted. This transfer will be made in real time and you will be able to view the transfer on the main Stock Transfers page after it's completed.
NOTE: you can only transfer inventory-managed SKUs. There has to be an on hand quantity greater than 0 in a storage location for you to transfer the quantity.