Set the data fields and titles you need on your order invoices.
Invoice templates in Routeique™ can be customized to the include the information and the data your customers need. There are two sections found within the settings that are used to set the customization for your invoice.
Set the order data fields on an invoice
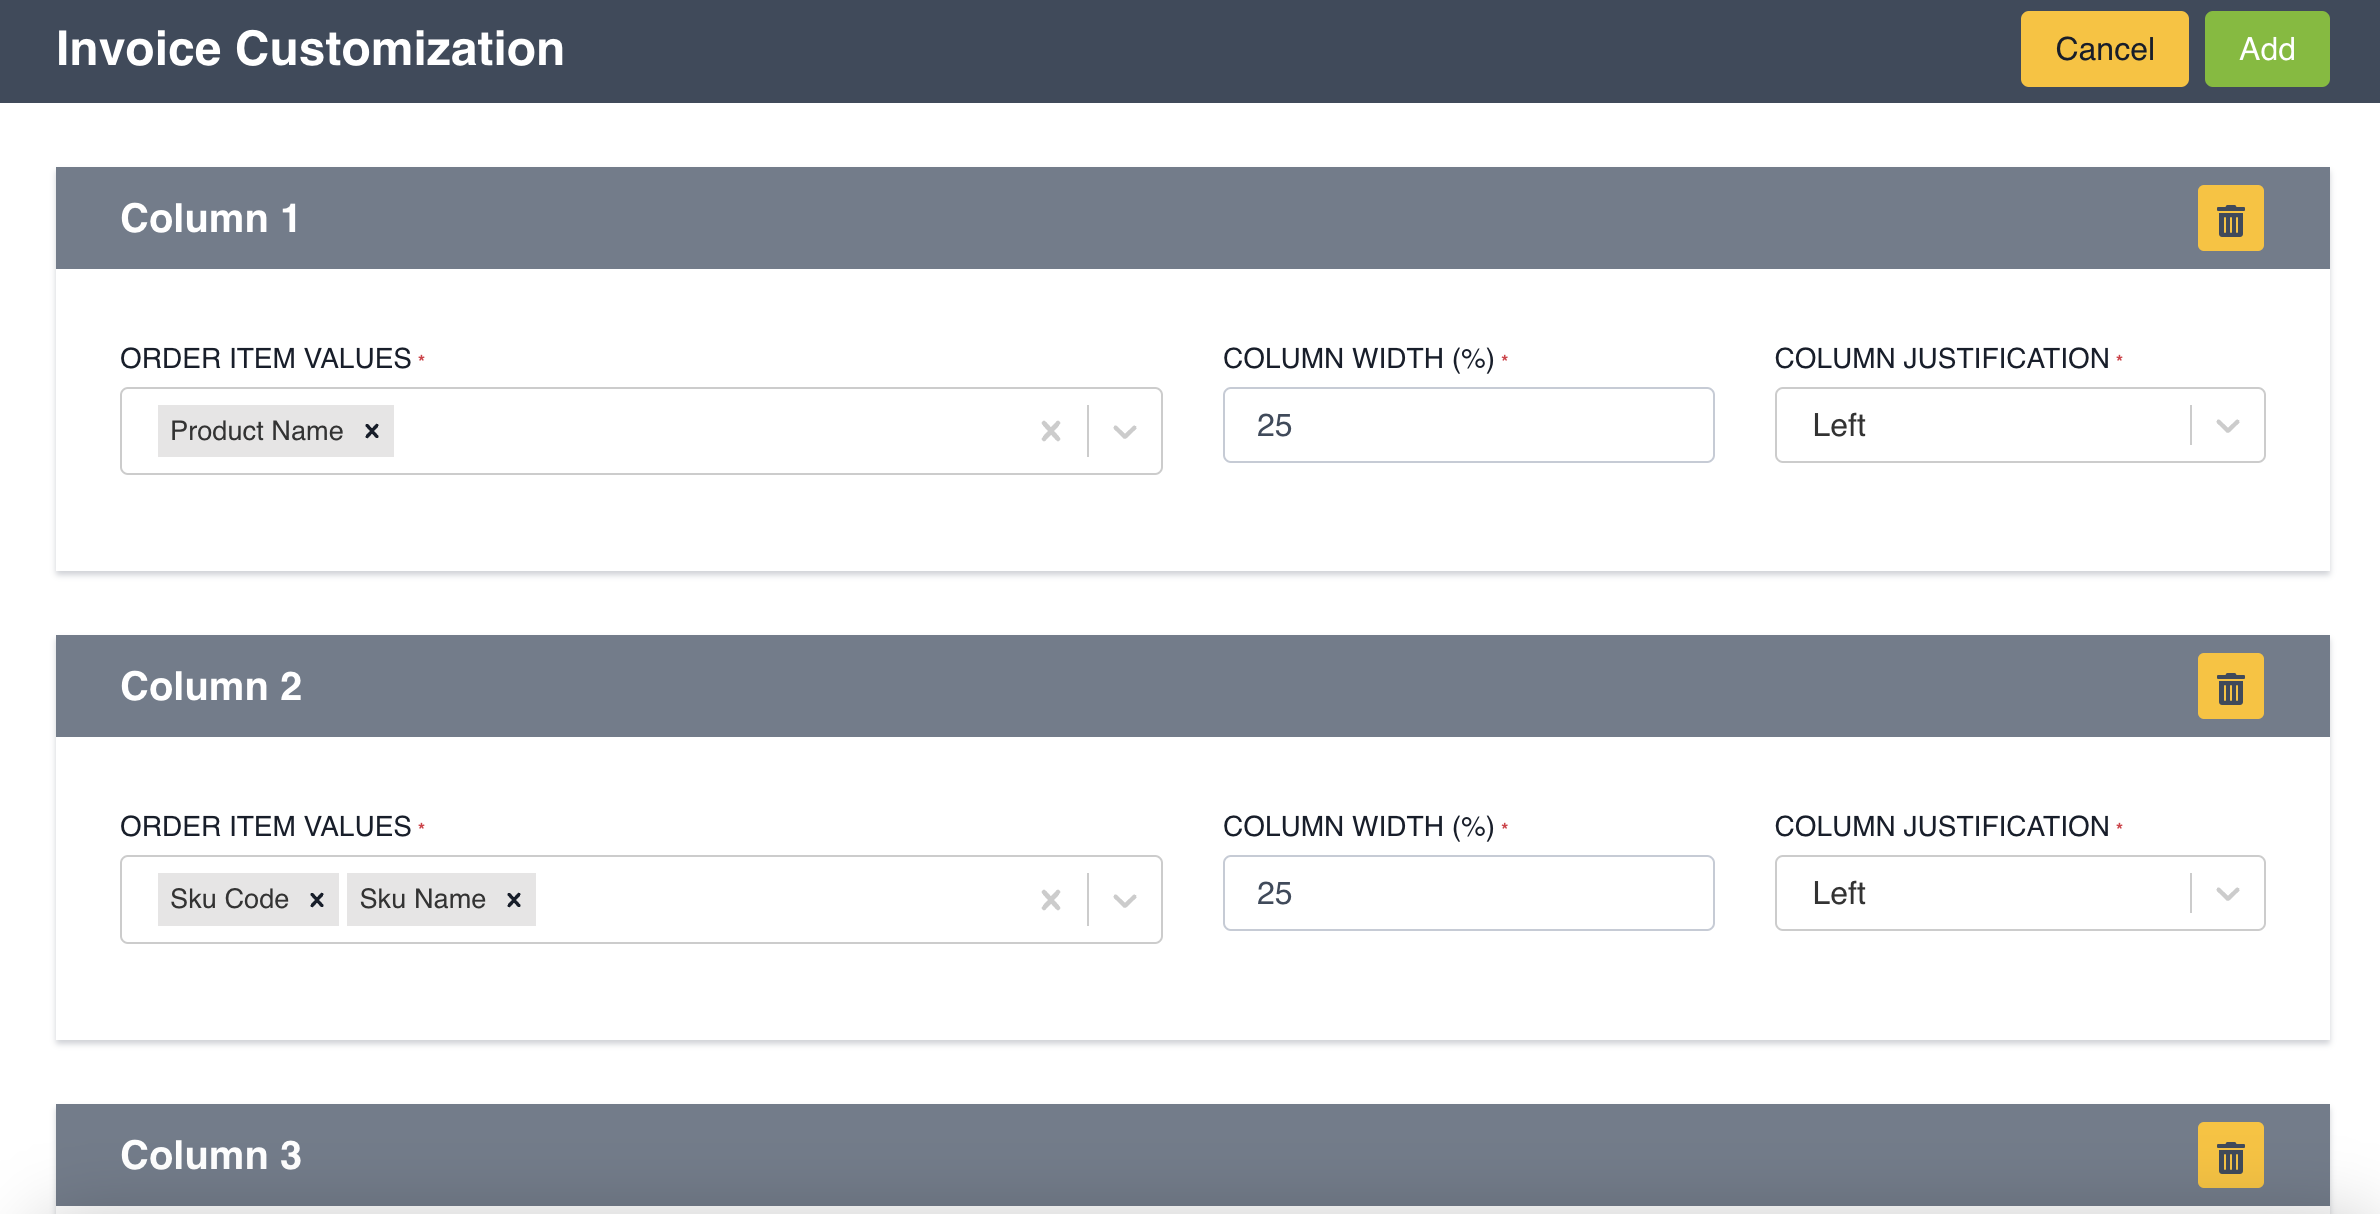
To select the information you'd like to include about a product ordered, go to the orders settings. Scroll down to invoice customization. Here you will see the option to add up to 7 columns to your invoice. Choose the order data you'd like to show in each column by clicking in the cell for all available values to appear. You can then modify the column width based on the amount of information each column will contain. Please note the column width total must add up to 100%, otherwise the customization selections won't save. You can also choose the justification of the information within the column.
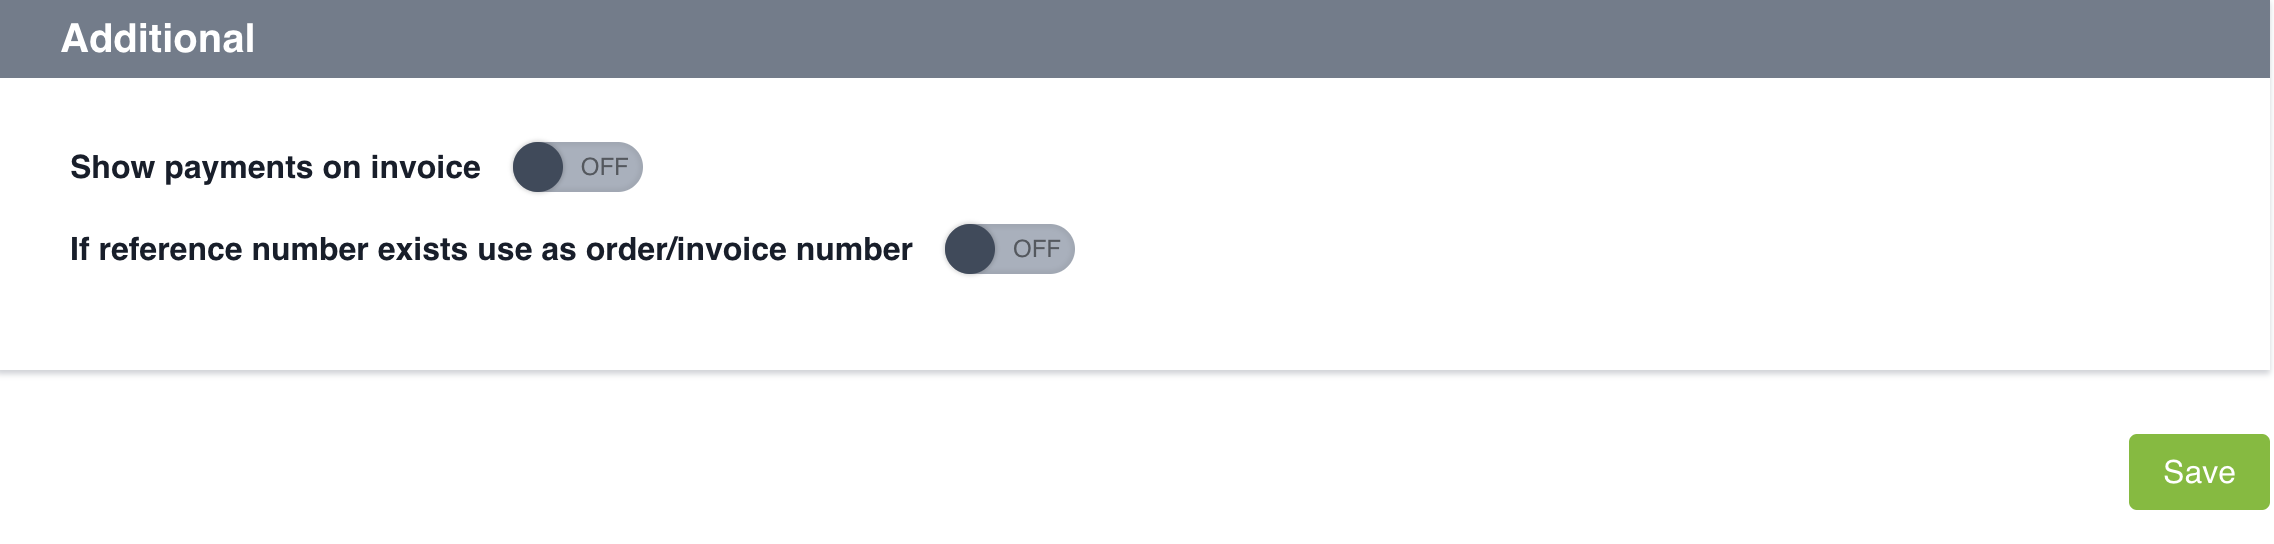
Choose to display whether you want payments to show on your invoice or whether you want to show a reference number instead of the order or invoice number.
If you'd like to group the items that appear in the table by a certain category you've already created for your skus, you can also select this category name and set specific labels.
Mobile Invoice Customization
You can create the same customization for your mobile invoices. Choose to set it exactly like your desktop invoices or alter it to better suit mobile.
Make sure to press Save in the bottom right corner when all your settings are complete.
Customize the labelling on the invoice
Once you have your data fields set, you can choose to change the labels along with some of the other language on the invoice. Select template translations under settings. Choose the language you want and select the Invoice under the document dropdown.
A form will appear with all the different areas you can choose to translate to the preferred language you want to use. The cells will populate with the default language. Just click in the cell and you can change the label to anything you want. If you don't want that content to appear, just delete the default content so it is blank.
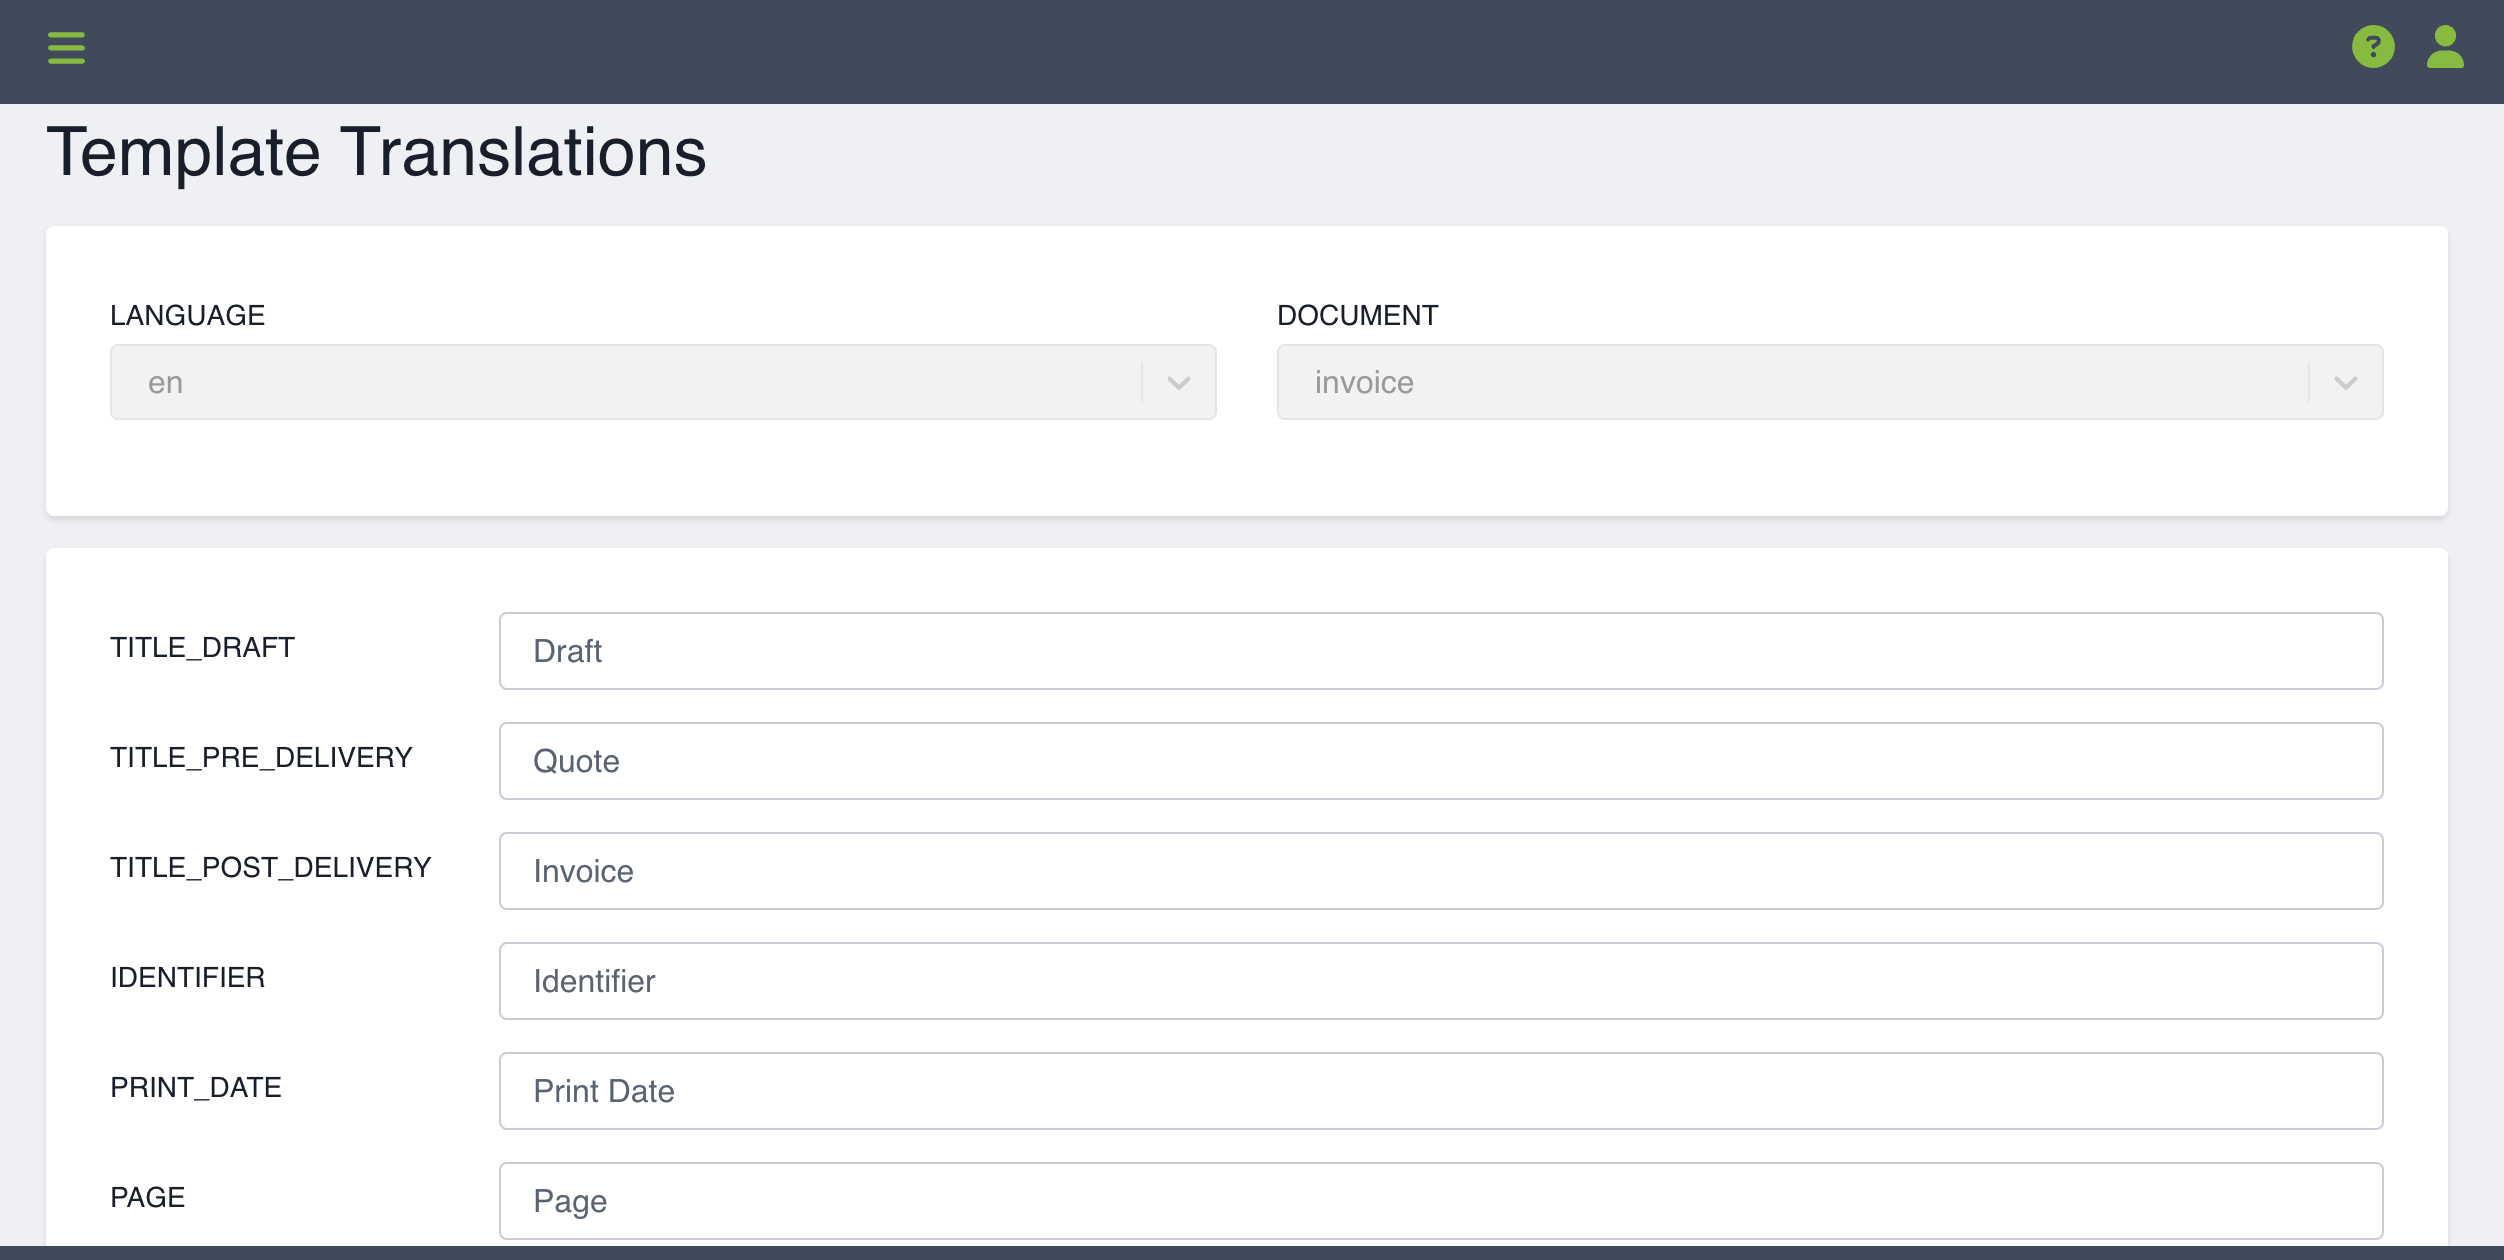
Note: the system gives you the option to give a different title to an invoice at different states in the order delivery.
Draft: Order has been created in the system but not yet scheduled for delivery.
Quote: An order has been scheduled for delivery but has not yet been delivered.
Invoice: An order has been delivered.
The state of the order will determine which of these titled versions will be attached to the different customer notifications.
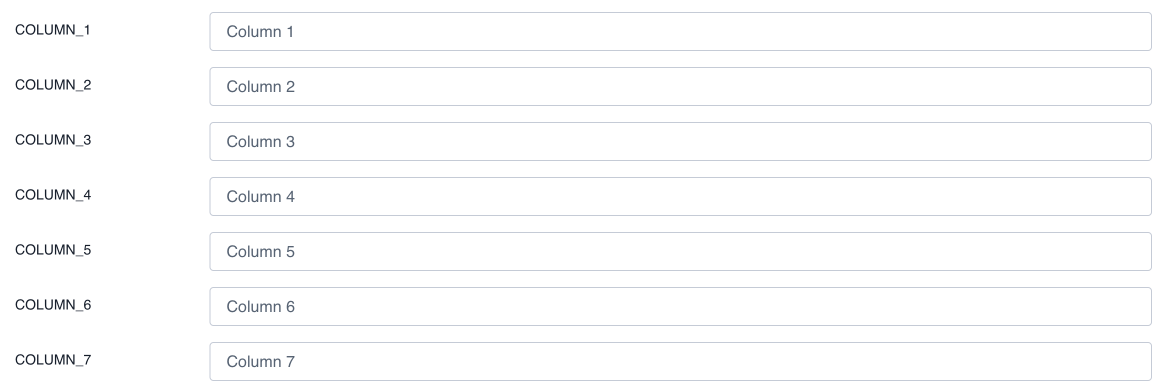
The section with the columns refer to the same columns that you added under order settings and can also be labelled anything you want to match the data you've selected to appear in the columns. If you don't have 7 columns, you can just leave the ones not being used blank.
Make sure to press Save to ensure all your changes are captured.
To see what your invoice looks like, create an order and view the pdf of the order.