Easily keep track of any shorts that occurred during the fulfilment process. Use this report to update orders, notify customers, and to make a more informed decision during the ordering process.
Creating your Custom Report
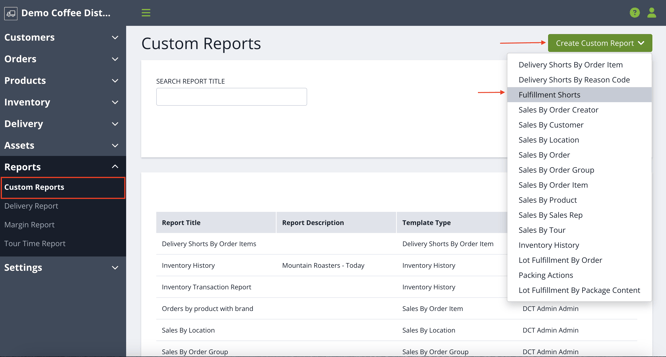
To pull your Fulfillment shorts, navigate to Reports in the left-hand side menu then click Custom Reports. On the Custom Report page, you will see a green Create Custom Report button in the upper-right corner. The drop-down will give you various options including Fulfillment Shorts.
Selecting Fields
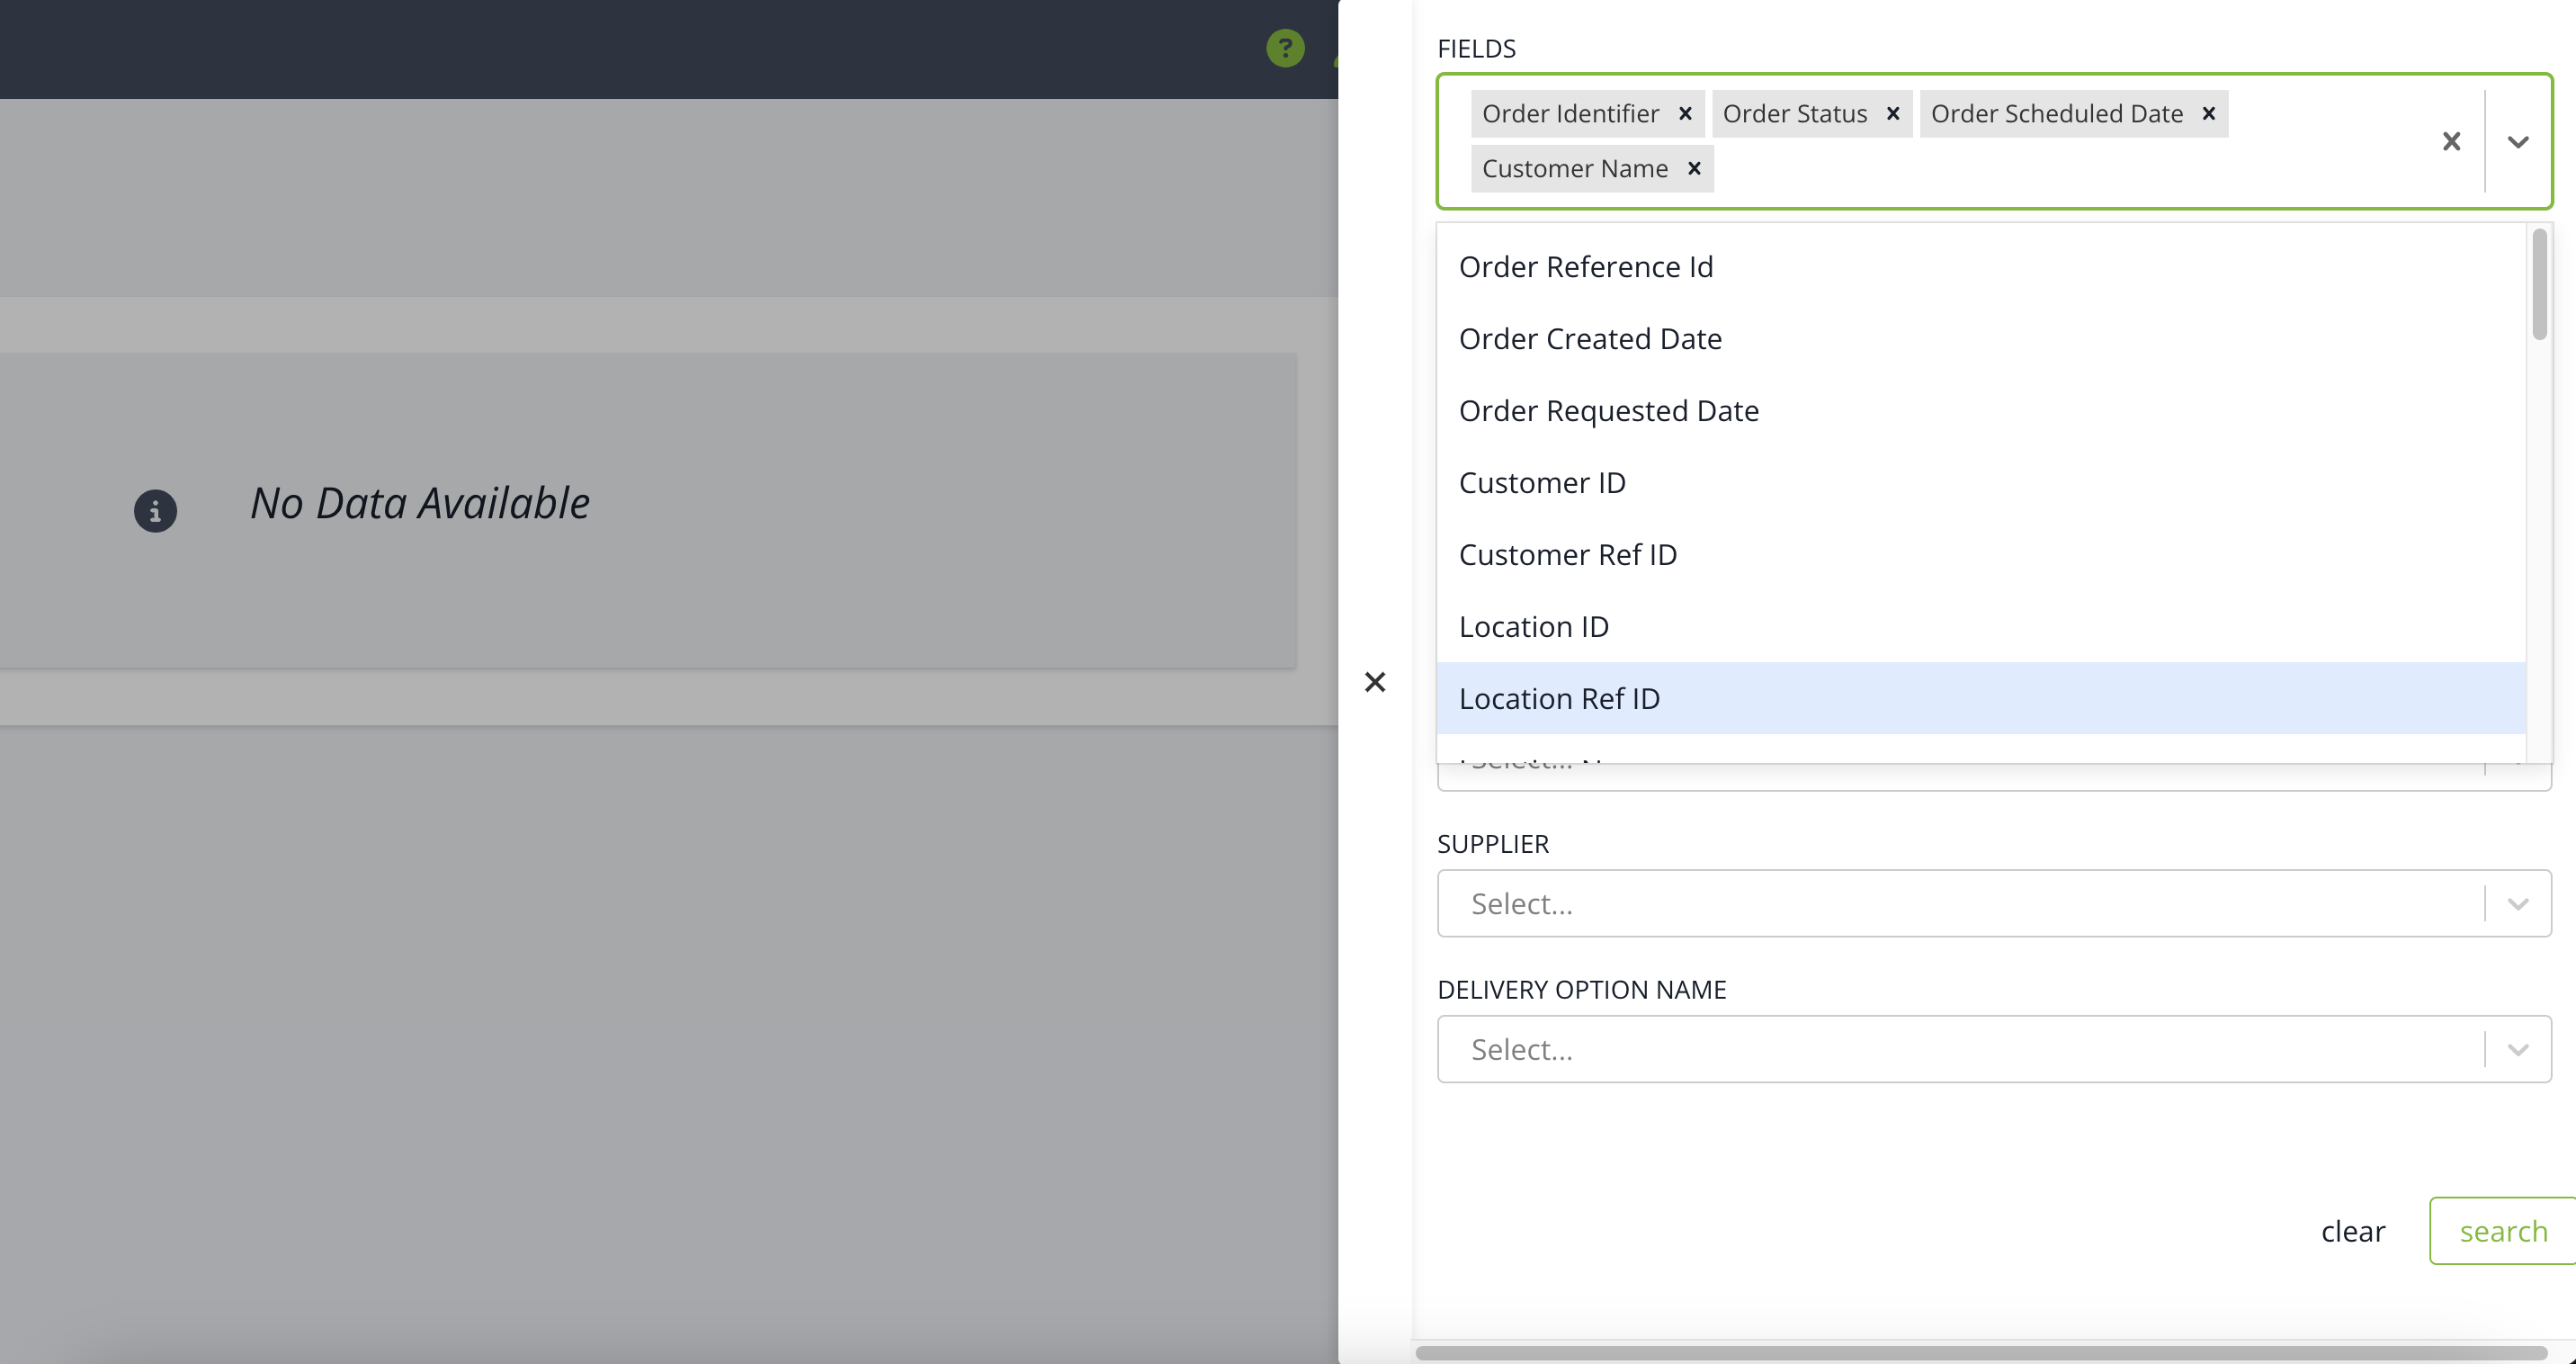
Select the fields that you would like to see in your report template. These fields can include one or many of the below:
-
Order Identifier: The Routeique order number.
-
Order Reference ID: A third party reference ID if your orders are integrated through another eCommerce site.
-
Order Status
-
Order Created Date
-
Order Requested Date
-
Order Scheduled Date
-
Customer ID
-
Customer Ref ID
-
Customer name
-
Location ID
-
Location Ref ID
-
Location name
- Warehouse Name
-
Billing Contact Full Name
-
Billing Contact Email
-
Billing Contact Phone Number
-
Delivery option
-
Tour Name
-
Supplier
-
SKU code
-
Product name
-
SKU name
-
Unit Cost
-
Unit Price
-
Ordered Quantity
-
Short Quantity
-
Reason Code Name
-
Reason Code Code
-
Reason Code Category
-
Reason Code Custom Category
-
Shorted by user
-
Fulfillment Short Note
If you'd like to filter your data to be more specific, you can do so by using some of the additional fields. If you choose not to use any of the filter options, the report will display everything.
-
Warehouse
- Location Name
- Order Scheduled Date Range
- Order Status (Archived, Cancelled, Delivered, Draft, Finalized, Scheduled)
- Supplier
- Service Area or Route
Once you have selected your fields click Search.
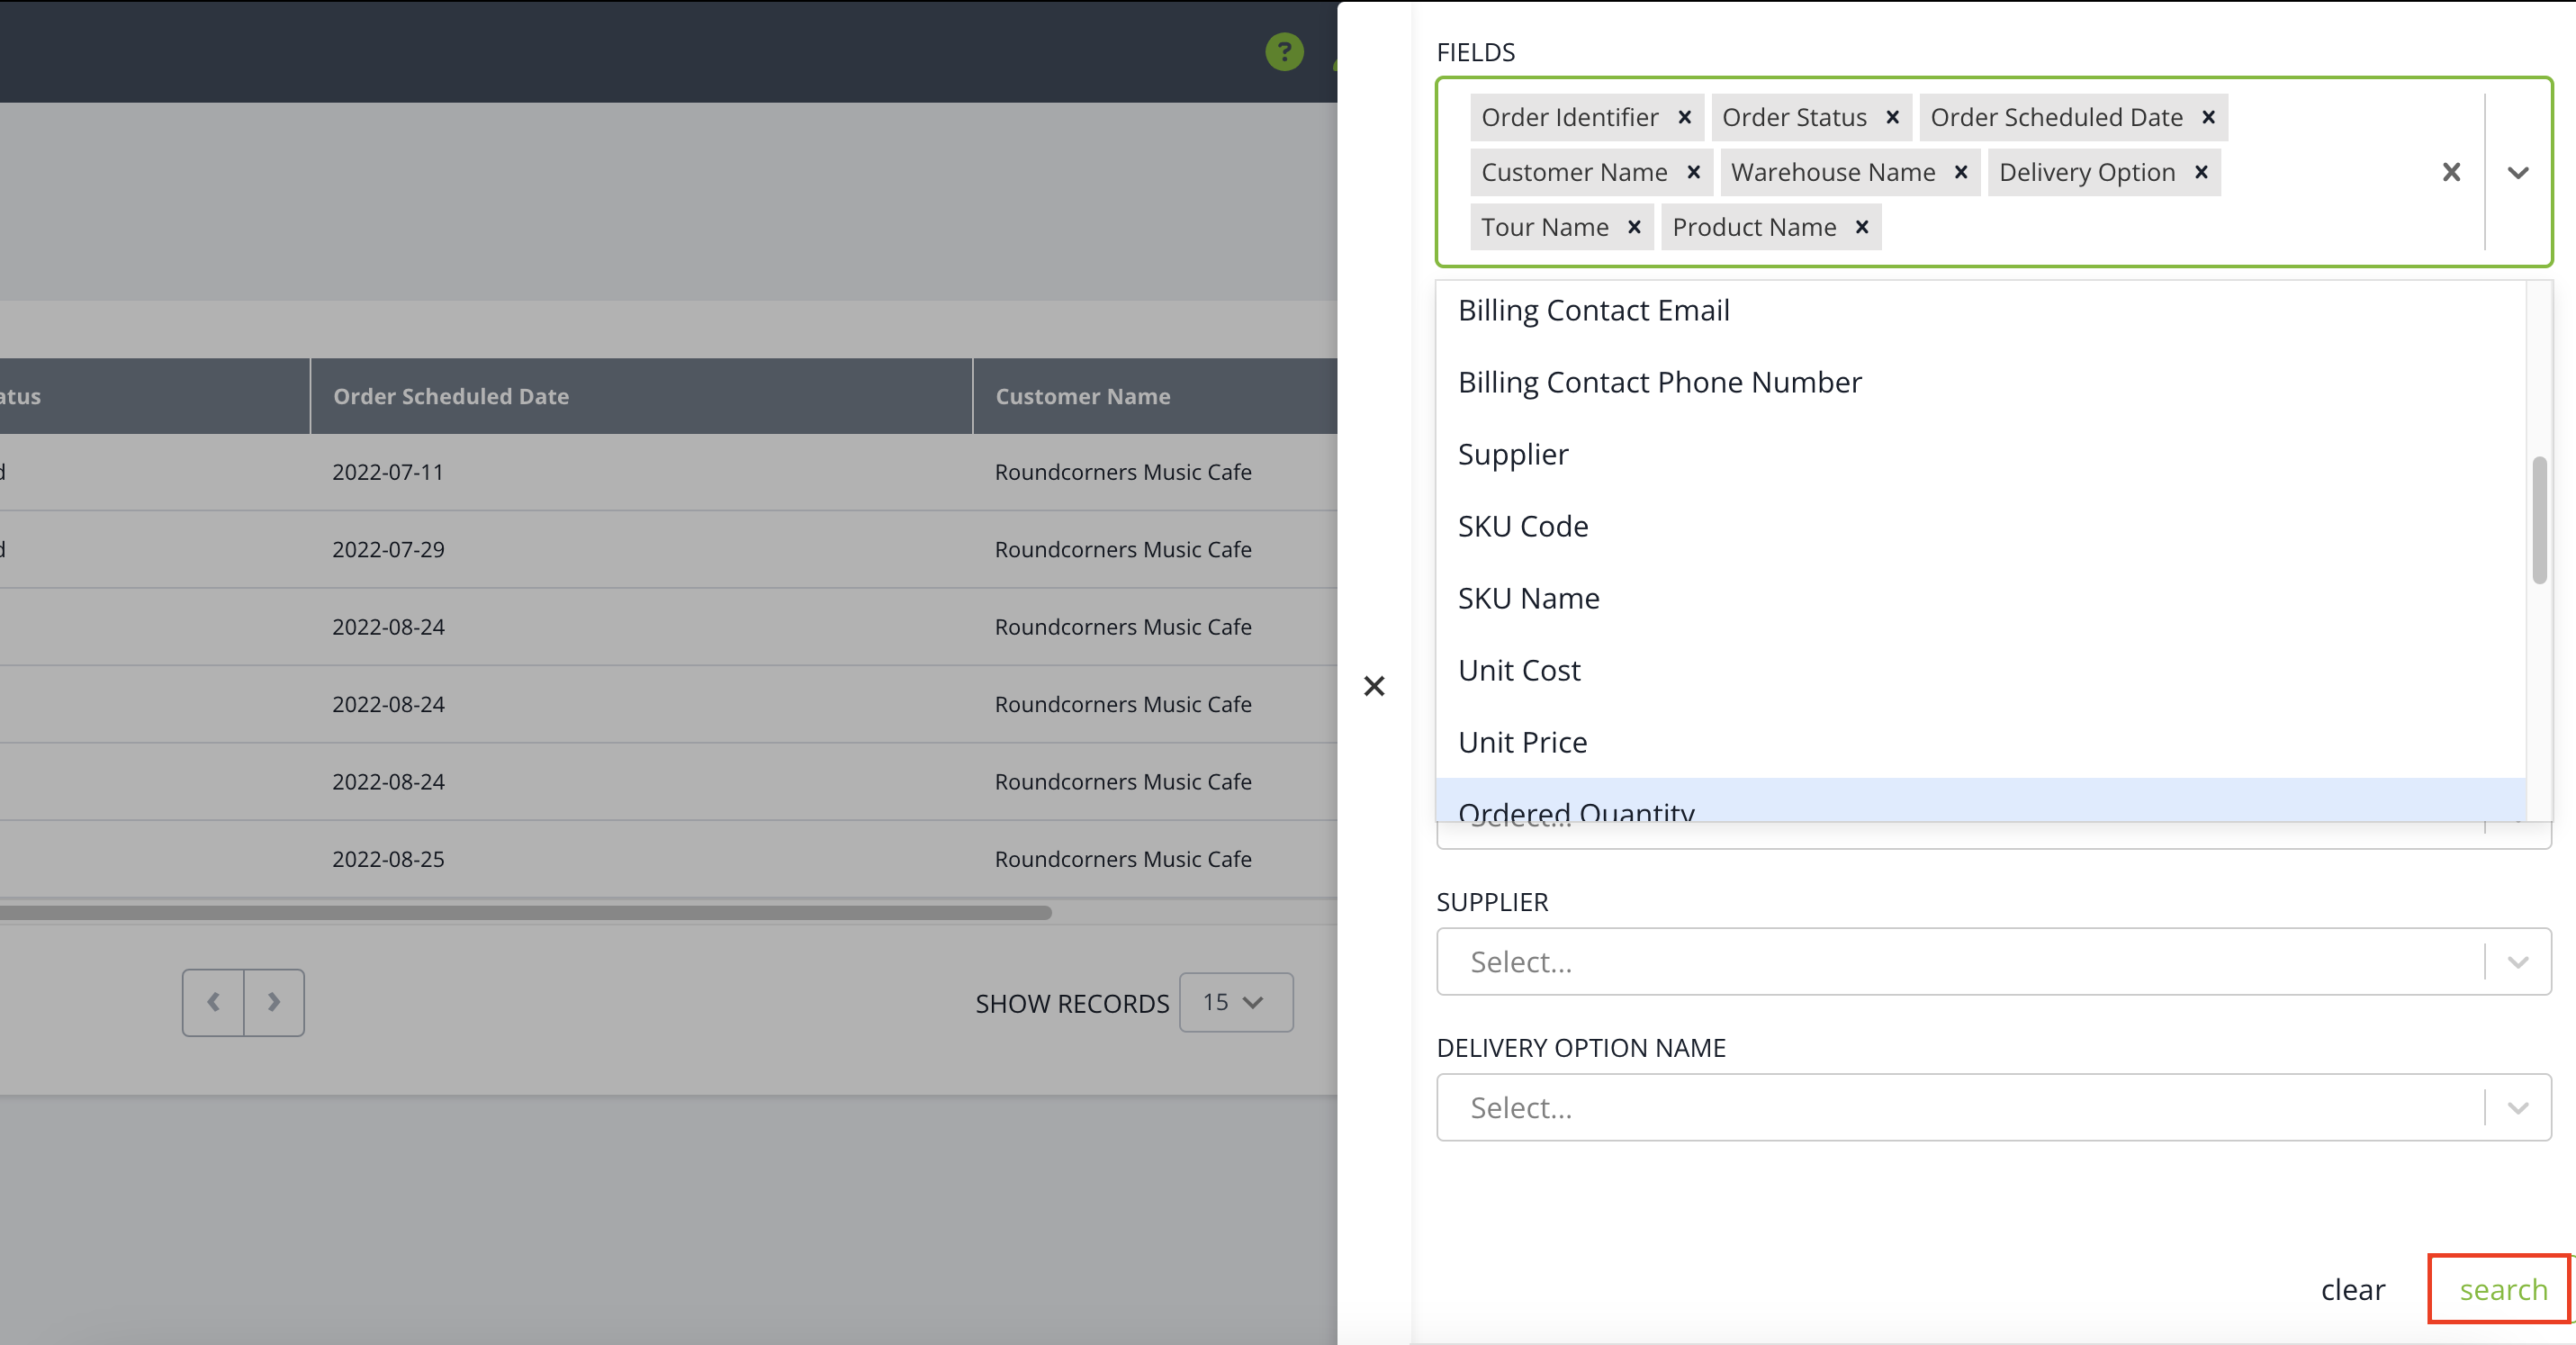
You will then see a list of based on the filters you selected. Click Export in the bottom-left corner and you will be sent a CSV of your report.
Save the Report Template
If you want to save this report, click the Save button in the bottom-right corner and appropriately name the report. When you want to pull the report again, click the Edit icon beside the report on the main Custom Report page. From here you can change your filters you need this time (i.e. a new date range or new route) and press Search again. You can choose to overwrite the previous report by pressing Save and keeping the same name. Or, if you'd like to save another version of the report, simply change the name and when you press Save, a new report will be added to the main custom report page.