Creating categories lets you stay organized, get more detailed reporting, and more effective customer relationship management.
To learn more about the settings relating to categories, click here.
Creating Categories
In the left-hand navigation bar, select Categories. You will see existing categories if some have already been created.
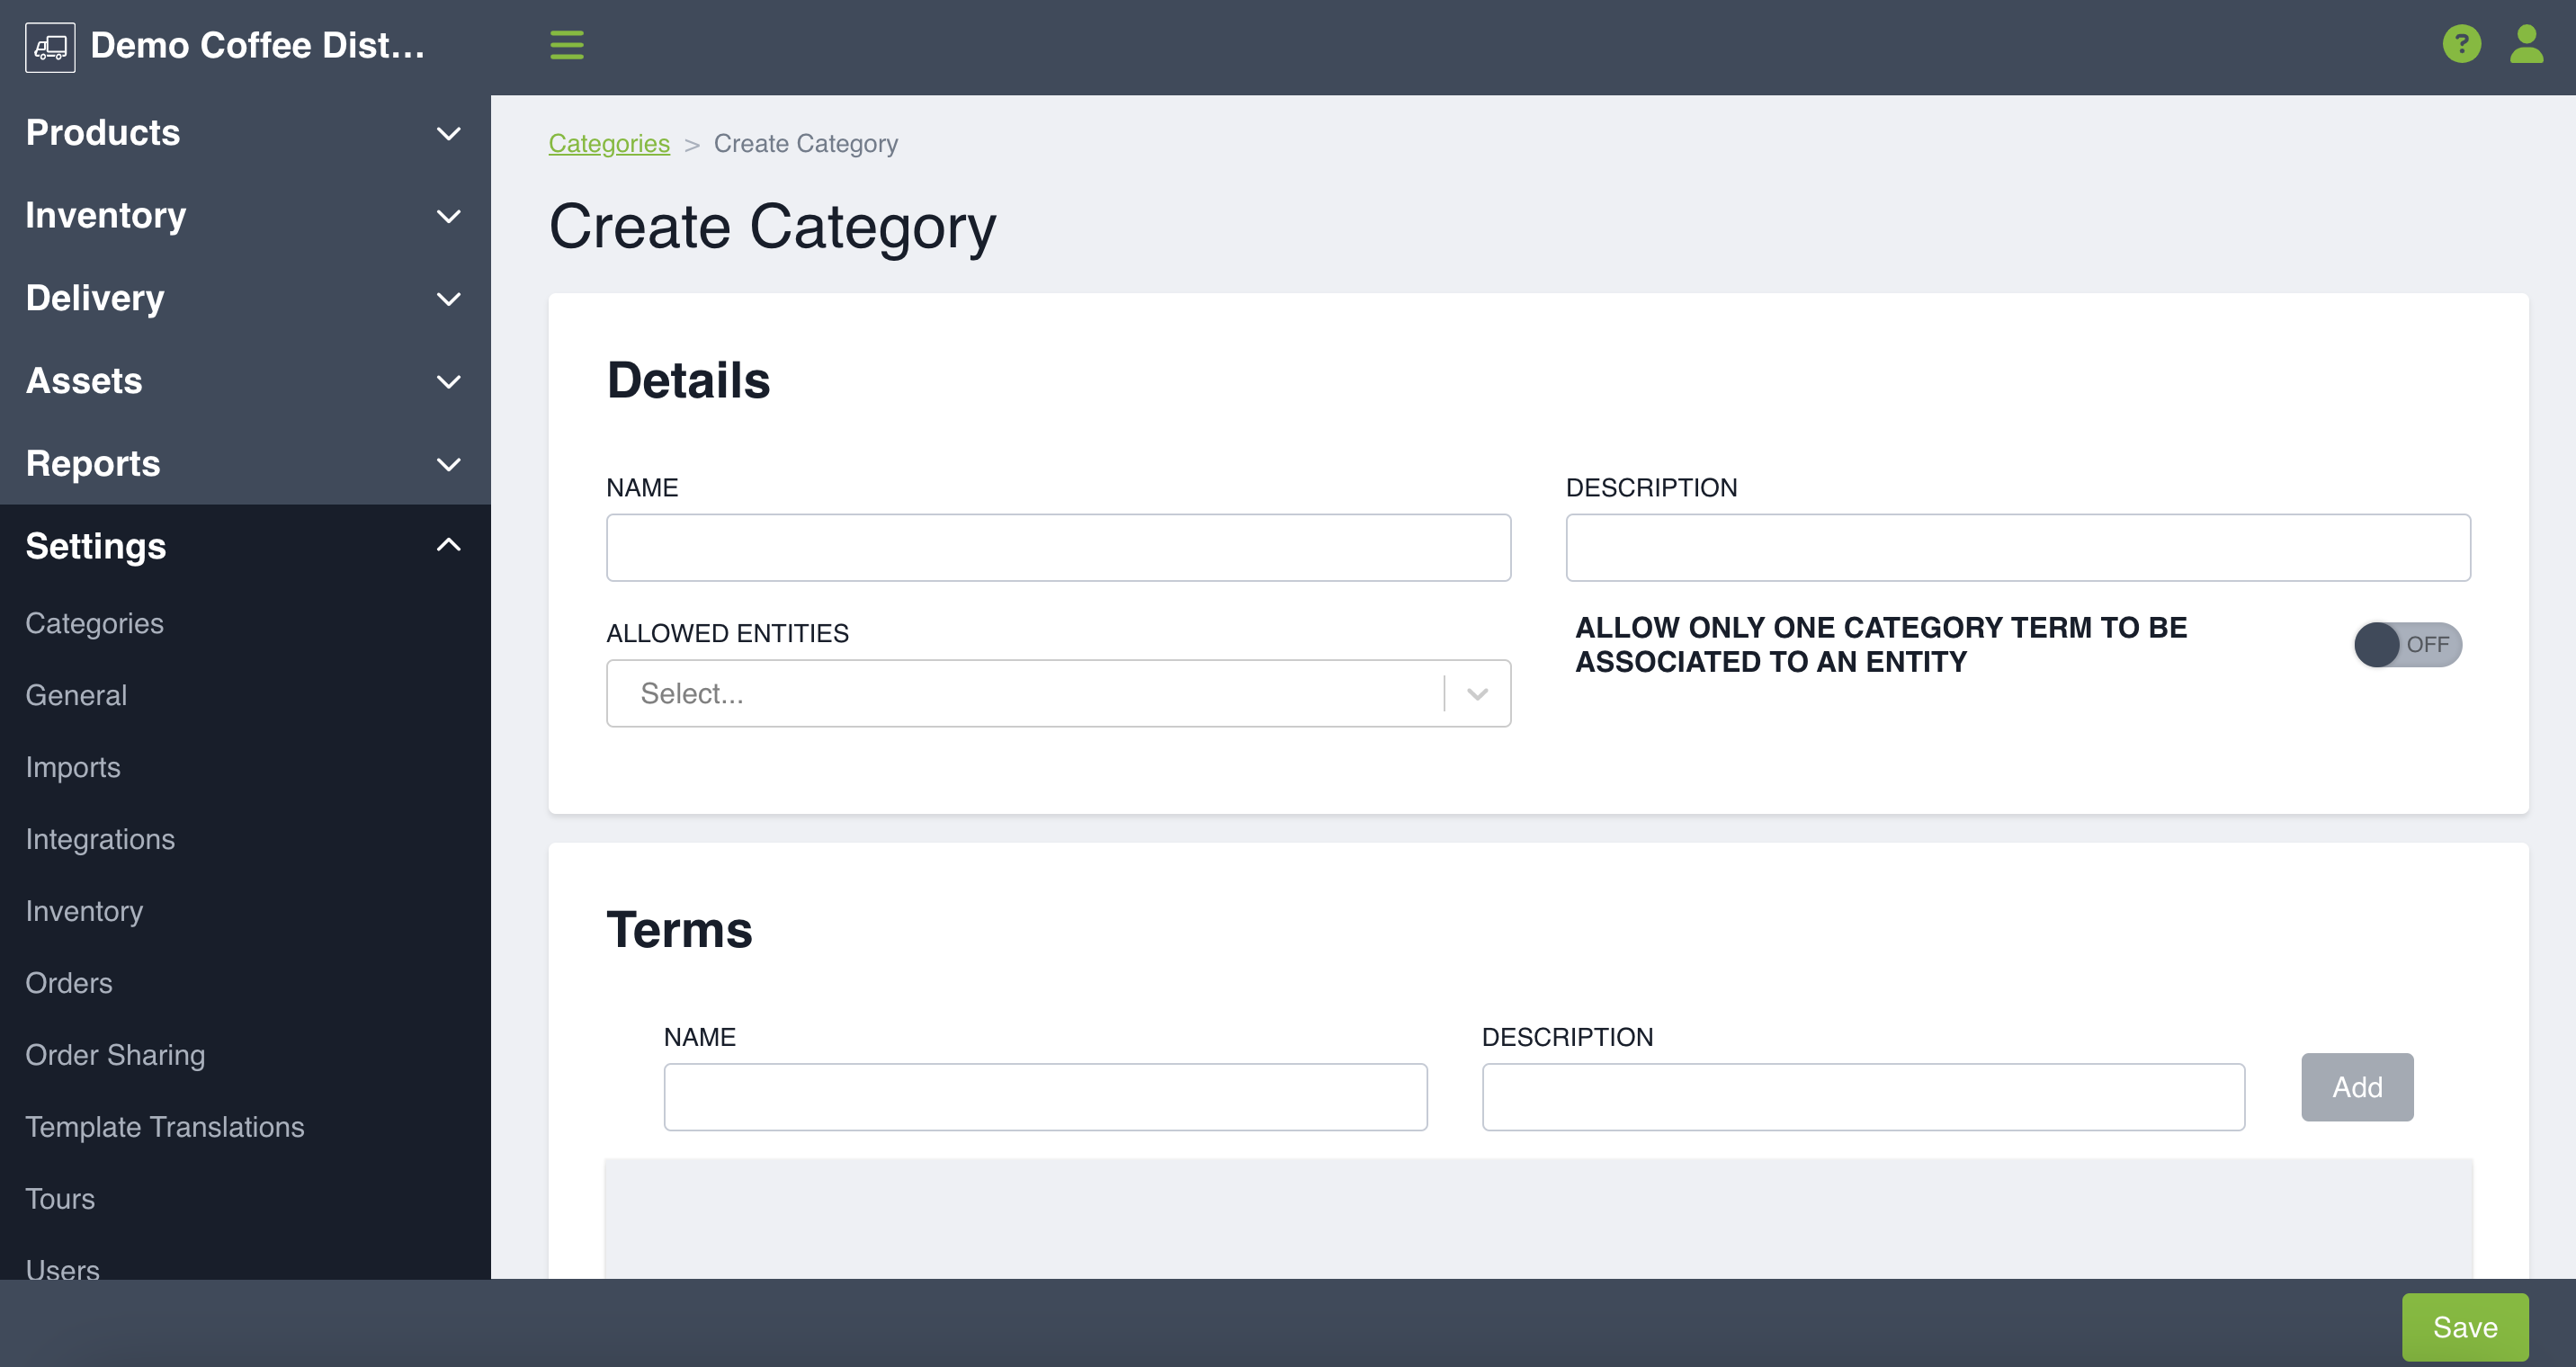
In the upper right corner, click Create Category. This will bring you to the page to create a new category.
-
You can fill in the category name field, which will appear on your selected entity profiles later.
-
Adding a description is also optional.
-
You can add as many entities as you would like. These are things such as customer, location, product, and SKU.
-
Most importantly, you will need to add category terms that will then be applied to your entities.
-
If you toggle “allow only one category term to be associated with an entity” this will set the category to only one term to be able to be associated with an entity.
Applying Categories
Once the categories are created, you can visit the respective entities, such as location, product, customer, and more. Click Edit beside the entity that you'd like apply category.
On the relevant page, you will see the categories fields. The field will be available on all profiles but it is not required to be filled. If you do want to fill it, simply click in the field and select the term(s) that are relevant for the entity. Press Save and the category terms will be applied to your specific entity.
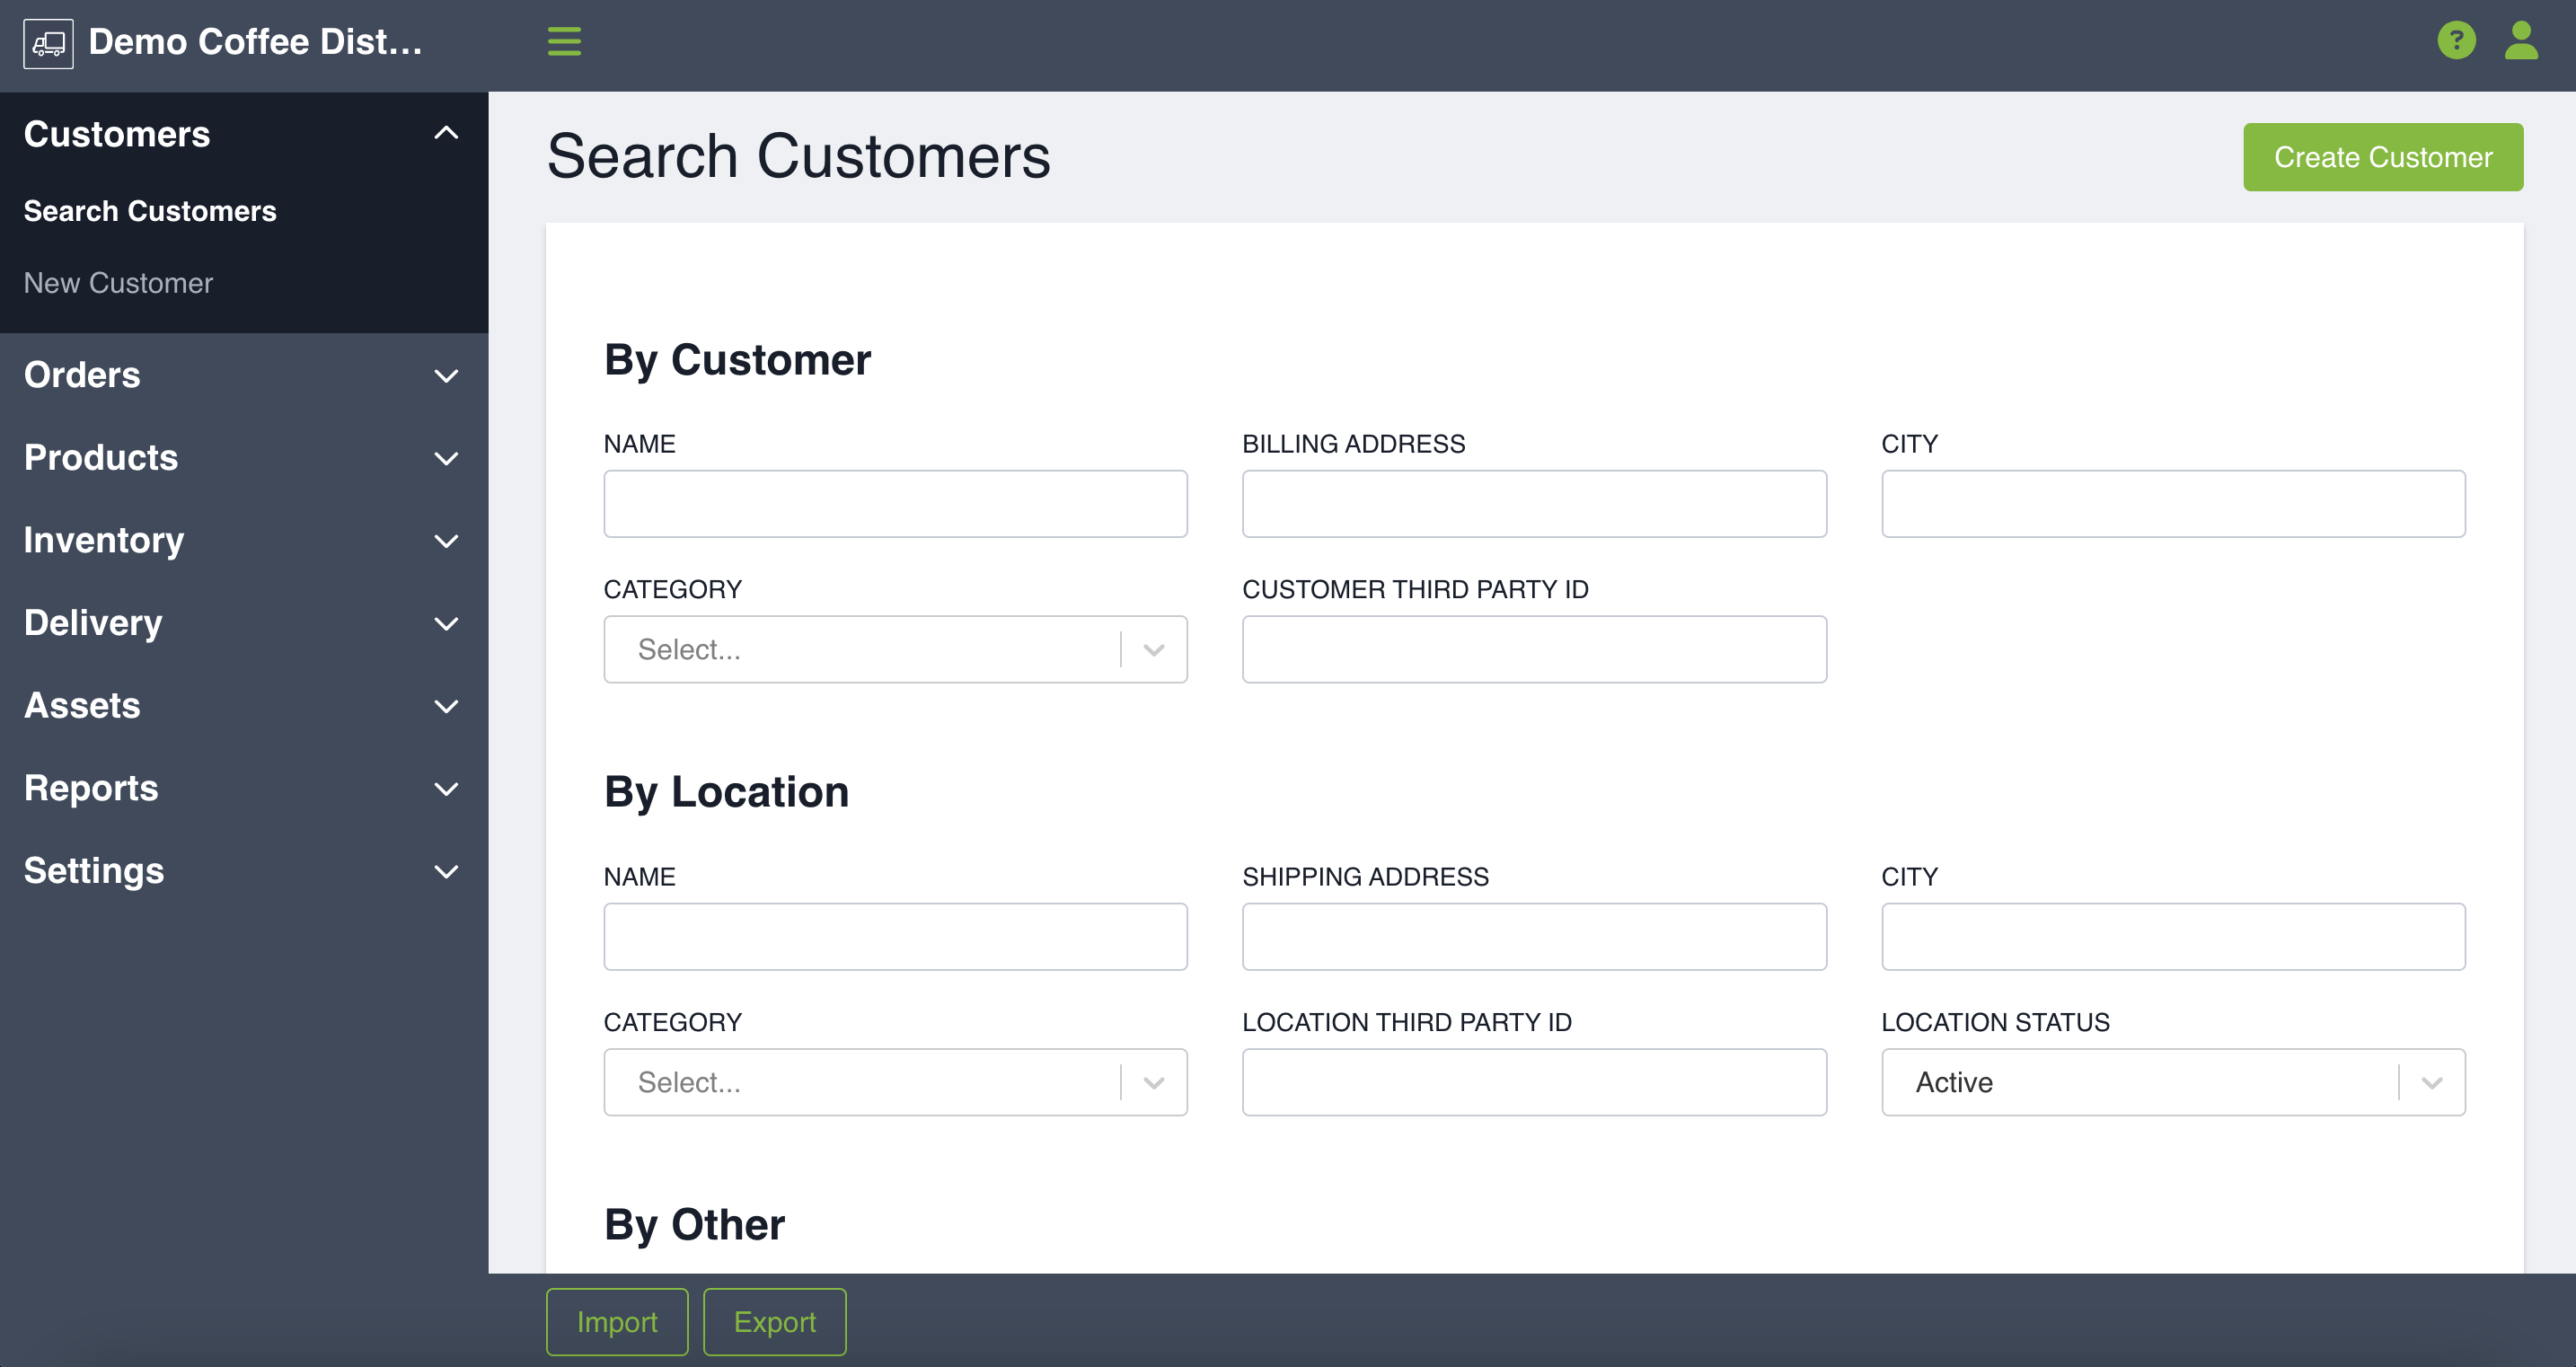
Using Categories for Filtering
It is easy to search and filter entities such as customers or products using categories. Simply fill the relevant category term into the field at the top of the customer, product, location, or SKU search page.
Now you know how to create categories! To learn more about how categories can help you manage customer access to products, click HERE!